
Simple Ways To Clean & Restore Cutting Boards
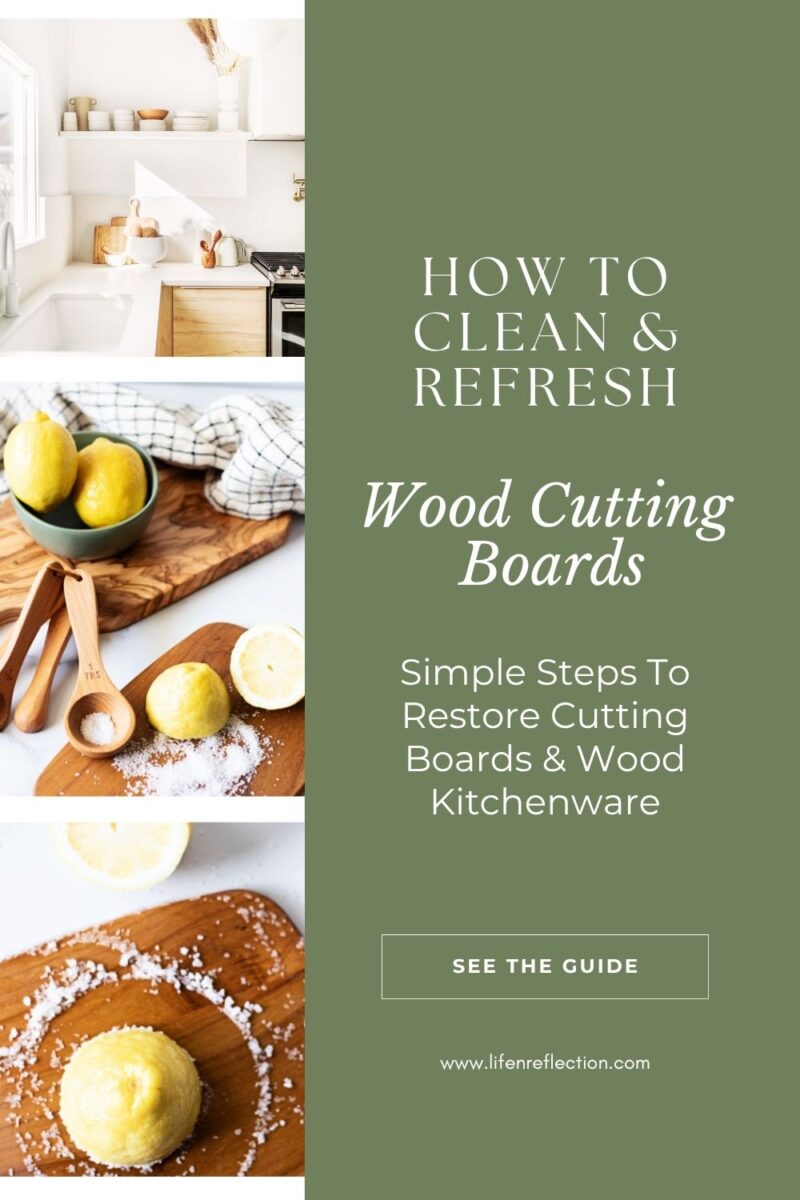
Learn how to clean a cutting board with simple household staples! Easy methods to deodorize, lift spots, and condition wood kitchen tools for years.
A well-loved wood cutting board clocks in hours of chopping, dicing, slicing, and tenderizing. And without proper care, moisture can build up within the wood grain, leading to warping, dullness, or surface spots.
To keep our wooden kitchen tools effective and beautiful for years to come it’s essential to know how to clean a cutting board correctly.
You might be thinking you’ve got it covered by using a plastic cutting board. Well, contrary to popular belief, plastic cutting boards are not the answer. While they are convenient, you must take into account the deep knicks and cracks plastic boards quickly develop, that can shed microplastics into your food prep.
Wood and bamboo boards, on the other hand, are durable, resisting heavy scarring and eliminate shedding microplastic. This makes them the best choice for an eco-friendly prep space, even if they aren’t friends with the dishwasher.
I’ll show you simple methods to naturally, wash, deodorize, lift stubborn stains and condition wood cutting boards and kitchen essentials, so that they stay strong and vibrant for years of use.
Ready to get started? This post contains some affiliate links. Thank you for your support. Check out the full disclosure policy for more details.
Wood Cutting Board Maintenance & Care Routine
We might have the charcuterie trend to thank for bringing beautiful wooden boards back to the center of our kitchens! But whether you’re prepping daily meals on a butcher block, serving appetizers on a stunning olive wood board, or simply displaying a board shaped like your home state, all natural kitchen wood needs regular care to look its best.
That’s why, I’m breaking down the entire routine into simple steps anyone can follow. You can read through the full guide or jump straight to the exact issue you’re facing—like a dark surface spot or a lingering garlic butter smell.
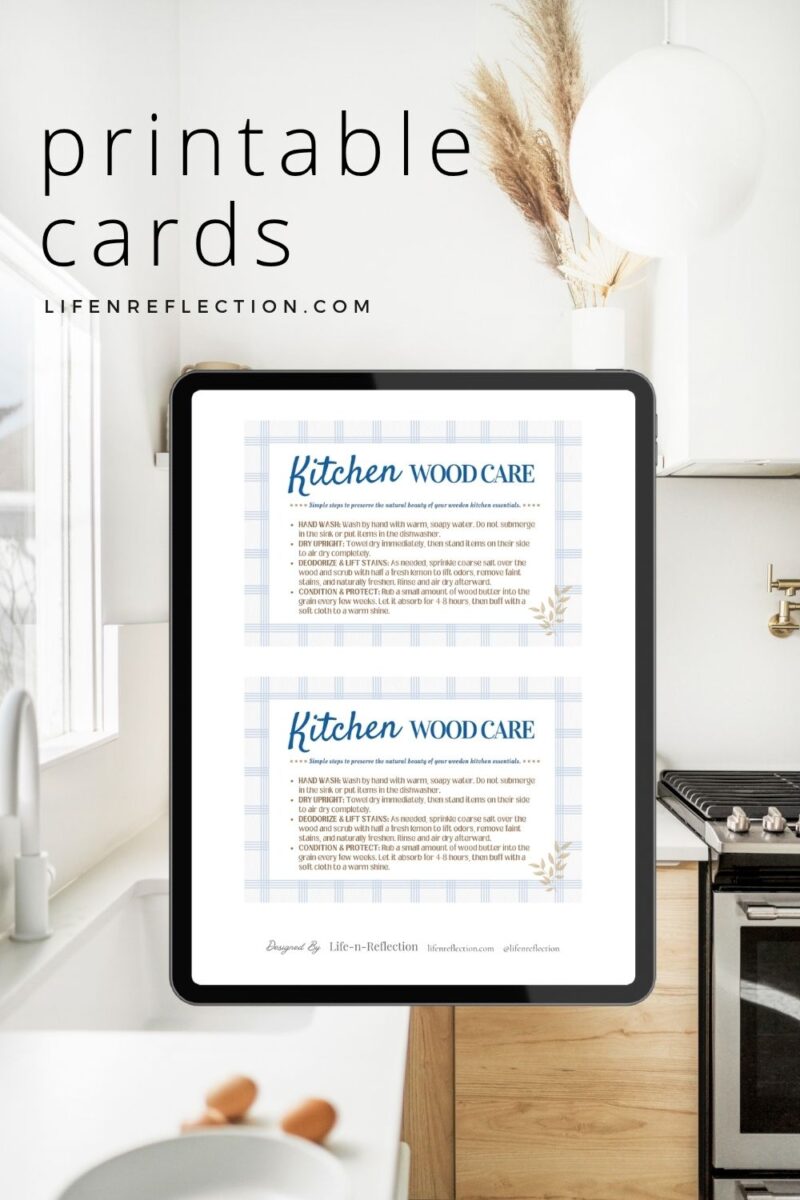
Plus, I’ve created a free printable Kitchen Wood Care Cards you can pop into your recipe box or bundle with homemade gifts! (You’ll find the link to grab yours below).
How To Wash Wood Cutting Boards
First step to cleaning cutting boards doesn’t require specialized commercial board cleaners or petroleum-derived mineral oils. Simple plant-based soaps it all we need clean our boards!
Easy Wash Routine:
Washing Tips:
- Clear the Splash Zone: Move other dishes away out of the sink while rinsing, especially after prepping raw meat.
- Never Submerge or Soak: Avoid the urge to dunk or soak the board into a sink full of water. Submerging wood causes it to absorb excess moisture, leading to splitting, warping, and a shortened lifespan for your board.
You May Also Like
Keep your stainless steel spotless with easy tips to clean and polish!
How to Deep Clean a Cutting Board
Giving your boards a periodic deep clean is ideal after prepping heavy meals, tenderizing raw meat, or dicing ingredients that stain easily, such as, strawberries and peaches.
Here’s How:
- Start by washing the board with warm, soapy water following the steps above.
- Pour a small amount of 3% hydrogen peroxide across the surface. It’s gentle bubbling action helps lift and draws out trapped debris from the wood grain.
- Let it sit for 2–3 minutes, tops to prevent fading the wood finish! Then wipe the board completely dry with a fresh dish towel to prevent moisture build up.
Tip:
Designate one specific cutting board for raw meat prep and another for fresh produce or bread to keep your kitchen prep organized and streamlined.
Removing Cutting Board Stains
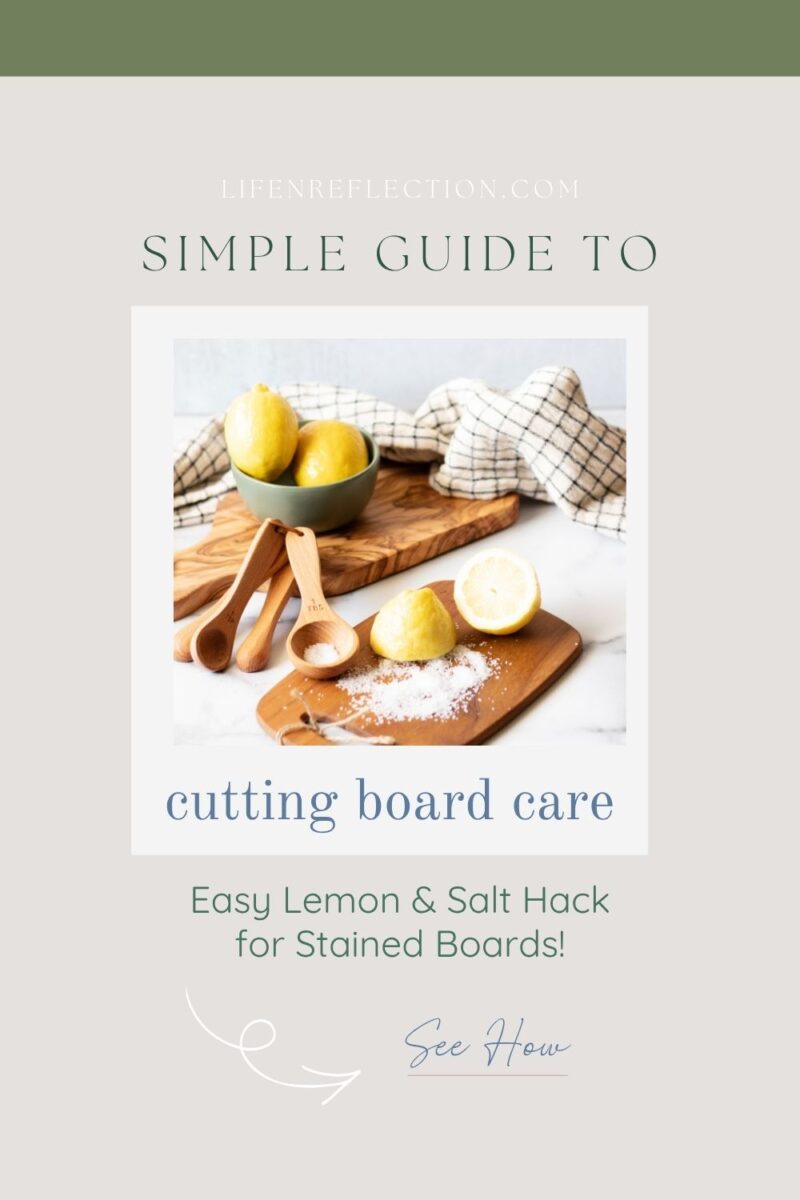
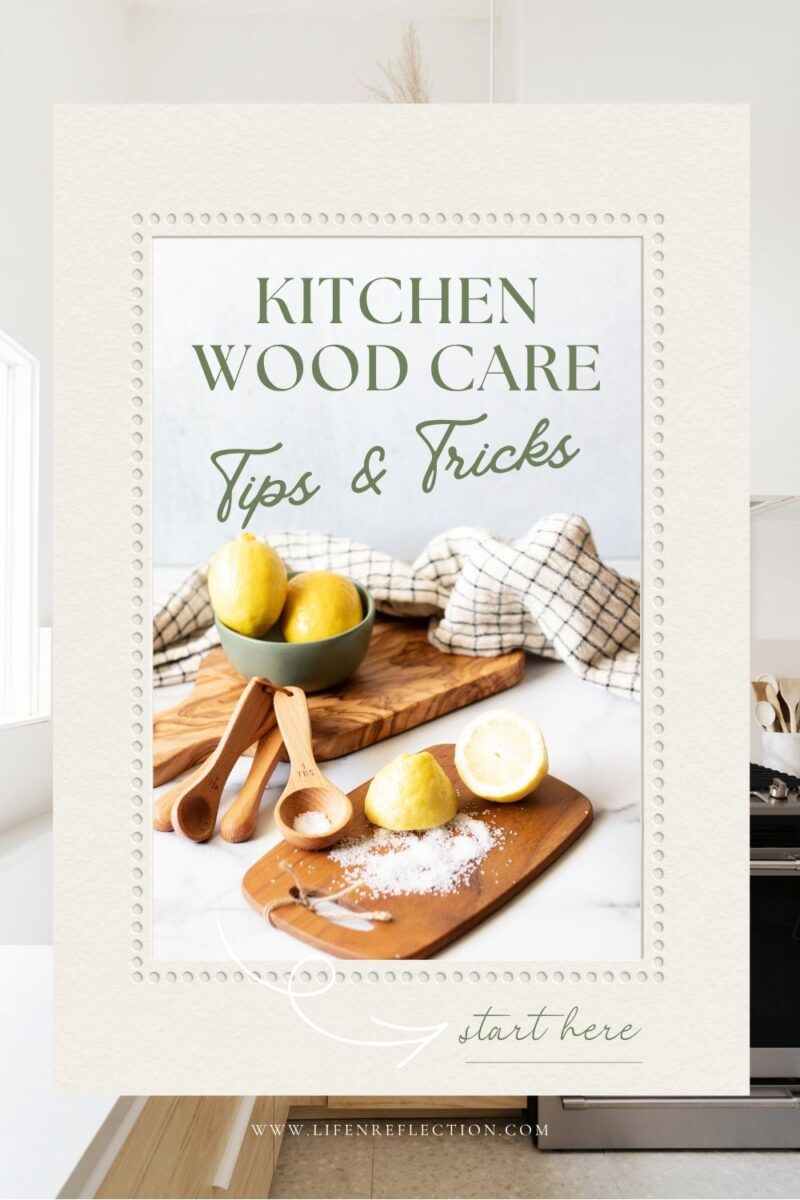
You know what they say, “Stains Happen”. Good news is to lift and remove stains from wooden cutting boards, all you need are two pantry staples!
Instructions To Lift Stains
We’ll utilize the natural acidity of lemon juice combined with the abrasive texture of coarse salt create a powerful stain-lifting paste.
- Sprinkle two tablespoons of coarse sea salt or kosher salt onto a dry cutting board.
- Cut a fresh lemon in half. Place the cut side down on the board and scour the surface in small circular motions, squeezing lightly to release juice as you rub.
- Let the lemon and salt mixture rest on the board for five minutes.
- Scrape the remaining salt off into the sink, rinse the board with a clean damp sponge, and towel dry immediately.
For Stubborn Stains
If a board is left damp or stored in a dark cabinet before drying completely, dark surface spots can develop.
If faint dark marks remain on the surface after following these steps, use a piece of fine-grit sandpaper to buff the area in smooth, gentle strokes following the direction of the wood grain. Wipe away any wood dust with a dry cloth.
You May Also Like
Make an easy and effective homemade dishwasher detergent.
Deodorizing Wood Kitchen Tools
Got a smelly board after chopping garlic or onions? Then it’s time you learned how to deodorize it!
Deodorizing is simply the process of neutralizing lingering food scents.
all it takes
A quick spritz of white vinegar or fresh lemon juice across the wood surface works instantly to break down strong odors, leaving your kitchen smelling fresh and clean.
How to Condition and Protect Wood Cutting Boards
Washing naturally strips wood of its natural oils over time, leaving it looking pale and matte. That’s why once your board is clean and completely dry, it needs moisture restored to keep the wood supple and prevent drying or cracking.
This final conditioning step applies a natural wax sealant restores a rich luster and seals the grain. And it creates a protective barrier against future food stains and liquid absorption.
How to Apply:
- Scoop a small amount of homemade wood butter onto a clean, soft cloth.
- Rub the butter into the wood using gentle circular motions, ensuring you cover the front, back, and sides.
- Allow the oils to absorb into the wood for 4 to 8 hours (or overnight), then buff away any excess with a dry cloth until the surface feels smooth and satiny.
When to Apply:
- Condition your boards and wood kitchen tools every 3 to 4 weeks, or whenever the wood looks dry and thirsty.
FOR YOU
the simple living library
Grab these free printable 4×6 kitchen wood care cards n the Library along with our exclusive Simple Living Weekly Edition.
When Should You Replace a Cutting Board?
Most of us use a cutting board to prepare meals every day. And that kind of use can take a toll on the best cutting boards and kitchen essentials.
Even the sturdiest kitchen tools and multi-layered wood boards can begin to separate at the glued seams. Allowing moisture to become trapped in gaps that can’t be reached with a scrub brush.
So, if you have wood, bamboo, or plastic boards that are severely warped, cracked, or deeply scared – they should be retired.
However, starting fresh with a new board—and maintaining it with these natural cleaning and conditioning steps will keep your kitchen running smoothly for years!
Find this helpful?
Share it on Pinterest
And while you’re there, be sure to follow Life-n-Reflection for more inspiring ideas.
Keep these wood care steps handy, tucked into your recipe binder or bundle with a homemade gift with free printable card shared above!
Wood is the best material to make a cutting or chopping board. This is because wood is sturdier, healthier, and harder to damage.
Great point!