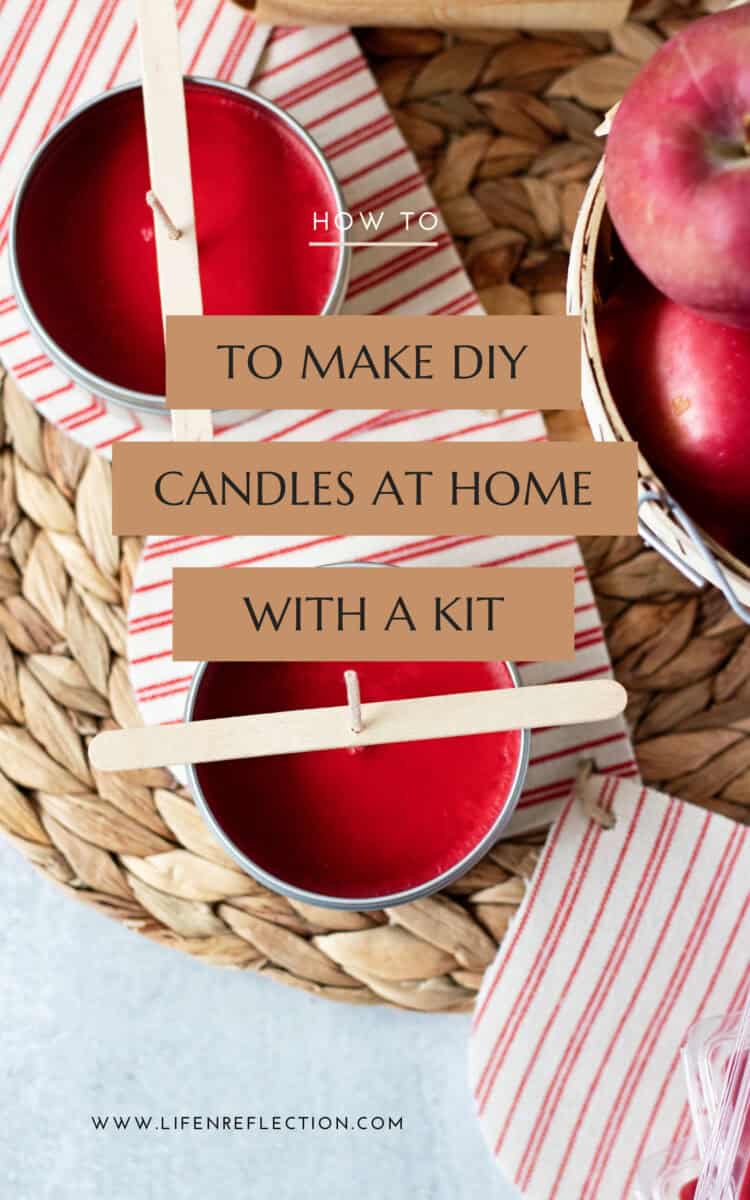
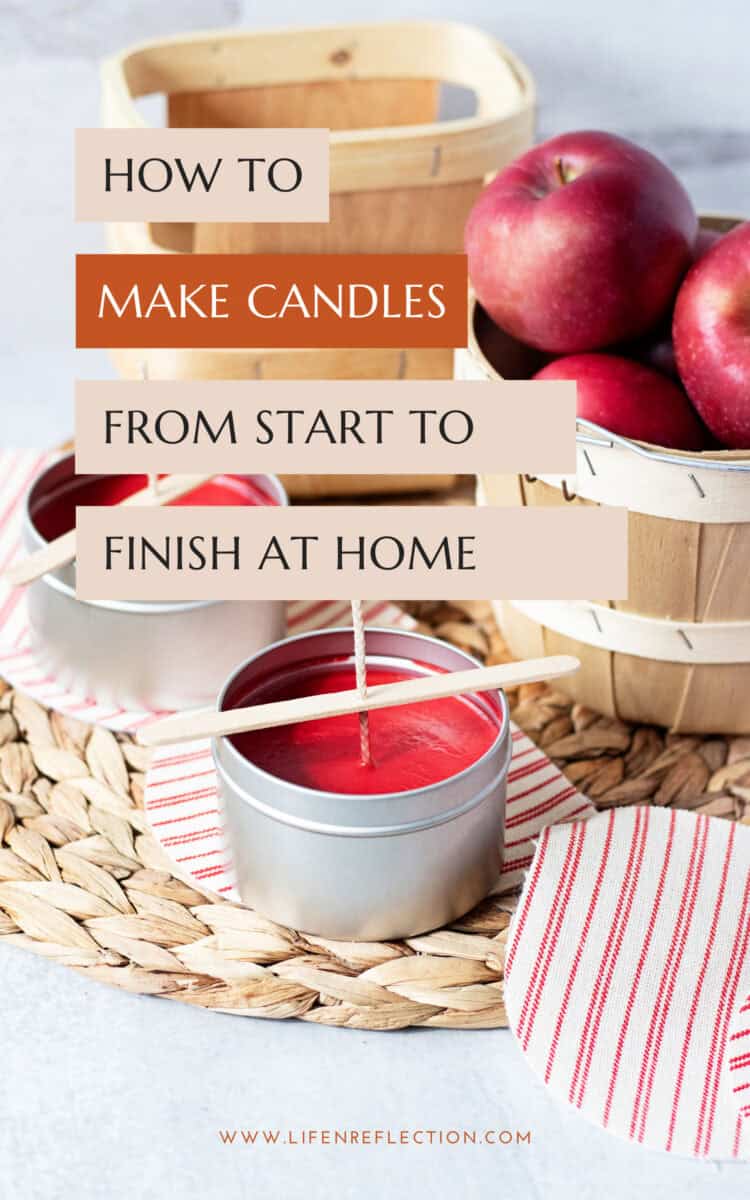
Candle Making Kit: Easy Apple Cider Candle Tins
Does anything sound more perfect than a misty autumn morning, watching fall leaves gently dancing to the ground with a cup of warm cider between your hands and a handmade fall candle twinkling on the windowsill?
I adore autumn days and pretty much everything about the season. With this all-in-one candle making kit, I’ll show how to make easy apple cider candle tins from start to finish!!
There’s nothing better than walking into a room that smells amazing and matches the season outdoors!
This post contains some affiliate links for your convenience; read full disclosure policy.

The Best of Autumn
When it comes to autumn, I try to squeeze every ounce of fall fun into the short months before winter covers us under a blanket of snow. Our fall bucket list includes:
- Fall baking
- Cozy bonfires
- Hayrack rides
- Picking pumpkins at the pumpkin patch
- Bring home a bushel of apples from our local orchard
- And, of course, candle making
Making these homemade apple cider candles just adds to the fall festivities. Candles are a great way to bring the seasons indoors. From moody mornings to cozy nights and everything in between – you can make a candle for every season.
And doesn’t get any easier than using an all-in-one candle making kit!
Related To: How to Measure Candle Fragrance
What is the best candle making kit?
Whether this is your first time making candles or you’re a pro, candle making kits make seasonal crafts so easy! I love it when I get everything I need in one product shipped to my door. No errands to run or multiple shipments to wait for. Don’t you agree?
And the best candle making kits include step-by-step instructions, too – so you can count on foolproof results!
I have tried nearly a handful of candle kits, and most often, they either only include supplies without instructions or they include the basic ingredients and instructions but lack all the tools needed. So I was quite delighted to find this all-in-one candle making kit! It not only comes with instructions and basic supplies it also comes with candle making tools, labels, and containers.
You’ll find a candle thermometer, 4 wick centering devices, and a candle melting pitcher you can use again and again inside!
Related To: DIY Coffee Mug Candles
How to Make Candles from Start to Finish
Apple cider is quintessential to fall as pumpkins are to Halloween. Fill your home with all the scent of simmering homemade apple cider all season long, even after the last apple has dropped from the tree, with this candle recipe.
However, if you’re reading this and it’s not the fall season, find the perfect scent with our candle scent list printables in the Simple Living Library or take our fun candle scent quiz!

No matter the scent you choose, you’ll find candles are easier than ever to make with the variety of fragrances and candle dye blocks included in this candle making kit. Let’s get started!
Candle Making Supplies:
2 six-ounce candle tins
2 glue dots
1 red candle dye block (½ ounce)
2 candle wick centering devices
½ pound soy wax flakes
1 tablespoon apple fragrance
½ tablespoon cinnamon vanilla fragrance
2 candle labels
Guess what? All of these supplies are included in the candle making kit!! I just add apple fragrance to the cinnamon and vanilla fragrance included in the kit to make apple cider candles!
Step-by-Step Candle Instructions:
1. Place the wicks
Begin by placing a wick in each candle tin. Use the large glue dots to strongly secure the wicks to the center of each tin.
2. Measure the wax
The second step is to measure ½ pound of soy wax. I like to use a kitchen scale to do this. If you’re using all of the candle containers in the kit or different containers, easily calculate how much wax you need with our candle wax calculator.
3. Melt the wax
Next, melt the wax you measured. Pour it into the candle melting pitcher from the kit. Then place the pitcher inside a large saucepan filled with about 2 inches of water (this is the double boiler method).
Heat the wax on medium to low heat with a gentle simmer, no higher than 185°F degrees. Stir often with a metal whisk to speed up melting, and never leave the wax unattended. You can clip the candle thermometer inside of the pitcher to monitor or check it often.
4. Color the wax
Once the wax is melted, turn off the burner, but keep everything on the heat source. Add three-fourths of the red candle dye block to the wax and stir frequently until it is melted as well.
You can control the intensity or shade of color you want by using a butter knife or soap knife to cut and divide the dye block in half or into fourths. I used ¾ of the red candle dye block from the kit because I wanted a bright red color, like Macintosh apples. As a reference, each block included is ½ ounce.
5. Cool wax and add fragrance
After the wax and color are melted, remove the candle pitcher from the heat source. Allow the wax to cool to between 125°F to 150°F before adding the fragrance. At this point, it likely already is there. If not, stir often while it cools.
Once cooled, add 1 tablespoon of apple fragrance and ½ tablespoon of cinnamon vanilla fragrance. Stir vigorously for 2 minutes to create a great scent throw.
Just like the color of your candles, you can control the strength of the scent too. Use a candle fragrance calculator to determine if you want more or less scent.
6. Pour the wax into containers
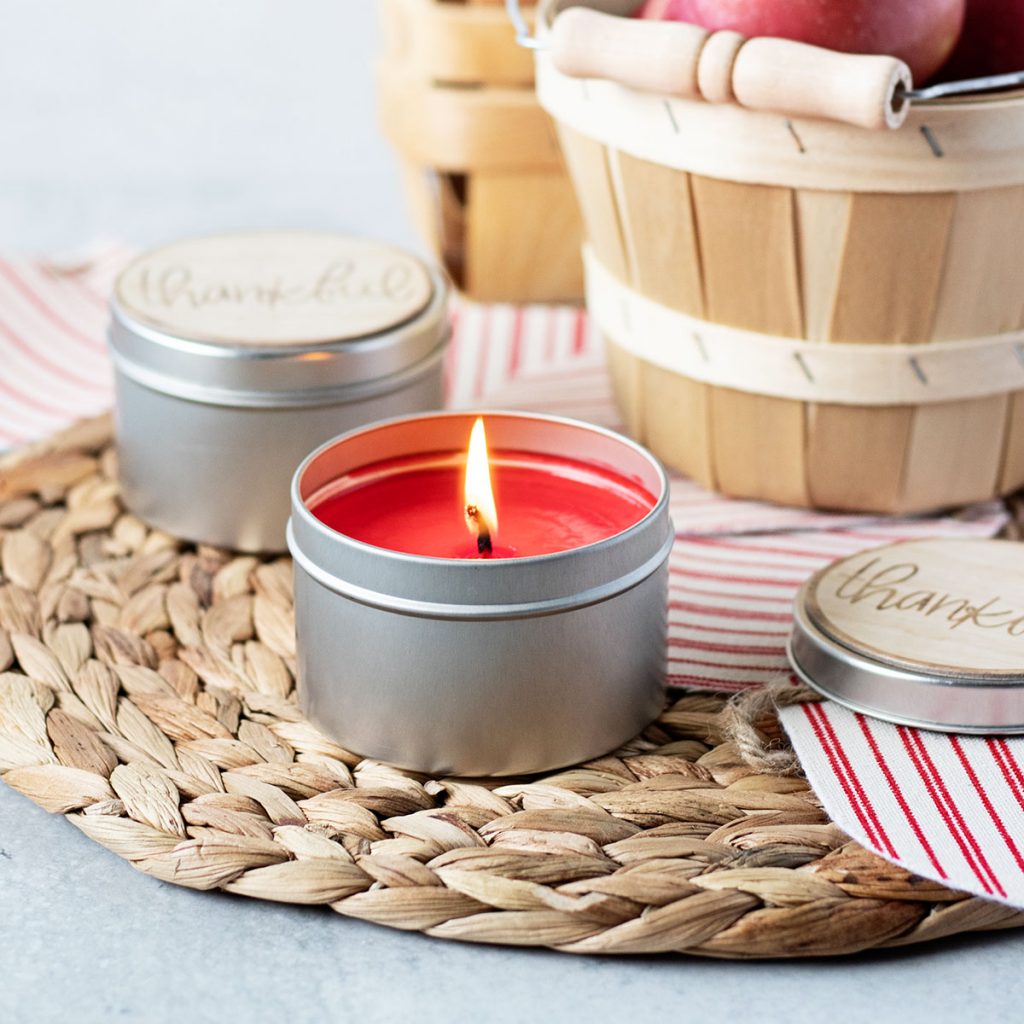
Now all the hard work is done, and you can pour the perfectly colored and scented wax into each candle tin. Avoid the wicks and pour slowly for accuracy. I filled mine to the line inside the tin so I could close the lids when not in use. Slip a centering device over the wick to keep it in place and upright while the wax cures.
Allow each candle to cool for 3 days before lighting for the best results. I know it’s tough to wait, but you can take a whiff as often as you like during the curing process.
Add an included safety label to the bottom of each tin and top it with anything you like. I found these thankful labels at Target in the one-spot area.
YOU MAY ALSO LIKE:
- Sun-Soaked Garden Beeswax Candles
- Lemon Cedar Dust Spray and Polish
- Lemon Poppy Seed Melt and Pour Soap Recipe
- DIY Gardeners Hand Scrub Recipe
- Herbal Homemade Scouring Powder
Fall Candle Making
This candle making kit is perfect for a small get-together with a close friend this fall. You will both delight in how easy these apple cider candle tins are to make. They most certainly make a festive addition to your fall decor!
And if you’re thinking about making homemade candles for Christmas gifts, you can count on these being well received. And the same can be said for the candle making kit! It has all the supplies needed to start making candles at home.
Pin this fall candle recipe now and bookmark the kit for Christmas gift ideas; tag #lifenreflection on Instagram to share your candle making with me. I would love to see what you come up with this season!