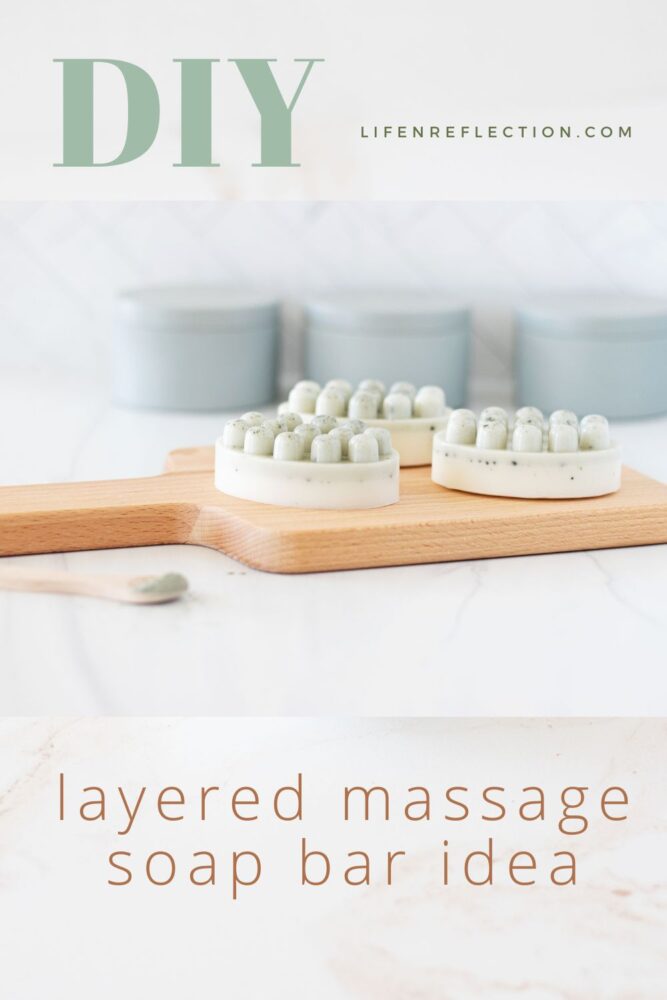
Celebrate Spring With A Layered Massage Soap Idea For Melt and Pour Soap
This layered massage soap idea for melt and pour soap is one of my favorite spring soap ideas yet!
Spring is officially here, and I’ve been working in my gardens for weeks in its preparation. After cutting back last year’s growth, clearing fallen leaves, pulling invaders (a.k.a. weeds), and adding nutrients, my first blooms are here!
This year, my beautiful Texas salvia, native to our area, was the first to bloom. I can’t wait to see it flourish again. Check out how tall it grew last year, which was filmed in my IKEA commercial.
With the first blooms, we’ve spotted a few honey bees returning to the garden. And we’ve been hearing more and more chatter from the birds.
These first signs of spring inspired this soap idea for melt and pour soap!
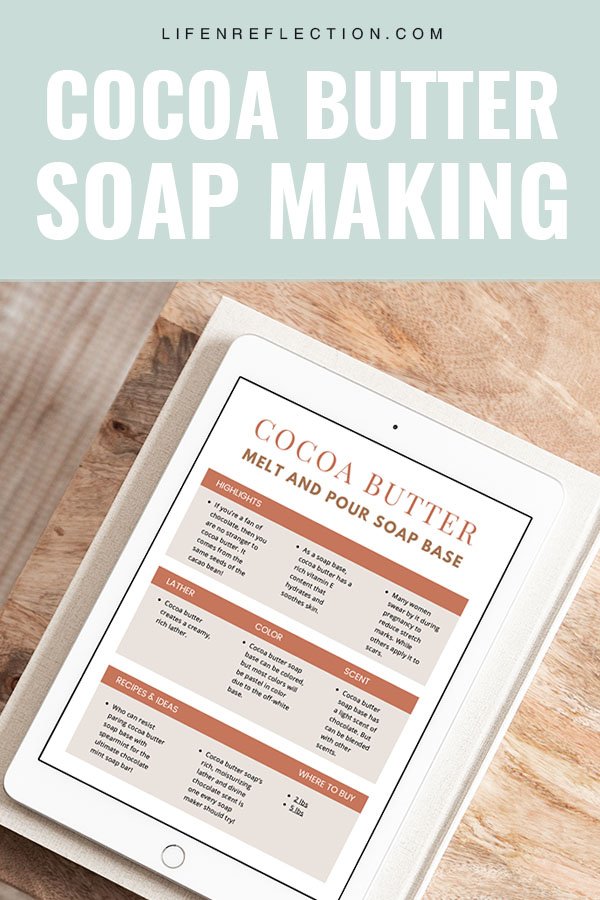
What’s melt and pour soap? It’s an easy way to create homemade soap without working with lye. Learn more in my detailed soap making guide.
With a fresh spring scent and the appearance of speckled blue robin’s eggs, it’s one of my favorite soap ideas yet!
For your convenience, this post contains some affiliate links; read the full disclosure policy.
Creative Spring Soap Idea For Melt and Pour Soap
For this creative melt and pour soap idea, I started with a moisturizing cocoa butter soap base. It’s just what I needed after tending the garden.
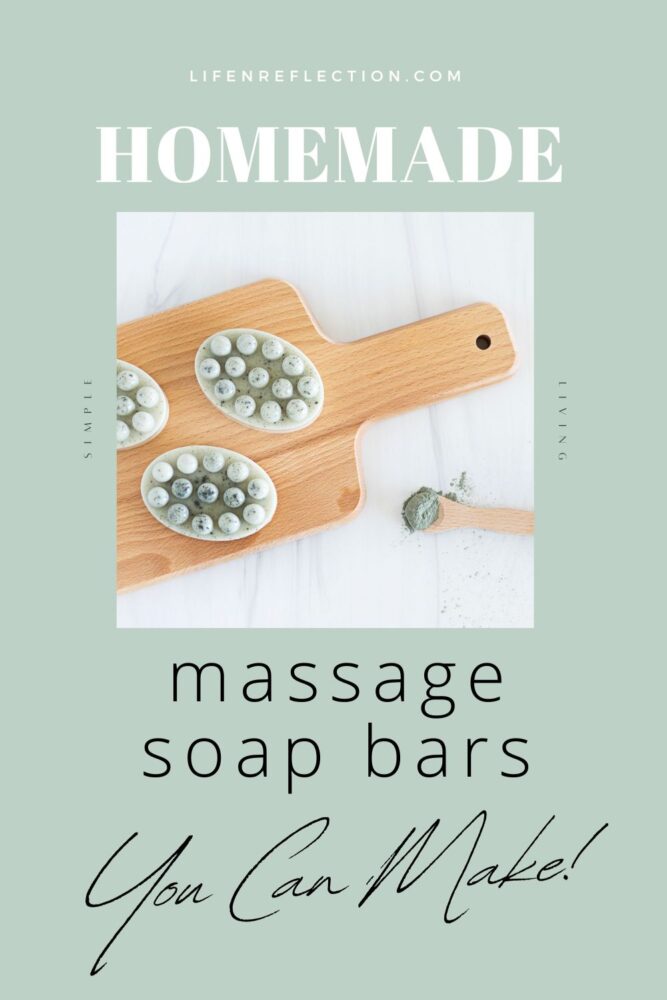
Then, I choose a silicone massage bar soap mold. What are massage soap bars? They are soap bars with large round beads that stick out from the bar. Rubbing a massage bar across the body creates a massaging sensation. (I definitely needed that, too.)
By layering the soap, I knew I could create the look of a robin’s egg nest with this unique shape!
for you
the simple living library
Join thousands of members gaining access to all past, current, and future items in the Library along with our exclusive Simple Living Weekly Edition.
Start Simplifying Today
Now, I know you’re wondering what I put in the melt and pour soap to create the blue-speckled appearance of robin eggs. I added clay!
I learned that Cambrian blue clay is as unique as a robin egg’s blue. It’s considered the world’s most valuable clay. The clay is only found in ancient deposits from 542 million years ago during the Cambrian period, a part of the Paleozoic era.
Its unique blue color comes from a combination of iron, zinc, and algae from ancient salt lakes, which is excellent for our skin. Because clay doesn’t thoroughly blend into melt and pour soap, it created the blue color and speckled appearance without any effort on my part!
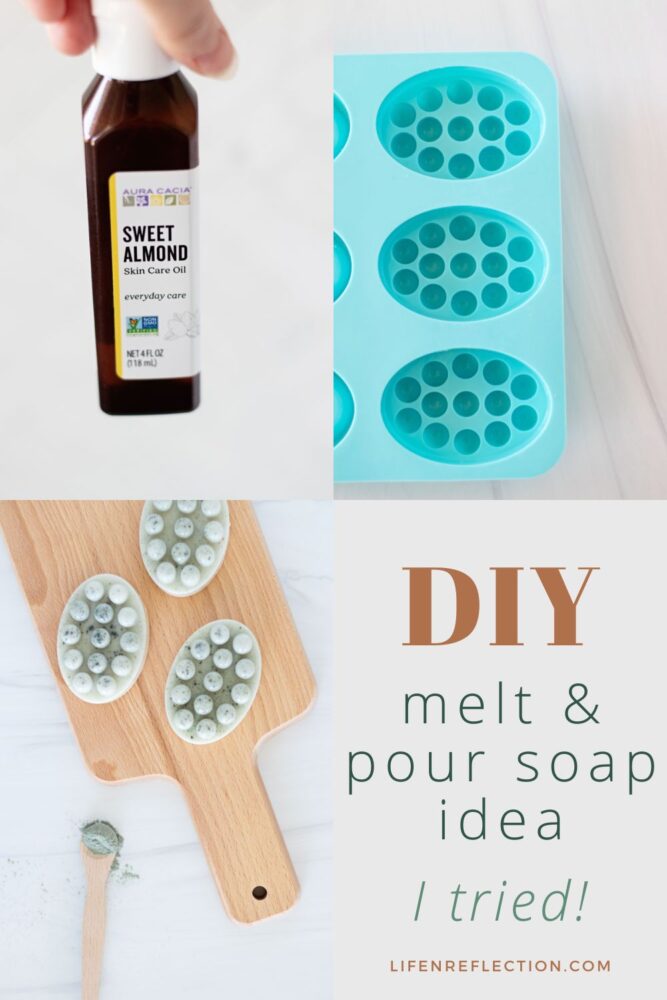
I also included earthy cedarwood essential oil and fresh spearmint essential oil for a fresh spring soap scent. Adding .25 ounces of essential oils per pound of soap for melt and pour soap recipes is best.
Now for the layers…
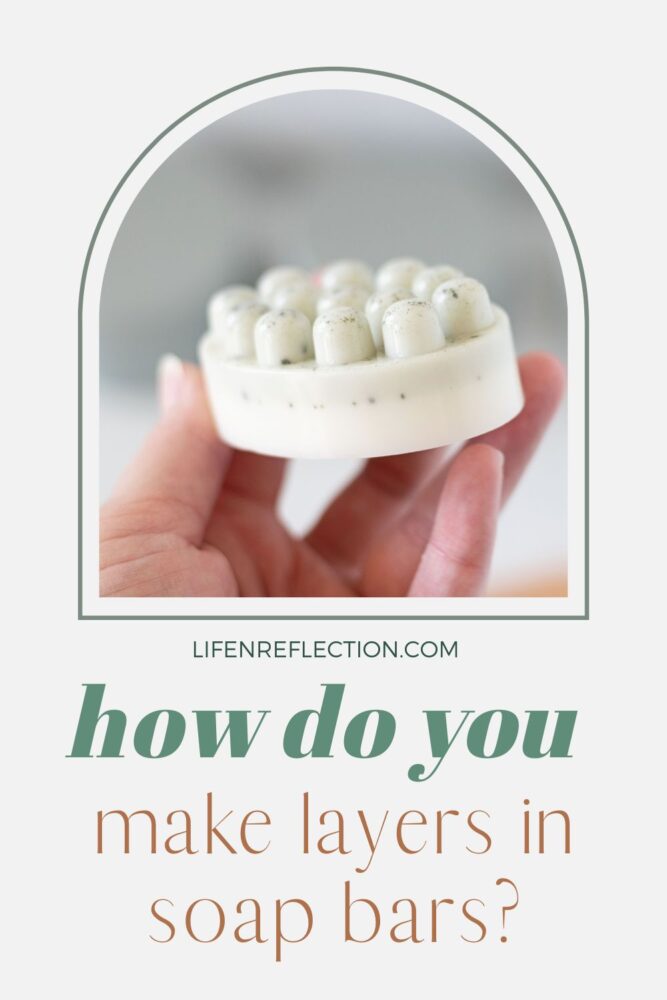
How Do You Layer Soap?
I layered the soap to create the look of a nest with the eggs on top. The answers to these questions make it easier to do than you would think.
How long to wait between layers of soap?
If you think you’ll need to wait hours before each layer of soap, you’re wrong, thankfully.
How do you keep soap layers from separating?
If you have tried layering soap before but encountered this melt-and-pour problem, follow these tips from the Soap Queen.
Ready to give layering soap a try? Follow the steps I’ve outlined below.
Find this helpful?
Share it on Pinterest
And while you’re there, be sure to follow Life-n-Reflection for more inspiring ideas.
Layering Massage Soap Bars
Gather your soap-making supplies and a few tools in your kitchen to bring this spring melt and pour soap idea to life!
If this is your first time creating soap, you may find my beginner soap-making guide helpful.
Soap Ingredients
Tools I Used

How To Make Layered Massage Soap Bars
Prep:
Prepare the silicone massage bar soap mold by cleaning, drying, and spritzing it with rubbing alcohol.
Set the soap mold aside and slice ½ pound (8 ounces) of cocoa butter soap base on a cutting board with a soap knife into 1” cubes or slices.
Melt:
For the first layer of soap, place a large glass measuring cup on a digital kitchen scale. Scoop the chopped soap into the measuring cup until you have 3 ounces.
Then, place it in the microwave and melt the soap base for two 30-second intervals, stirring intermittently to avoid burning.
Scent & Pour First Layer:
Add 1 ml of spearmint essential oil and 1 ml of cedarwood essential oil to the melted soap base and stir to blend. Then, pour the first layer of soap into 3 sections of the bottom of the soap mold, filling in the massage beads.
Apply a light spritz of 99% isopropyl alcohol to this first layer to remove air bubbles and smooth the surface.
Color, Scent, & Pour 2nd Layer:
While the first layer is beginning to set, quickly add ⅛ teaspoon Cambrian blue clay to ½ teaspoon sweet almond oil in a small glass measuring cup.
Then melt the remaining 5 ounces of the soap base for three to four 30-second intervals in the microwave.
Once melted, add the remaining 2 mls of spearmint essential oil and the clay mixture. Stir to infuse the scent and blend the color.
When a “skin” has formed on top of the first layer, apply another spritz of alcohol just before pouring the second layer to help glue the layers together.
Cure:
Now, spritz the top of this last layer with isopropyl alcohol to remove any air bubbles, as needed. (It will be the bottom of the soap bars.) Let the soap cool in the mold for one to two hours.
Once each layered soap bar has cooled and hardened, simply pop it out of the mold, and it’s ready to use!
Did you make this?
To share your creation on Instagram, mention @lifenreflection or tag #lifenreflection! What did you love most? Leave a comment below!
Suds up with this DIY massage soap bar after spring gardening to clean, moisturize, and ease muscle tension.

Layered Massage Soap Bars
Suds up with this DIY massage soap bar after spring gardening to clean, moisturize, and ease muscle tension.
Materials
- ½ pound cocoa butter soap base
- ⅛ teaspoon Cambrian blue clay
- 3 ml spearmint essential oil
- 1 ml cedarwood essential oil
- ½ teaspoon sweet almond oil
Tools
- soap knife
- silicone massage bar soap mold
- large glass measuring cup
- kitchen scale
- fine mist bottle of 99% isopropyl alcohol
Instructions
- Prepare the silicone massage bar soap mold by cleaning, drying, and spritzing it with rubbing alcohol.
- Set the soap mold aside and slice ½ pound (8 ounces) of cocoa butter soap base on a cutting board with a soap knife into 1” cubes or slices.
- For the first layer of soap, place a large glass measuring cup on a digital kitchen scale. Scoop the chopped soap into the measuring cup until you have 3 ounces.
- Then, place it in the microwave and melt the soap base for two 30-second intervals, stirring intermittently to avoid burning.
- Add 1 ml of spearmint essential oil and 1 ml of cedarwood essential oil to the melted soap base and stir to blend. Then, pour the first layer of soap into 3 sections of the bottom of the soap mold, filling in the massage beads.
- Apply a light spritz of 99% isopropyl alcohol to this first layer to remove air bubbles and smooth the surface.
- While the first layer is beginning to set, quickly add ⅛ teaspoon Cambrian blue clay to ½ teaspoon sweet almond oil in a small glass measuring cup.
- Then melt the remaining 5 ounces of the soap base for three to four 30-second intervals in the microwave.
- Once melted, add the remaining 2 mls of spearmint essential oil and the clay mixture. Stir to infuse the scent and blend the color.
- When a “skin” has formed on top of the first layer, apply another spritz of alcohol just before pouring the second layer to help glue the layers together.
- Now, spritz the top of this last layer with isopropyl alcohol to remove any air bubbles, as needed. (It will be the bottom of the soap bars.) Let the soap cool in the mold for one to two hours.
Notes
Once each layered soap bar has cooled and hardened, simply pop it out of the mold, and it’s ready to use!
Recommended Products
As an Amazon Associate and member of other affiliate programs, I earn from qualifying purchases.