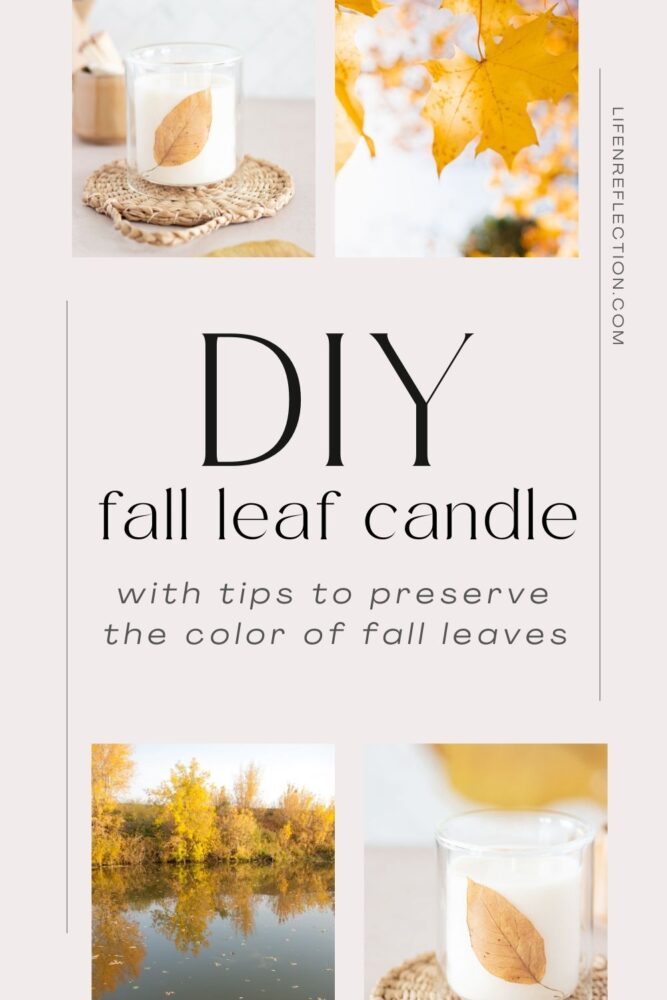
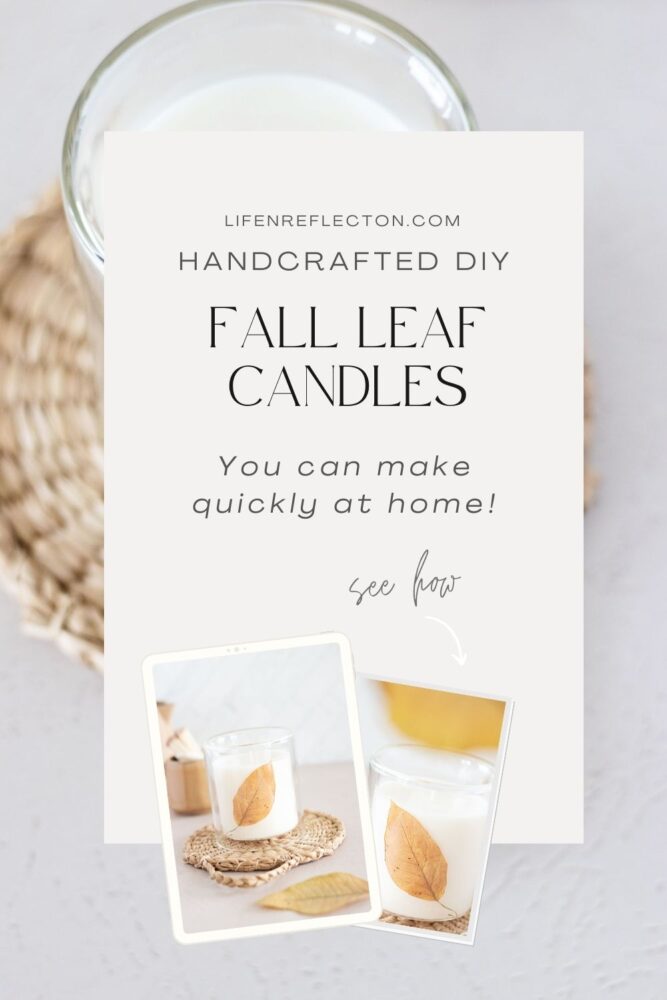
Fall Leaf Candle DIY: A Pressed Fall Leaf Craft Idea You Can Make Quickly
Try this fall leaf candle DIY to add a touch of autumn charm to your candles. It’s perfect for those looking for a quick fall leaf craft idea!
Oh, how I love autumn! The changing of the leaves always inspires me to pause, reflect, and create. Last autumn, I created eye-catching fall candle bowls with dried oranges, apples, and whole spices tucked into dreamy smooth soy wax inside white ramekins with an embossed leaf pattern. They certainly did not disappoint.
But this year, I was after a quick fall craft to use the colorful fall leaves I pressed. Now you might be questioning – can you put real leaves in candles? Not quite; that could be a fire hazard, as pressed leaves are pretty dry and flammable.
That’s why I came up with this idea to safely and quickly make a fall leaf candle. So if you’re looking for a pressed fall leaf craft idea, you’ll love this trick to add a touch of autumn charm to your candles!
I’ll guide you on where to find the best fall leaves and how to press leaves while preserving their vivid hues. Then you’ll be ready to embrace the beauty of autumn with an easy homemade fall candle using eco-friendly soy wax.
For your convenience, this post contains some affiliate links; read the full disclosure policy.
What kind of leaves are fall leaves?
Fall leaves are typically the leaves of deciduous trees that shed their leaves annually as the days grow shorter, and temperatures drop in the fall.
This leads to the combination of colorful pigments creating the vibrant hues that we associate with stunning fall foliage. These deciduous trees produce the most beautiful fall leaves:
1. Maple Tree: Known for its vibrant red, orange, and yellow leaves, maple trees are iconic symbols of autumn.
2. Oak Tree: Oak leaves turn various shades of brown, red, and russet during the fall, contributing to the seasonal beauty.
3. Birch Tree: Birch leaves often display bright yellow tones, adding a touch of warmth to fall landscapes.
4. Aspen Tree: Aspen leaves turn a brilliant golden-yellow, creating stunning golden groves in the fall.
5. Dogwood Tree: Dogwood leaves can turn shades of red, purple, and crimson, adding splashes of color to the fall scenery.
6. Sweetgum Tree: The star-shaped leaves of sweetgum trees transform into shades of red, orange, and purple.
7. Ginkgo Tree: Ginkgo leaves turn bright yellow and form a stunning carpet on the ground as they drop in the fall.
8. Red Maple Tree: As the name suggests, red maple leaves display brilliant red hues during autumn.
9. Sassafras Tree: Sassafras leaves offer a unique display of colors, including yellow, orange, and deep red.
The exact colors and timing of the foliage change can vary depending on the climate and region, but these are some of the beloved trees known for their picturesque fall leaves in America.
Related To: Best Fall Candle Scent Recipes: Printable Chart
How Do You Press And Preserve Leaves?
Preserving the vibrant colors of fall leaves is a wonderful way to cherish the beauty of the leaves you collected. Here are some effective tips on how to preserve the color of fall leaves:
Pressing:
One of the simplest methods is to press the leaves using a wooden press by placing many layers of leaves between thin drying papers and sandwiching them between the wood. Or, to press leaves quickly, use a microwave press. Either method helps flatten and dry the leaves, preserving their natural color.
Wax Paper:
Place the leaves between two sheets of wax paper and apply gentle heat with an iron on a low. The wax will help seal the color and preserve the leaves.
Mod Podge:
Applying a thin layer of Mod Podge or another clear acrylic sealer can help protect the leaves from brittleness and color fading.
Laminating:
Laminate the leaves using a laminator or self-adhesive laminating sheets for a more permanent solution. Then cut the leaves out from the laminate paper.
I used a wooden press for the leaves, but you can choose a preservation method that suits your preferences. Whether you want to create fall leaf crafts like this homemade candle or simply keep them as mementos, these tips will help you preserve the beauty of autumn for seasons to come!
Just make sure to keep the preserved leaves away from moisture and direct sunlight to prevent discoloration and decay.
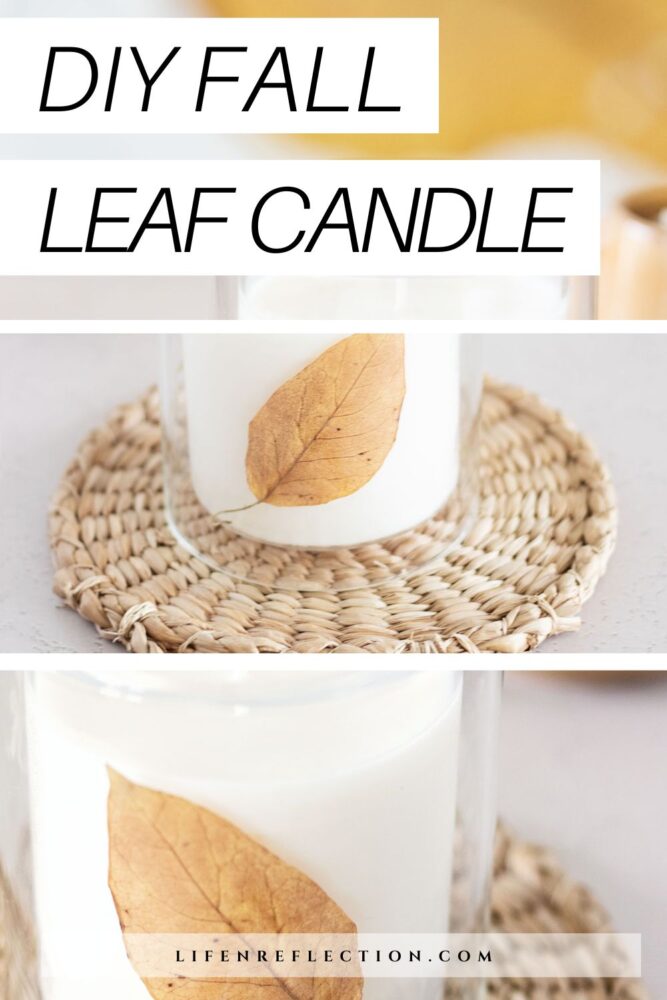
Now you can capture autumn’s essence with this easy-to-make fall leaf candle DIY!
Related To: 5 Fantastic DIY Fall Soap Recipes
The Easy Way To Make Fall Candles
Create cozy vibes with a simple fall leaf candle project easily with a translucent double-glass panel candle jar from Makesy. It allows room for pressed leaves or flowers!
(Use my code CREATEWITHKRISTY10 to save 10% off your total order at Makesy.)
You’ll fall in love with crafting when you try this pressed fall leaf craft idea to make stunning seasonal candles! However, if this is your first time making candles, you may want to check out our candle resource center or start with a beginner’s candle-making guide.
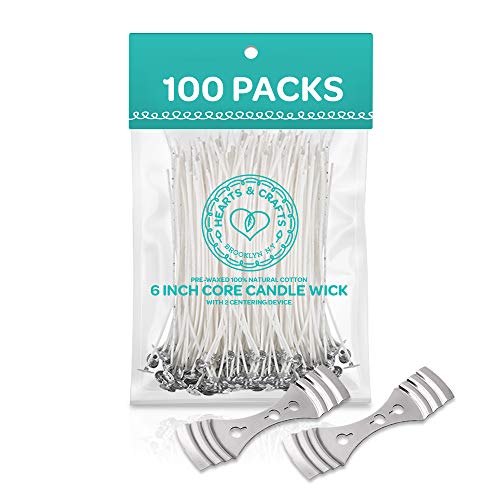
Pressed Fall Leaf Candle Supplies
2 or more pressed fall leaves
2 double glass 11-ounce candle jars
1.27 pounds soy wax
1 ½ ounces candle fragrance
2 wick centering sticks (optional)
How To Make Fall Leaf Candle Jars
1. Cover your area or line a cookie sheet with parchment or wax paper. Press the tab on the bottom of a natural cotton wick into a wick sticker tab. Then peel it off the sheet and place it centered in the base of each candle jar.
2. Place a candle melting pitcher on a kitchen scale and tap tare weight. Then pour scoops of soy wax inside it until you reach 1.27 pounds.
3. Now, place the melting pitcher filled with candle wax inside a saucepan filled with approximately 2 inches of water. Use the double boiler method to heat the wax on low up to 160°F. Use a no-touch infrared thermometer to monitor the heat of the wax. Stir the wax slowly, yet often with a heat-resistant silicone spatula.
4. Once the wax has melted, allow it to cool to 150°F before adding 1 ½ ounces of candle fragrance. (Need some ideas? Check out my fall scented candle recipes!) To thoroughly incorporate the fragrance into the slowly stir for a constant 2 minutes.
5. After incorporating the fragrance into the candle wax, monitor the wax until it cools to 115°F (if you’re using a different wax, refer to the temperature recommendation by the manufacturer). Warm the glass jars before pouring the wax for the perfect adhesion with a heat gun.
6. Then, place an optional wick centering stick over each wick to help keep them straight during the curing process. After the candles have cured for 24 hours, flip the candle jars over and slip in your pressed flowers. Turn the candles back over and trim the wicks to ¼” with a wick trimmer. Wait three to seven days before lighting a candle for a strong scent.
PRINT THE INSTRUCTIONS

Pressed Fall Leaf Candle
Try this fall leaf candle DIY to add a touch of autumn charm to your candles. It’s perfect for those looking for a quick fall leaf craft idea!
Materials
- 2 or more pressed fall leaves
- 2 double glass 11-ounce candle jars
- 1.27 pounds soy wax
- 2 cotton wicks
- 1 ½ ounces candle fragrance
- 2 wick tabs
- 2 wick centering sticks (optional)
Instructions
- Cover your area or line a cookie sheet with parchment or wax paper. Press the tab on the bottom of a natural cotton wick into a wick sticker tab. Then peel it off the sheet and place it centered in the base of each candle jar.
- Place a candle melting pitcher on a kitchen scale and tap tare weight. Then pour scoops of soy wax inside it until you reach 1.27 pounds.
- Now, place the melting pitcher filled with candle wax inside a saucepan filled with approximately 2 inches of water. Use the double boiler method to heat the wax on low up to 160°F. Use a no-touch infrared thermometer to monitor the heat of the wax. Stir the wax slowly, yet often with a heat-resistant silicone spatula.
- Once the wax has melted, allow it to cool to 150°F before adding 1 ½ ounces of candle fragrance. (Need some ideas? Check out my fall scented candle recipes!) To thoroughly incorporate the fragrance into the slowly stir for a constant 2 minutes.
- After incorporating the fragrance into the candle wax, monitor the wax until it cools to 115°F (if you’re using a different wax, refer to the temperature recommendation by the manufacturer). Warm the glass jars before pouring the wax for the perfect adhesion with a heat gun.
- Then, place an optional wick centering stick over each wick to help keep them straight during the curing process. After the candles have cured for 24 hours, flip the candle jars over and slip in your pressed flowers. Turn the candles back over and trim the wicks to ¼” with a wick trimmer.
Notes
Wait three to seven days before lighting a candle for a strong scent.
Recommended Products
As an Amazon Associate and member of other affiliate programs, I earn from qualifying purchases.


It’s your turn to get crafty this season by pressing fall leaves to make adorable DIY fall leaf candles.
YOU MAY ALSO LIKE:
- Flodesk Studio: First Look
- Wood Cutting Board Care
- Sun-Soaked Garden Beeswax Candles
- Lemon Cedar Dust Spray and Polish
- Lemon Poppy Seed Melt and Pour Soap Recipe
Save this autumn leaf candle tutorial to your fall crafts Pinterest board, and while you’re there, be sure to follow Life-n-Reflection for more inspiring ideas.
Did you know you can Tag #lifenreflection on Instagram to share yours with me?