Have you come across any of these common candle problems?
Here’s how to fix candle problems such as candle tunneling, candle wick problems, sinkholes in candles, candle flickering, and more.
Candle making is an extremely popular pastime. And if you’ve ever made a candle, you’ve likely experienced one or more of these common candle problems. I certainly have made my fair share of candle-making mistakes.
I’ve been making candles for over a decade and don’t intend to stop. DIY candles are not only creative; they are purposeful and transformative. A candle’s aroma and warm glow can calm us and lift our mood.
And each and every handmade candle can be enjoyed for months to years, depending on how often they are lit. Add to that, this satisfying hobby can make the most beautiful handmade gift. I know you love gifting candles, too!
Whether you make candles to sell or just enjoy the simplicity of candle making, I decided it was time to share 12 common candle problems with you and how to fix each candle mistake.
I know firsthand the investment and patience it requires to master a craft. This is why I created the candle troubleshooting guide I wish I had when I began making candles years ago. May it help you learn and grow your candle maker skills.
For your convenience, this post contains some affiliate links; read the full disclosure policy.
DIY Candle Making Troubleshooting: 12 Common Candle Problems
1
How do you fix a sinkhole in a candle?
Candle wax expands when it melts and naturally shrinks when it cools. Sinkholes in candles occur when the wax cools much too quickly.
And one of two things causes it – either you poured the candle wax into a cool candle container. Or you poured the candle wax too hot and didn’t allow for cooling.
When this happens, a sinkhole forms around or near the candle wick. How do you fix a sinkhole in a candle? Use a heat gun to remove the skin hole. Hold it about 6 to 8 inches away from your candle and rotate the heat gun in a circular motion to melt wax until the sinkhole is filled.
2
Unsteady candle flickering?
Candle wicks are often the last choice or even an afterthought when it comes to candle making. Often, I get caught up in choosing my candle wax type, containers, and scents and determining my fragrance load. The type of candle wicks I’ll use frequently gets decided at the last minute.
Unfortunately, this has proved to be a big mistake when you watch your perfectly scented candle flicker and pop, spiraling little sparks onto the surfaces around it!
If you light a candle and it flickers, you’ve got a problem. Typically, this means the candle wick is too long. If a wick is too long, the flame will be too big and burn too hot. Blow it out and trim it again. If the problem persists, then you’ve got the wrong-sized candlewick.

Grab my free
Candle Maker Guides
Join thousands of members gaining access to all past, current, and future items in the Library along with an exclusive Simple Living Weekly Edition!
3
Your candle smelled great before being lit but has little to no scent while burning?
The path to a strong-scented candle involves learning the difference between a cold and hot throw and how to get the best of both worlds. Most likely, you made one of these candle mistakes:
– not adding enough scent
– adding your scent at too high of a temperature
Read our guide on making scented candles, covering how to avoid these candle problems in more detail.

4
Why is your candle wick drowning?
The first, sometimes not obvious, solution to a drowning candle wick is to look closer at your candle container. Did you pour the wax above an area where the candle container shape changes? Or overfill the container, not leaving room for the wick and melt pool?
The second issue involves rethinking our candle wick choice. It’s possible the wick may be too small for the candle’s diameter. Compare your candle wick size to your container size with our printable candle wick charts in the Simple Living Library.
5
Is your candle sweating?
You’ve probably heard this term before but may not be able to recognize this candle problem.
What does candle sweating mean?
Sweating is characterized by little beads or sometimes pools of fragrance gathering on the top of a container candle or, worse – seeping out the sides of a pillar candle. So this answers the question – What happens if you put too much fragrance oil in a candle?
This used to be a candle making mistake I made frequently. One would think adding more fragrance to a candle would only help make it smell stronger. But, unfortunately, there is a delicate balance of just the right amount of fragrance needed. Use our candle fragrance load calculator to get the right amount for your homemade candles.

6
How do you remove candle wax from glass?
This is a popular question and one I’ve gotten pretty good at! We spend a lot of time and money choosing candle containers – so why not use them again?
Here are two methods for removing candle wax from glass containers:
The easiest way to remove candle wax from glass is to place it in the freezer. Remember, candle wax shrinks when it cools… So, place your glass candle container in the freezer for several hours. Even overnight is OK.
When you take it out of the freezer, the wax usually pops right out with the help of a butter knife to loosen it. Then clean the container with soap and water or place it in the dishwasher if it’s dishwasher-safe. (Have you tried my DIY zero dishwasher detergent?)
If you have several glass containers from which you want to remove candle wax, you may prefer this method:
- Using a spoon or butter knife, remove the wick and as much candle wax as possible. Then, line a deep baking pan with two layers of parchment paper. Place each candle container inside the baking pan and heat the oven to 180 degrees.
- Allow the candle wax to melt for approximately 15 minutes, checking often. After carefully removing the baking pan, place it on a heat-safe surface.
- Then, using a towel or hot pad, pour the melted candle wax into an empty glass or metal container. (A coffee tin or empty pasta jar works well.) Allow the wax to cool in the container, THEN safely discard it.
- Or pour your excess wax into an old baking sheet and dip pinecones in it to make DIY firestarters! Whatever you choose to do with the wax is fine; just don’t pour it down the drain or into a plastic garbage bag.
- After removing the melted candle wax from each container, allow for cooling. Then, clean up with soap and water or dip a cotton ball in vinegar to remove any waxy residue.
7
Why are my homemade candles tunneling?
The good news is that you didn’t do anything wrong in the candle-making process! This is one of those candle problems that happens to even the most expensive store-bought candles. It all equates to burn time.
Like burning calories at the gym, a short five-minute burn won’t leave you with great results. When lighting a candle, you need to be in it for the long haul! Candles must be burned until the wax melts across the entire diameter – from edge to edge.
Two hours is generally a good burn time. But some candles may need up to 4 hours to burn all the way across if they are really big – like a dough bowl candle. Regardless of their size, without waiting for a full burn, you can count on a tunnel forming in the wax and shortening the candle’s life.

Note: However, if you keep seeing this candle problem in your homemade candles, you may not be using a thick enough wick to form a melt pool adequately. Here’s help for choosing candle wicks.
8
Candles stuck in a mold?
This happened when I tried using vintage ornate metal baking tins as candle molds. Luckily, this is one of the few candle problems that is very easy to avoid and fix!
For starters, don’t fill molds over the fill line, and avoid pouring the wax too hot. And make sure you’re using the right candle wax for this type of candle. See my candle wax guide for choosing the correct candle wax type.
If you’re reading this now with stuck candles, place them in the fridge to shrink and contract the wax for a few hours. Then, tap them out onto a hard surface.
9
Seeing jump lines in your candles?
You’ve got a jump line if you see visible lines on the outside of your candles or through the glass of container candles. This can’t be fixed, but it can be avoided.
becoming a candle maker
Creative Candles Made Simple
If you’ve made candles before without success or always wanted to, it’s time you became the candle maker you’ve longed to be. I’m here to help you every step of the way, with 100+ pages to learn the art of candle making, refining and evolving your skills with each finished project!
10
Is fragrance settling in the bottom?
If fragrance oil is settling to the bottom of your candles, you’ve definitely got the wrong fragrance load for your wax type! Use our fragrance load calculator to determine the correct amount before you make candles.
11
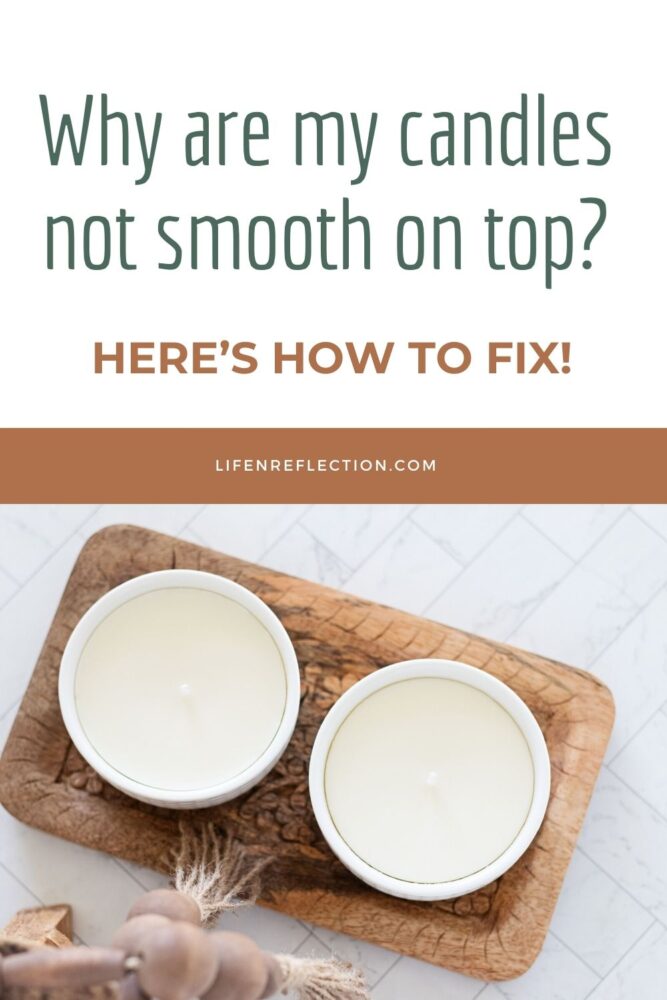
Why are my candles not smooth on top?
Uneven surfaces and bubbles are one of the most common candle problems. It frequently occurs when air escapes from the top surface of wax or water mixes with the wax.
Thankfully, there are several things you can do to prevent this. And there’s also a remedy for smoothing candle surfaces. Let’s start with preventing this candle mistake.
How do you smooth candle tops? Use a heat gun on the low heat setting. Hold it close to the area where there is a flaw. Then, move quickly back and forth over the surface of the candle. The candle wax will melt slightly and fix imperfections for a smooth candle top.
12
Wax pulling away from the container sides?
This is poor adhesion, sometimes called candle wet spots. It is most noticeable in glass containers and has the look of a wet appearance. Even though it is actually trapped air between the container and the wax.
Here’s how to fix it:
Take my word for it: candle making takes time and effort, but it’s so worth it when you enjoy the comfort of a handcrafted candle.
Find this helpful?
Share it on Pinterest
Pin these solutions to 12 common candle problems, and while you’re there, be sure to follow Life-n-Reflection for more inspiring ideas.
Learn more in my detailed Creative Candles Made Simple Book and find my tried and true candle making supplies in an all-in-one place.
You May Also Like:
Did you make this?
To share your creation on Instagram, mention @lifenreflection or tag #lifenreflection! What did you love most? Leave a comment below!
I really enjoyed your post and your blog thank you for all the information that you are providing! I cannot wait to read more!
Thanks Eliza, I’m glad you found it helpful!
How can I fix the leaching of my candles that has already been made?
Tenisha, you try heating the wax from the top with a heat gun, then poke holes in the soft and repour the top.
Hi I make Home made candels and they come out of the mould fine then a day later I pick one up and it breaks in my hand. But the candel looked fine and was sturdy when handled before . Do You know what I might be doing wrong ? Thank You
It’s hard to say when I don’t know what kind of candle mold or wax you used. I always recommend you let candles cure for a minimum of three days. But, three weeks is best.
GREAT 👏🏼Information and MORE Details 👍🏼♥️I HAVE SMELLED candles that ARE SOOO strong That burning them Gives My Husband and I A Headache 😱IGAVE THOSE AWAY 👎🏼A Subtle Scent in SOY WOULD be NICE to Try 😊Thank You ❗️And They make GREAT GIFTS 🎁 G-d♥️Bless
Thanks, Cheri, I’ve experienced the same as your husband. I imagine you’ll each enjoy a natural soy sceneted candle.
Good day
Can I mix soy-, beeswax and coconut oil together?
Can I reuse leftover oil again?
Thank you
Regards
Karen, you can definitely make your own blend of soy, beeswax, and coconut oil. I recommend keeping the coconut oil to 10% of the total wax. I’m not sure what oil you asking to reuse though.
What causes holes around the wick or wax build up around the wick.
April these are caused by a few things that are easy to change. 1st pay close attention to the melt point of your candle wax, so you don’t overheat it. And when stirring the wax or fragrance into the wax, stir very slowly like making caramel or fudge. Last, keep track of your pouring temperature, too cool or too hot can cause the issue. Look to the instruction for your wax choice, they typically have a recommended pour temperature.
To remove holes from handles you’ve already made, poke more holes in the wax. Then heat the surface of the candle with a heat gun, melting a fair layer of wax to fill in the holes and create a smooth surface.
hi. made a preety candle using a recycled jam jar . BIGGEST PROBLEM & I KNEW. NO WICK. SO DO HAVE TO START FROM STEP 1…. OR CAN I ADD IN WICK SOMEHOW??? ….
Susan, you have two options, you can start at step 1 again to create a candle with a wick, or you enjoy the candle on a candle warmer. These are designed to be used without lighting a candle wick. And some wax melt warmers double as a candle warmer.
Hi I have just started making candles , my first batch I took them out a bit to early, but they were ok but my second batch , I left longer in the molds and now I have a type of frosting ( I think ) on the out side of the candle, can you please tell me why this has happened ?
Andi, candle frosting is the formation of white crystals on the surface of a candle. More commonly found in soy wax candles, it is caused by the wax cooling at a different rate during the curing.
The good news is it does not affect the performance of a candle. And it can be avoided by heating your candle container before pouring your candle wax. I use a heat gun to do this.
I made a candle in a 2.5″ tin. not sure which wick size. It went out after a few minutes and won’t relight. does this mean I have the wrong wick size?
It can mean a lot of things. Did you trim the wick? Is your fragrance load too high? Or yes, is your wick size too thick?
Hi! I made my first Candle y it was perfect, except for the Wood whick which let black dirt over the surface. And secondly, as the wax melted it fall down. Put two togehter. May you help me? Thanks a lot
It sounds like the wood wick was likely too large in width for your candle. And – did you trim the wick before lighting? Both of these could cause a wood wick to burn fast and create a mess.
Very helpful info
I ready enjoyed & answered lots of questions in my mind
I’m wondering how can I share with you candle I made
Thank u so much
Thanks Mayada, you tag #lifenreflection on Instagram I’ll see it!
I have made 2 batches of lavender scented soy candles and both have cracks after they hardened. Im using teacups for my containers. Any suggestions?
It sounds like you’re pouring too hot into a cold container. Check the temperature of your wax and pour a lower temp. Use a heat gun to warm the tea cups before you pour the wax.