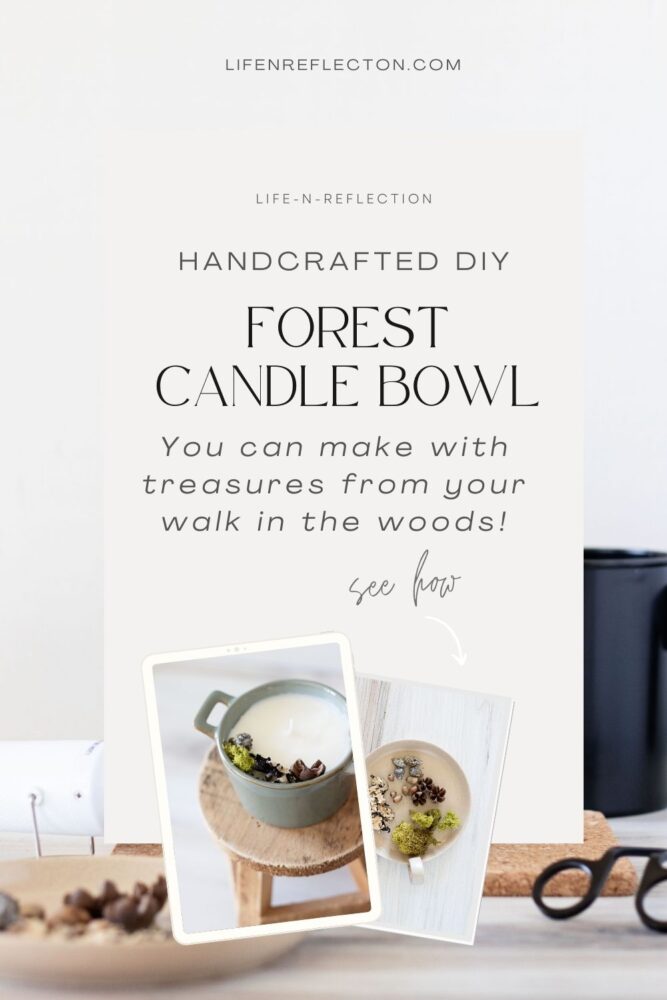
Refreshing DIY Forest Candle Bowl
This DIY forest candle bowl is the best forest scented candle I’ve ever made! It’s as refreshing as walking through a pine forest of ancient trees.
If you’ve ever experienced walking through a forest of pine trees, reaching into a clear blue, endless sky with a blanket of pine needles underfoot, then you know how incredibly refreshing it is.
And that’s why I wanted to create a forest scented candle so that I could experience, in a way, the fresh aroma enveloped in a forest canopy. It’s an outdoorsy scent that grounds you and uplifts your thoughts. You may feel frustration or stress melt away with the airy ambiance of a forest candle.
The scent of northern pine, eucalyptus leaves, and rich sandalwood in this forest candle is an excellent addition to your living room or bedside table. It’s a candle scent that invites you to unwind and breathe deeply, much like a walk in the woods.
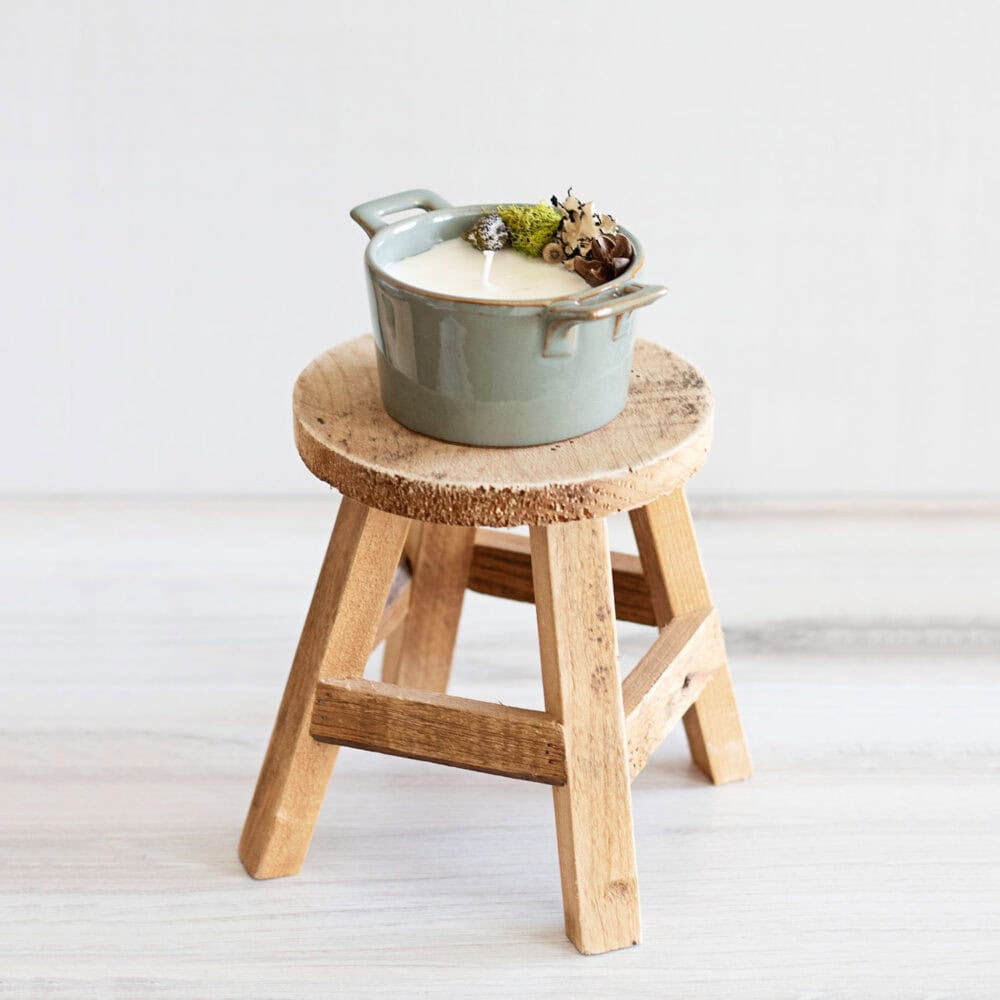
With the added touch of reindeer moss, tiny acorns, and seed pods found on the forest floor, you’ll feel like you’re in the mountains of Colorado, North Carolina, or Tennessee with ease. So, reawaken your imagination by walking through the heart of a pine forest anytime with a DIY forest candle bowl.
For your convenience, this article contains some affiliate links to easily find the supplies needed; read the full disclosure policy for more information.
How Do You Make A Forest Scented Candle?
In our modern times’ candle fragrance has become the most defining characteristic of a candle. And if you want to learn how to make scented candles at home, you must start by learning candle fragrance terms and types. As well as how to calculate how much fragrance a candle needs. You can learn everything there is to know about making scented candles in this detailed guide.
But, for this scented candle tutorial, I’ve already done the math for you. You’ll need ½ ounce total of fragrance to create a 7.8% percent fragrance load for a 9-ounce candle bowl.
You could select one scent, such as pine, or create a forest candle blend recipe as I did by combining 1 teaspoon each of pine essential oil, eucalyptus essential oil, and sandalwood essential oil.
Related To: Cozy Cabin Mug Candles
How Do You Make A Candle Bowl?
It’s really not much different than making a container candle. And if this is your first time making candles, you may want to check out our candle resource center or read my step-by-step Creative Candles Made Simple book.
The two factors that are often unique to candle bowls are adding multiple candle wicks in order to create a full melt pool when working with a large bowl. Or wicking down like I did and using only one slightly off-centered wick to avoid creating a full melt pool, so the added elements don’t catch fire.
Anytime you add elements to a candle, like dried flowers or mini acorns, like this forest candle bowl, you want to keep the candle flame out of their reach.
This candle tutorial teaches how to make a candle bowl with step-by-step instructions.
Related To: Is Your Candle Wick the Right Size?

Creating Forest Scented Candle Bowls
I have to admit this DIY forest candle bowl is the best forest scented candle I’ve ever made! It’s as refreshing as walking through a pine forest of ancient trees. I know you’re going to enjoy it too!
Candle Bowl Supplies:
1 ceramic 9-ounce bowl
.40 lb soy wax
1 teaspoon pine essential oil
1 small piece of moss
1 teaspoon eucalyptus essential oil
2 tiny acorns
1 seed pod
1 teaspoon sandalwood essential oil
1 small piece of lichen
How To Make A Forest Candle Bowl
Step 1:
Cover your area or line a cookie sheet with parchment or wax paper to place each ramekin (candle bowl) on. Press the tab on the bottom of a natural cotton wick into a wick sticker tab. Then peel it off the sheet and place it off-centered in the base of a heat-safe 9-ounce bowl.
Step 2:
Place a candle melting pitcher on a kitchen scale and tap tare weight. Then pour scoops of soy wax inside it until you reach .40 pounds.
Step 3:
Next, place the melting pitcher filled with candle wax inside a saucepan filled with approximately 2 inches of water. Use the double boiler method to heat the wax on low up to 165°F.
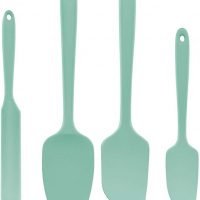
Use a no-touch infrared thermometer to keep an eye on the heat of the wax. Stir the wax slowly, yet often with a heat-resistant silicone spatula.
Step 4:
After completely melting the candle wax, turn off the heat source. When the wax is between 125°F- 135°F, add 1 teaspoon of pine essential oil, 1 teaspoon of eucalyptus essential oil, and 1 teaspoon of sandalwood essential oil. Stir the essential oils slowly into the wax for 1 to 2 minutes to thoroughly incorporate the scent.
Step 5:
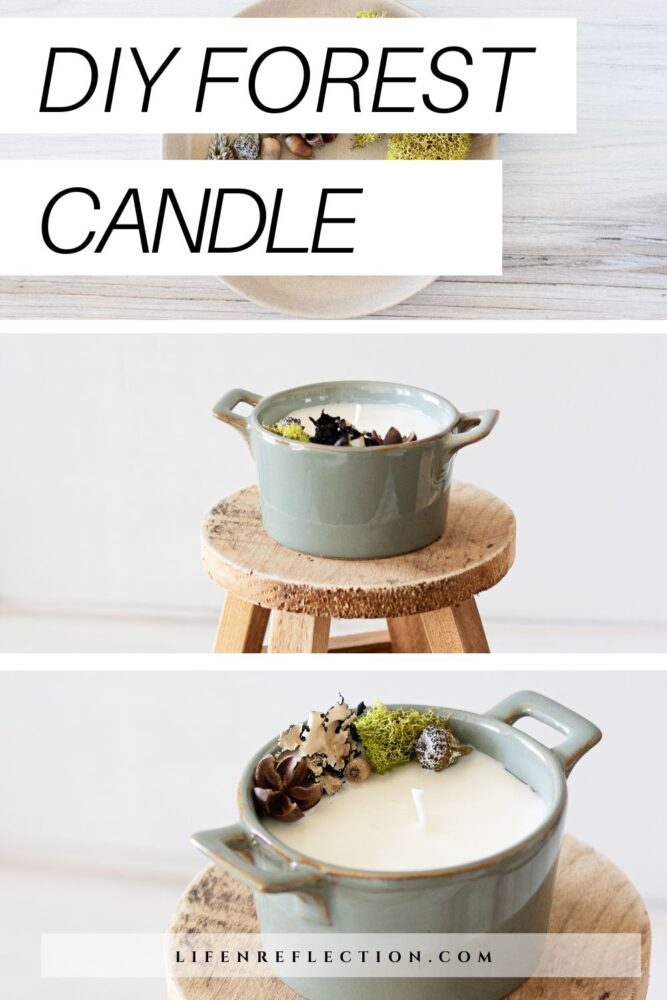
When the wax temperature lowers to 115°F, use the spout of your candle melting pitcher to fill the candle bowl about 85% full. Hold the wick upright with wick-centering bars while curing.
Step 6:
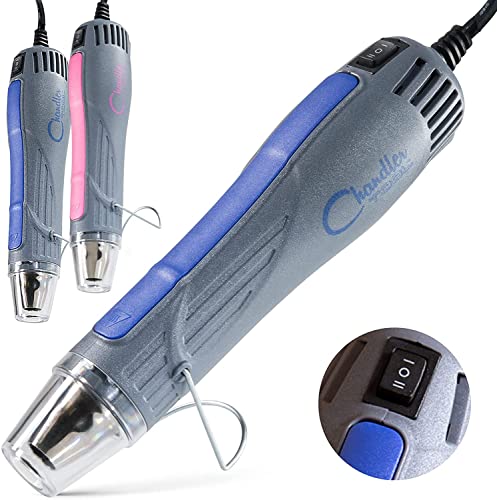
Allow the wax to harden for 30 minutes to one hour. Then remove the wick holder and use a heat gun to melt a portion of the top layer of wax.
Place 1 small piece of moss, 2 tiny acorns, 1 seed pod, and 1 small piece of lichen into the candle bowl in a crescent moon shape. This gives the wick plenty of space to burn safely.
Step 7:
Allow the candle to cure for 24 hours before trimming the wick to ¼ an inch. If you want a strong scent, wait three to five days before lighting.
Print The Instructions:

DIY Forest Candle Bowl
This DIY forest candle bowl is the best forest-scented candle I’ve ever made! It’s as refreshing as walking through a pine forest of ancient trees.
Materials
- 1 ceramic 9-ounce bowl
- .40 lb soy wax
- 1 cotton candle wick
- 1 wick sticker tab
- 1 teaspoon pine essential oil
- 1 small piece of moss
- 1 teaspoon eucalyptus essential oil
- 2 tiny acorns
- 1 seed pod
- 1 teaspoon sandalwood essential oil
- 1 small piece of lichen
Tools
- candle melting pitcher
- no-touch thermometer
- heat gun
Instructions
- Cover your area or line a cookie sheet with parchment or wax paper to place each ramekin (candle bowl) on. Press the tab on the bottom of a natural cotton wick into a wick sticker tab. Then peel it off the sheet and place it off-centered in the base of a heat-safe 9-ounce bowl.
- Place a candle melting pitcher on a kitchen scale and tap tare weight. Then pour scoops of soy wax inside it until you reach .40 pounds.
- Next, place the melting pitcher filled with candle wax inside a saucepan filled with approximately 2 inches of water. Use the double boiler method to heat the wax on low up to 165°F. Use a no-touch infrared thermometer to keep an eye on the heat of the wax. Stir the wax slowly, yet often with a heat-resistant silicone spatula.
- After completely melting the candle wax, turn off the heat source. When the wax is between 125°F- 135°F, add 1 teaspoon of pine essential oil, 1 teaspoon of eucalyptus essential oil, and 1 teaspoon of sandalwood essential oil. Stir the essential oils slowly into the wax for 1 to 2 minutes to thoroughly incorporate the scent.
- When the wax temperature lowers to 115°F, use the spout of your candle melting pitcher to fill the candle bowl about 85% full. Hold the wick upright with wick-centering bars while curing.
- Allow the wax to harden for 30 minutes to one hour. Then remove the wick holder and use a heat gun to melt a portion of the top layer of wax. Place 1 small piece of moss, 2 tiny acorns, 1 seed pod, and 1 small piece of lichen into the candle bowl in a crescent moon shape. This gives the wick plenty of space to burn safely.
Notes
Allow the candle to cure for 24 hours before trimming the wick to ¼ an inch. If you want a strong scent, wait three to five days before lighting.
Recommended Products
As an Amazon Associate and member of other affiliate programs, I earn from qualifying purchases.


Now you can let the fragrant scent of eucalyptus, pine, and sandalwood wrap around you like a forest of trees with this DIY forest candle bowl. Unwind after a big day or find your zen during the work week with candlelight.
YOU MAY ALSO LIKE:
- Sun-Soaked Garden Beeswax Candles
- Lemon Cedar Dust Spray and Polish
- Lemon Poppy Seed Melt and Pour Soap Recipe
- DIY Gardeners Hand Scrub Recipe
- Herbal Homemade Scouring Powder
Save this forest scented candle bowl tutorial to your candle making Pinterest board, and while you’re there, be sure to follow Life-n-Reflection for more inspiring ideas.
Did you know you can Tag #lifenreflection on Instagram to share yours with me?