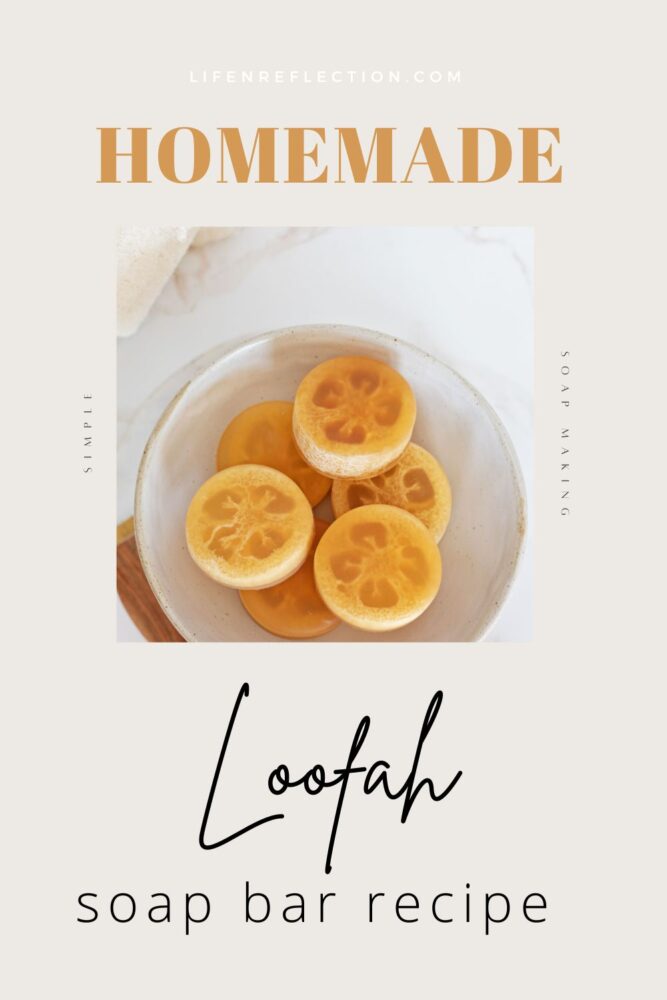
How To Make Loofah Soap: Easy Loofah Soap Bar Recipe
How to make loofah soap with an easy loofah soap bar recipe using a natural loofah sponge. And find out why loofah soap is good for the skin!
If you’ve ever used a loofah sponge, then you know they are a great way to exfoliate the skin and wash the dishes without the use of plastic. A big plus for those of us trying to live a more sustainable lifestyle. Well, I happily discovered you could make soap with a loofah sponge to cleanse and exfoliate at the same time!
I’ll show you how to make loofah soap with an easy melt and pour soap recipe, including step-by-step instructions and photos from start to finish. So, you can whip up these homemade loofah soap bars with ease.
Like my homemade merlot wine soap infused with real wine, these loofah soap bars are made with the real deal and are just as wonderfully unique! I love that you can see the loofah sponge inside the soap and the creamy extra-foaming lather is so soothing.
Your skin will feel clean, smooth, and refreshed, too, when you make a batch of these unique DIY loofah soap bars! All because they are made with natural ingredients to cleanse, exfoliate, and moisturize.
Ready to learn more?
This article contains some affiliate links to help you easily find the supplies needed. I appreciate your support, please read the full disclosure policy for more information.
What is a loofah?
You might be as surprised as I was when I found out what loofah is made of. Loofah is a fast-growing plant belonging to the cucumber family, not an organism that lives in the sea. They have no relation to sea sponges!
And like the tomato, there’s a heated discussion on whether it’s a fruit or vegetable. It’s derived from vines of the genus Luffa, belonging to the gourd family. Shocking right?
When the plant is picked, it looks like a cucumber’s sister. The loofah is dried and peeled, removing the outer layer. Then the seeds are removed, and it is washed and dried again before it is ready to use.
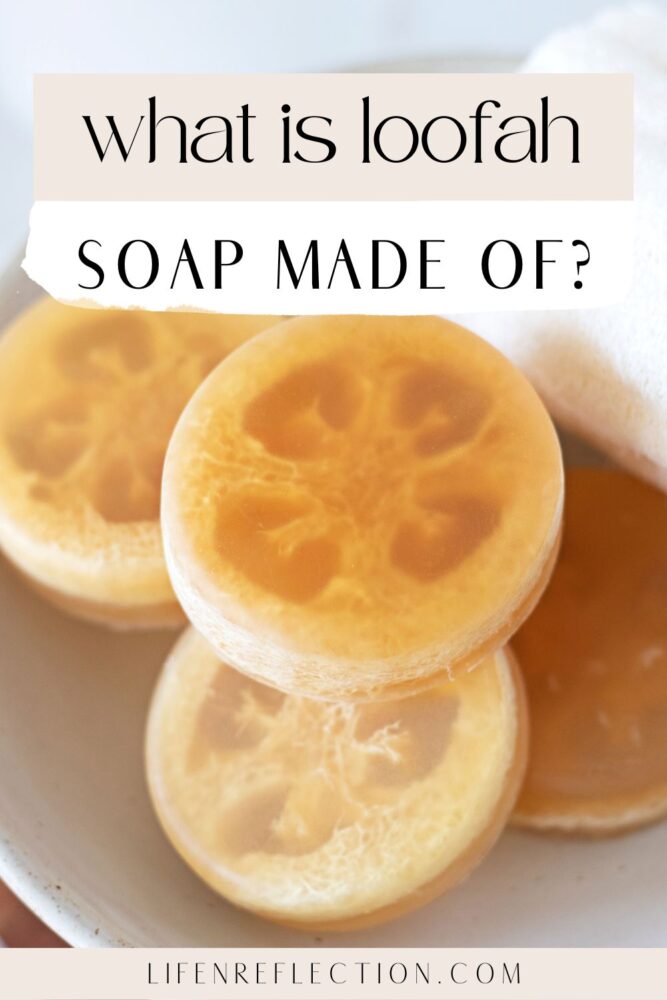
What is loofah soap made out of?
Loofah soap is made out of 100% natural loofah sponges. The fibrous material inside the plant is firm but flexible, especially when wet. The fibers are perfect for scrubbing, cleaning, and exfoliating the skin!
And my green living heart is pleased to know loofah sponges are biodegradable and compostable.
I also found that each loofah sponge can make 9 to 10 soap bars! So this DIY soap project is easy on the budget.
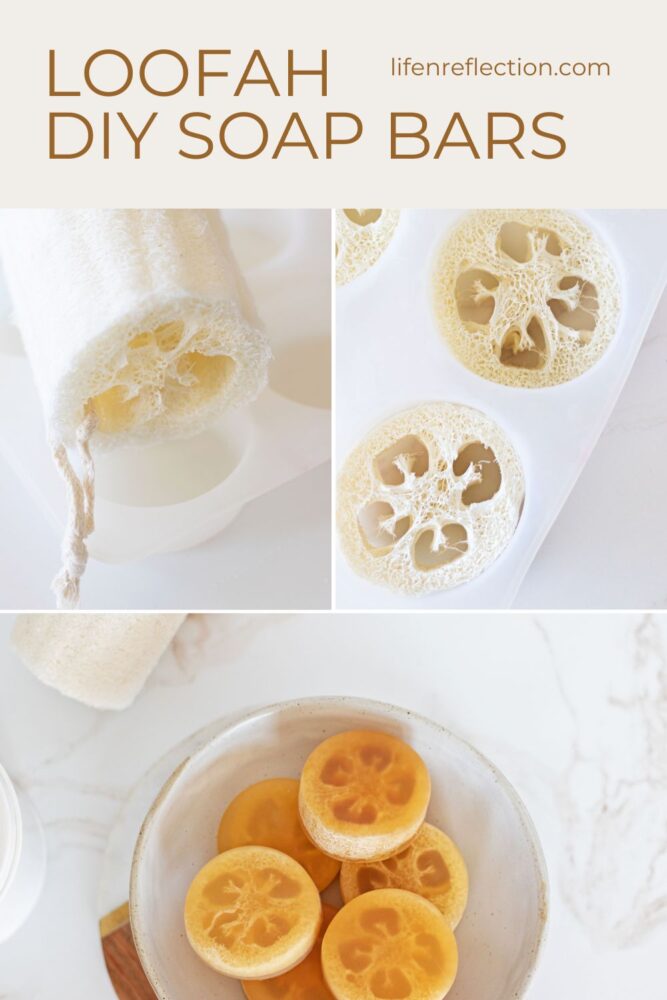
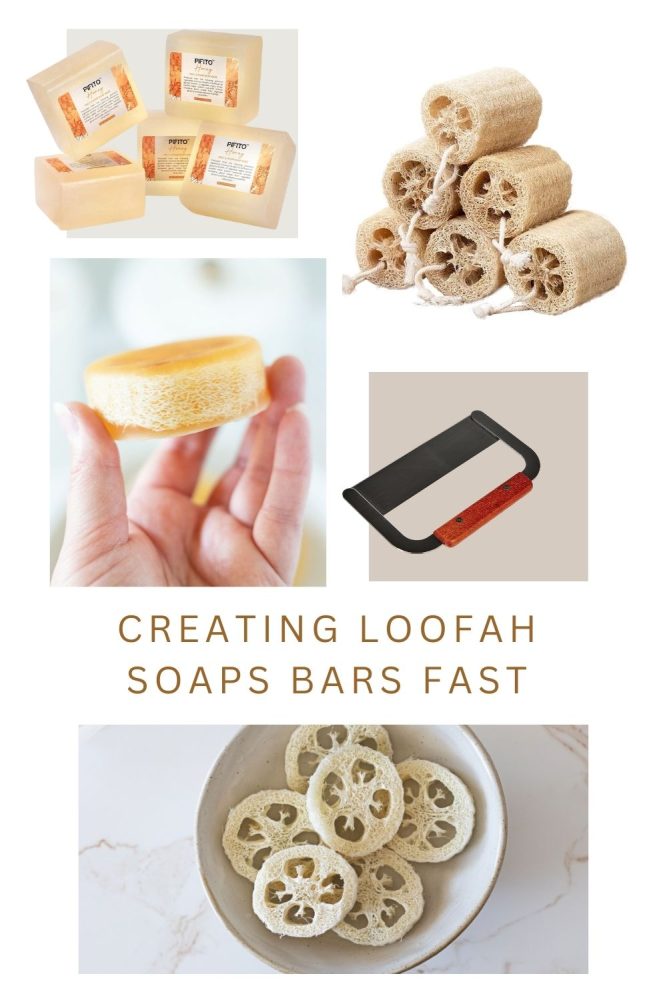
Loofah sponges generally come flattened to cut down on shipping costs and waste. All it takes is a splash of water to spring them back to life into the round shape we know!
Then they are ready to cut into slices for soap making. You can also buy loofah pre-sliced if you want to skip this step.
Keep in mind, that loofah sponges can vary in size, so you’ll want to ensure your soap mold is wide enough to fit a loofah inside each cavity. This round silicone mold is made for DIY loofah soap! But if you have trouble, you can pretty much, just squeeze the sponges to fit inside your soap mold.
How To Make Loofah Soap Fast?
Once you have your loofah sponges ready, all you need is a melt and pour soap base to make it quickly. You can choose from goat milk, shea butter, and other types of melt and pour soap bases. Each type has already gone through the saponification process, so you don’t have to mix lye and oil or butter or any of that slow cold process soap stuff. Ha Ha!
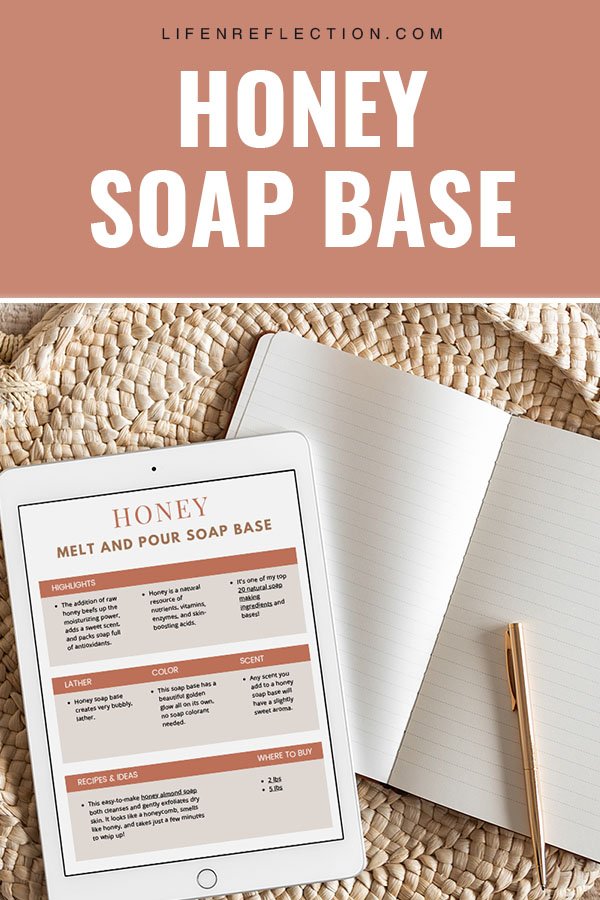
I chose a honey soap base that beefs up moisturization, introduces antioxidants and vitamins to the skin, and has a beautiful golden transparent appearance allowing the loofah to show.
for you
the simple living library
Learn more about honey soap with printable soap-making guides for each soap base type in the Simple Living Library. Join thousands of members to gain access to all past, current, and future items, along with our exclusive Simple Living Weekly Edition.
Related To: Which Soap Base Is Best For Your Project?
Loofah Soap Benefits
Are you wondering if loofah soap is good for the skin? Here’s what I’ve learned and experienced using a loofah soap bar.
All those fibers inside a loofah create a mesh-like texture that increases the foam of a soap bar and does several things for our skin, such as:
- Exfoliating dead skin cells
- Improving circulation
- Stimulating cell turnover – goodbye dull skin
- Offering dry skin relief
- Smoothing skin until it’s noticeably softer
Exfoliating your skin makes you feel like a new person, and these loofah soap bars make it so easy! Your skin will feel soft, silky, and refreshed after every use.
And you gotta love that they are super simple to make with a honey melt and pour soap base. The honey adds a deep moisturizing effect and a boost of good-for-you ingredients. Together loofah and honey naturally exfoliate, cleanse, and brighten the skin for a healthy glow with this loofah soap recipe.
Related To: 20 Melt and Pour Soap Recipes
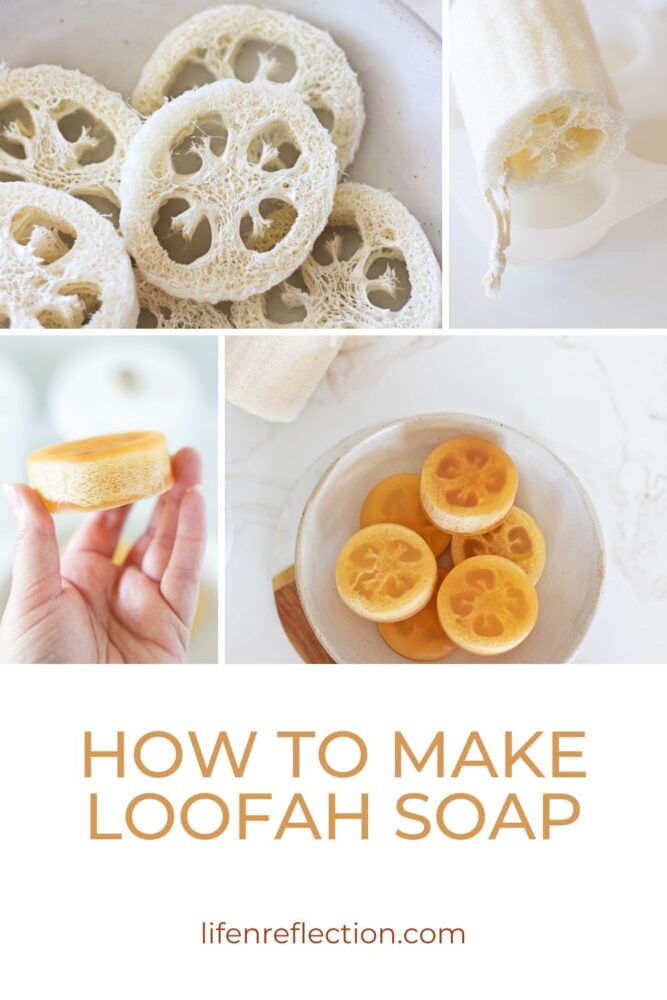
Here’s How To Make Loofah Soap Bars
This loofah soap bar recipe shows you how to make loofah soap bars to exfoliate with ease. They are unique but quite easy to make. Once you have all the supplies, you can make these soaps using a natural loofah sponge.
If you’ve never made soap before, check out my soap making beginner guide for several tips and techniques.
shop the supplies
Find Everything You Need!
And while you’re there, be sure to follow my storefront for more inspiring ideas.
Loofah Soap Ingredients:
15 ml skin-safe soap fragrance or essential oil
1 pound honey melt and pour soap base
Loofah Soap Bar Recipe:
If your loofah sponge is flat, place it in a bowl and pour a splash of water on it. (I was amazed at how fast they “grow” into the perfect loofah sponge shape.)
Pull the sponge out of the bowl and place it on a cutting board. Slice into 1-inch slices (which is about the width of your thumb). A serrated knife, like a bread knife, works well, and I found the sponges were easier to cut when damp. Keep in mind you can also buy loofah pre-sliced to skip this step.
After slicing, lay the slices out to dry on the tea towel. We don’t want to introduce any water into the soap. Then prepare a round silicone soap mold by cleaning, drying, and spritzing it with rubbing alcohol.
Once dry, place one slice of the loofah sponge into each well of the silicone mold. Thankfully, loofahs are spongy, go-figure, so you can give them a squeeze to fit them into the soap mold. I used one sponge to make six soap bars and had slices left.
And just when you think the slicing is done, return to the cutting board and slice 1 pound of a honey melt and pour soap base with a soap knife into ½” to 1” cubes.
Scoop the soap cubes into a large glass measuring cup. Place it in the microwave and melt the soap base in 30-second intervals, stirring intermittently to avoid burning for approximately 1 to 2 minutes total.
Then promptly remove the melted soap base from the microwave and add 15 ml of skin-safe soap fragrance or essential oil. I used this heavenly Manuka Milk and Bergamot Honey soap fragrance from Makesy. Whisk the fragrance into the soap mixture. Then carefully pour over six loofah sponges into the soap mold.
Notes:
- Spritz the top of each soap with isopropyl alcohol to remove any air bubbles, as needed.
- Allow the soap to cool in the mold for one to two hours or until solid before removing the soap bars.
Did you make this?
To share your creation on Instagram, mention @lifenreflection or tag #lifenreflection! What did you love most? Leave a comment below!

Easy Loofah Soap Bar Recipe
How to make loofah soap with an easy loofah soap bar recipe using a natural loofah sponge. And find out why loofah soap is good for the skin!
Materials
- 1 loofah sponge sliced
- 15 ml skin-safe soap fragrance
- 1 lb honey soap base
Tools
- Round silicone soap mold
- soap knife
- large glass measuring cup
Instructions
- If your loofah sponge is flat, place it in a bowl and pour a splash of water on it. (I was amazed at how fast they “grow” into the perfect loofah sponge shape.)
- Pull the sponge out of the bowl and place it on a cutting board. Slice into 1-inch slices (which is about the width of your thumb). A serrated knife, like a bread knife, works well, and I found the sponges were easier to cut when damp. Keep in mind you can also buy loofah pre-sliced to skip this step.
- After slicing, lay the slices out to dry on the tea towel. We don’t want to introduce any water into the soap.
- Prepare a round silicone soap mold by cleaning, drying, and spritzing it with rubbing alcohol.
- Once dry, place one slice of the loofah sponge into each well of the silicone mold. Thankfully, loofah is spongy, go-figure, so you can squeeze them to fit them into the soap mold. I used one sponge to make six soap bars and had slices left.
- And just when you think the slicing is done, return to the cutting board and slice 1 pound of a honey melt and pour soap base with a soap knife into ½” to 1” cubes.
- Scoop the soap cubes into a large glass measuring cup. Place it in the microwave and melt the soap base in 30-second intervals, stirring intermittently to avoid burning for approximately 1 to 2 minutes total.
- Then promptly remove the melted soap base from the microwave and add 15 ml of skin-safe soap fragrance or essential oil. (I used this heavenly Manuka Milk and Bergamot Honey soap fragrance from Makesy.) Whisk the fragrance into the soap mixture. Then carefully pour over six loofah sponges into the soap mold.
Notes
- Spritz the top of each soap with isopropyl alcohol to remove any air bubbles, as needed.
- Allow the soap to cool in the mold for one to two hours or until solid before removing the soap bars.
Recommended Products
As an Amazon Associate and member of other affiliate programs, I earn from qualifying purchases.


Find this helpful?
Share it on Pinterest
And while you’re there, be sure to follow Life-n-Reflection for more inspiring ideas.
I do love a good soap bar, and these homemade loofah soaps are a highly effective skin exfoliant infused with honey for deep moisturization.
Honestly, each bar is quite a treat for dry skin, but everyone loves these soaps! Probably because they’re pretty enough to serve as decoration and really do make a beautiful gift.
I grow loofah here in South Carolina. Stumbled across your blog and got inspired! What a hit!
Thank you.
That’s awesome!! You’re going to love this soap, Lisa.