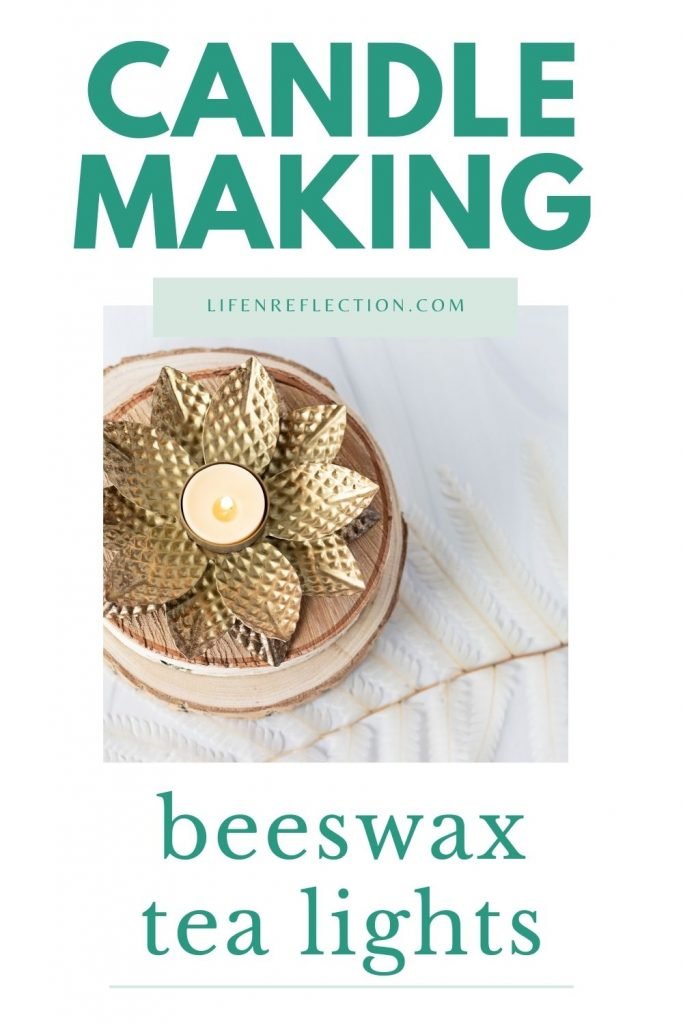
Long-Lasting DIY Beeswax Tea Light Candles
How to make DIY beeswax tea light candles at home with a long-lasting burn, golden color, and sweet honey smell.
These DIY beeswax tea light candles have been a long time coming!
Turns out they are much easier to make than I thought.
I have always adored the look of tea light candles. Scattered across a floor sprinkled with flower petals or lining the windowsills and bathtub ledges reflecting the light in the tile, glass, or water. Does it get any dreamier than that?
Who wouldn’t love to be greeted by such a treat on a special occasion or after a long day?
Tea light candles have it all!
But not all tea lights are created equal. Happily, I learned to make long-lasting tea light candles at home, and now you can too.
For your convenience, this post contains some affiliate links; read the full disclosure policy.
How do you make tea light candles at home?
Tea light candles are fairly easy to make at home, and the result is truly beautiful. The process is very similar to making scented beeswax candles but has a few key differences.
The first begins with candle wax. As I mentioned, not all tea lights are created equal. Unfortunately, the majority are made with cheap paraffin wax that creates unpleasant smoke, to say the least. And typically burn out in 1 to 1.5 hours. That may be plenty long enough to relax in a bath soak, but is it worth your time, effort, and candle supplies to make a candle that lasts such a short time?
Not in my opinion, which is one reason why I choose a blend of yellow beeswax pastilles and coconut oil to make tea light candles. Combined, they create a soft yellow color, a subtle sweet honey scent, and a long-lasting burn.
Related To: What’s The Best Candle Wax Type
Related To: DIY Beeswax Candle Melts
How long do tea lights last?
How long tea lights last primarily depends on the type of wax used to make the tea light.
Beeswax candles are naturally long-burning without the addition of hardeners. This is unlike paraffin wax, which burns very quickly.
These DIY tea light candles made from a blend of coconut oil and beeswax have a burn time of 4 to 5 hours. That is an incredible difference compared to the 1 to 1.5 hours of a paraffin tea light.

Is beeswax good for candle making? And why add coconut oil to beeswax candles?
I’ve heard these questions before, and yes, beeswax is one of the best candle wax types. With a smokeless burn, a soft texture that burns more evenly, and a noticeably longer burn time – it is preferred by many for candle-making.
And it doesn’t matter which type of beeswax you choose. Yellow beeswax blocks and pastilles, as well as white beeswax, share the same qualities. But, in my experience, the pastilles are much easier to work with.
Coconut oil helps beeswax burn more slowly and consistently, avoiding candle problems like tunneling. Combining the two creates a premium tea light that lasts up to 4 times as long as a standard store-bought tealight!
If you want more guidance on choosing and blending candle wax, check out my candle wax guide. And don’t miss our tips on measuring candle wax for your homemade candles.
Quickly grasp the benefits of each candle wax type with our Candle Wax Swipe File in the Simple Living Library.

I’ll admit beeswax candles do cost more to make than paraffin candles. But, when you look at the cost per hour of burn time, it definitely pans out.
All things considered, I’m pretty obsessed with these DIY beeswax tea light candles!
The blend of coconut and beeswax works perfectly when poured into a mini silicone muffin pan to make tealights. Once the wax has cured, it pops out of the mold without cracking. You can also use glass tea light holders.
Another key difference between making container beeswax candles and beeswax tea light candles is fragrance. On such a small scale, it can be difficult to add fragrance. Too much fragrance in candles leads to a whole host of candle problems. Candle flickering, sparks, and candle sweating, to name a few.
So, it’s great to have a smokeless candle and a subtle honey scent from the beeswax when it comes to these DIY tea lights.

How do you make beeswax tea lights?
In a reasonably short time and at a considerably less cost than making container or pillar candles, these homemade beeswax tea lights are as adorable as they are affordable. You can make up to 20 tea lights with less than a pound of wax. You’ll be able to set the mood for a romantic dinner or the ultimate bath soak in no time!
Tea Light Candle Supplies:

1 ½ inch mini muffin silicone mold
1/2 lb beeswax pastilles
16 to 20 tea light candle wicks (1 ½ inch)
16 to 20 glue dots
¼ cup coconut oil
Makes 16 to 20 tealights
How to Make Beeswax Tea Light Candles
Step 1. Press a tea light candle wick into a glue dot on the roll. Then, place it into the center base of one silicone mold cavity. (Alternatively, you can use glass tea light holders.) Repeat until you have prepared 16 to 20 tea light wicks in place.
Step 2. Use a kitchen scale to measure 1/2 lb beeswax pastilles. Pour it into a candle melting pitcher. Place the beeswax-filled pitcher inside a saucepan filled with about 2 inches of water. Using the double boiler method, heat on low heat with a gentle simmer at most. Do not heat the wax above 170°F, as this may brown the wax. Stir slowly, yet often, with a heat-resistant silicone spatula.
Step 3. Remove the pitcher from the heat immediately after melting. Scoop ¼ cup of coconut oil into the melted wax and stir until blended. Check the mixture’s temperature with a quick infrared thermometer or a candle thermometer. The best temperature to pour beeswax is 150-160°F. The wax will still be liquid but cool enough to coat the sides of your pouring pitcher.
Step 4. Carefully pour the wax into each cavity of the mold. I recommend using a funnel or a narrow pouring pitcher like this one to help avoid spills. It is helpful to line your work area with old newspaper or parchment paper to catch any drips or overpours.
Notes:
Allow the wax to cool and harden for a few hours before removing it from the mold. You won’t need to trim these wicks as they are sized for tea lights. And without the addition of fragrance, you can light one of these candles after curing.
For clean-up, place your candle pitcher back in the double boiler and allow the wax to melt a bit more. Then, remove it from the double boiler and wipe the excess wax away with an old cloth or paper towel. Beeswax can be tough to clean up, and that’s putting it lightly. This is why I have a second candle melting pitcher for making beeswax candles, lip balms, beeswax sachets, solid perfume, and everything else my heart desires.
GRAB THE PRINTABLE RECIPE HERE

DIY Beeswax Tea Light Candles
How to make beeswax tea light candles at home with a long-lasting burn, golden color, and sweet honey smell.
Materials
- 1/2 lb beeswax pastilles
- 12 tea light candle wicks (1 ½ inch)
- 12 glue dots
- ¼ cup coconut oil
Tools
- 1 ½ inch mini muffin silicone mold
- kitchen scale
- candle melting pitcher
- silicone spatula
- infrared thermometer
Instructions
- Press a tea light candle wick into a glue dot on the roll. Then, place it into the center base of one cavity of the silicone mold. (Alternatively, you can use glass tea light holders.) Repeat until you have prepared 16 to 20 tea light wicks in place.
- Use a kitchen scale to measure 1/2 lb beeswax pastilles. Pour it into a candle melting pitcher. Place the beeswax-filled pitcher inside a saucepan filled with about 2 inches of water. Using the double boiler method, heat on low heat with a gentle simmer at most. Do not heat the wax above 170°F, as this may brown the wax. Stir slowly, yet often, with a heat-resistant silicone spatula.
- Remove the pitcher from the heat immediately after melting. Scoop ¼ cup of coconut oil into the melted wax and stir until blended. Check the temperature of the mixture with a quick infrared thermometer or a candle thermometer. The best temperature to pour beeswax is 150-160°F. The wax will still be liquid but cool enough to coat the sides of your pouring pitcher.
- Carefully pour the wax into each cavity of the mold. I recommend using a funnel or a narrow pouring pitcher like this one to help avoid spills. It is helpful to line your work area with old newspaper or parchment paper to catch any drips or overpours.
Notes
Allow the wax to cool and harden for a few hours before removing it from the mold. You won’t need to trim these wicks as they are sized for tea lights. And without the addition of fragrance, you can light one of these candles after curing.
For clean-up, place your candle pitcher back in the double boiler and allow the wax to melt a bit more. Then remove it from the double boiler and wipe excess wax away with an old cloth or paper towel. Beeswax can be tough to clean up and that’s putting it lightly. This is why I have a second candle melting pitcher for making beeswax candles, lip balm, beeswax sachets, solid perfume, and everything else my heart desires.
Recommended Products
As an Amazon Associate and member of other affiliate programs, I earn from qualifying purchases.


YOU MAY ALSO LIKE:

I have to say beeswax tea light candles were WAY easier to make than I expected! I know I’ll be making these again soon. Who can resist the natural sweet fragrance of honey and the long, slow burn? Spread them down the dinner table or around your bathtub to enjoy the warmth of beeswax.
Pin these simple 4 steps to make beeswax tea light candles at home. Tag #lifenreflection on Instagram to share your candle making with us.
Hi,
Great article. I have some heart shaped hard plastic tea candle molds. Can I make them in these and just leave them in there?
Thanks!
I imagine you could
Do you measure the coconut oil when it’s solid or liquid? (Or maybe that amounts to the same… I’ve never tested it before, but I always wonder!)
I measure it when solid.