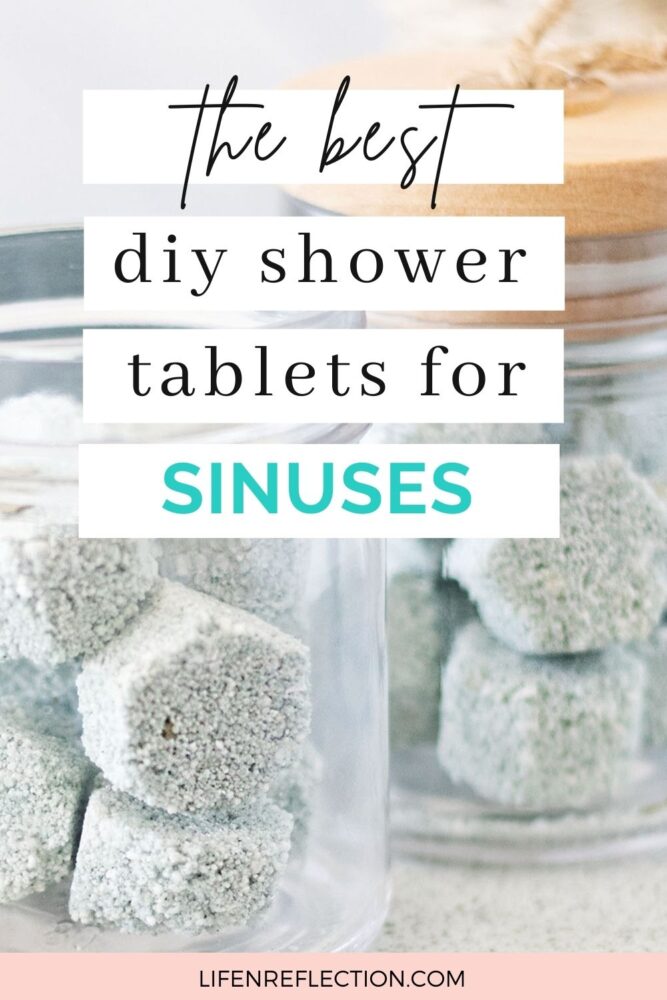
DIY Sinus Shower Tablets For Congestion Relief
DIY sinus shower tablets for congestion relief. Made with all-natural ingredients, these vapor shower tablets will steam away your sniffles!
I can name many reasons I look forward to this time of year when everything is fresh and new. Spring prompts us to plant new things in the garden and bring the outdoors in again. I am all too happy to bring the first blooms of spring redbud, dogwood, and pear tree flowering branches indoors.
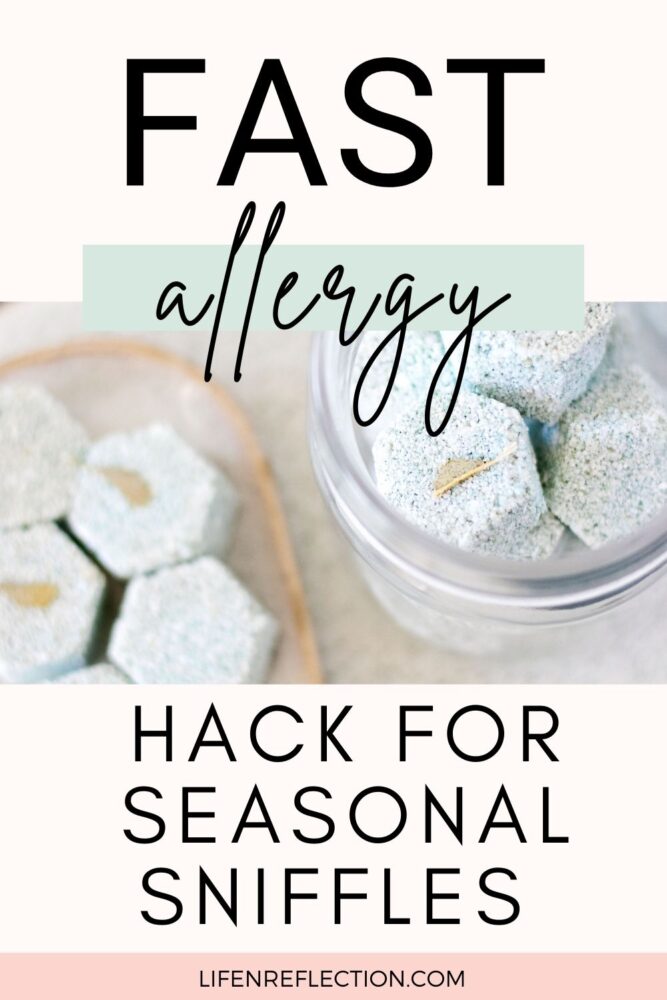
But, the one thing I don’t look forward to is the seasonal allergies that come with it all that blooming.
A sniffle here, a sneeze there, and before you know it, your eyes are itchy, and your throat has a tickle. Yep, it’s springtime!
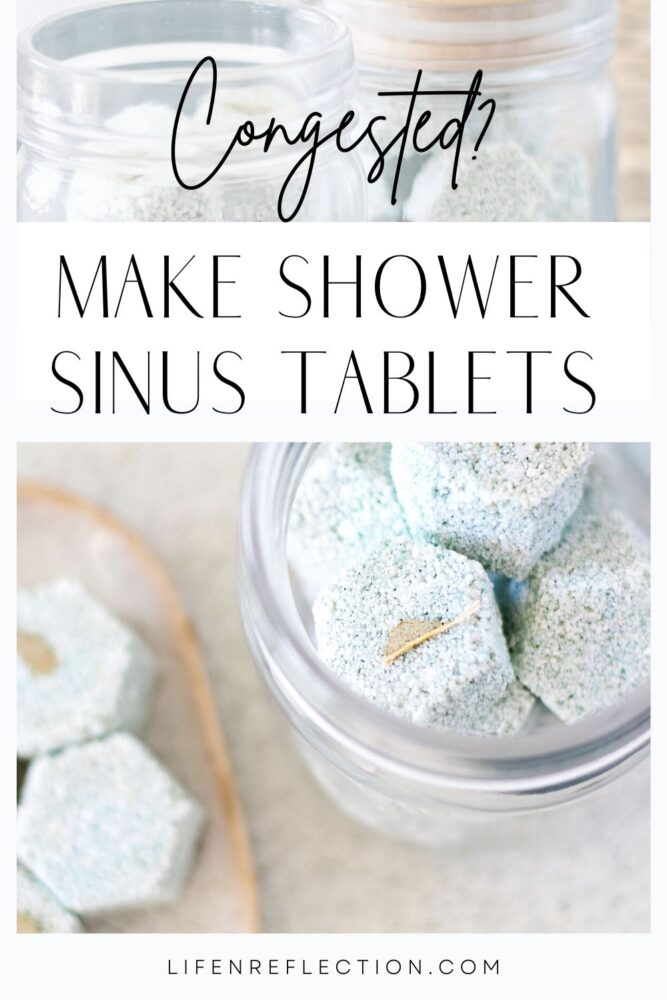
This is where DIY sinus shower tablets for congestion relief come in. Don’t let seasonal allergies keep you from enjoying what you love most about spring. Just as an old-fashioned oatmeal bath is our go-to for itchy skin, so are these vapor shower tablets for sniffles and congestion.
Steam away that seasonal twitch with decongestant peppermint, eucalyptus, and camphor essential oils as you inhale the vapor from a sinus shower tablet.
This post contains some affiliate links for your convenience; our read full disclosure policy.
What Are Shower Tablets?
Shower tablets are a lot like bath bombs. But, instead of soaking in benefits for the skin like I do from my DIY rose bath bombs, we breathe in aromatherapy benefits. Because when they melt, the essential oil aroma is released into the air.
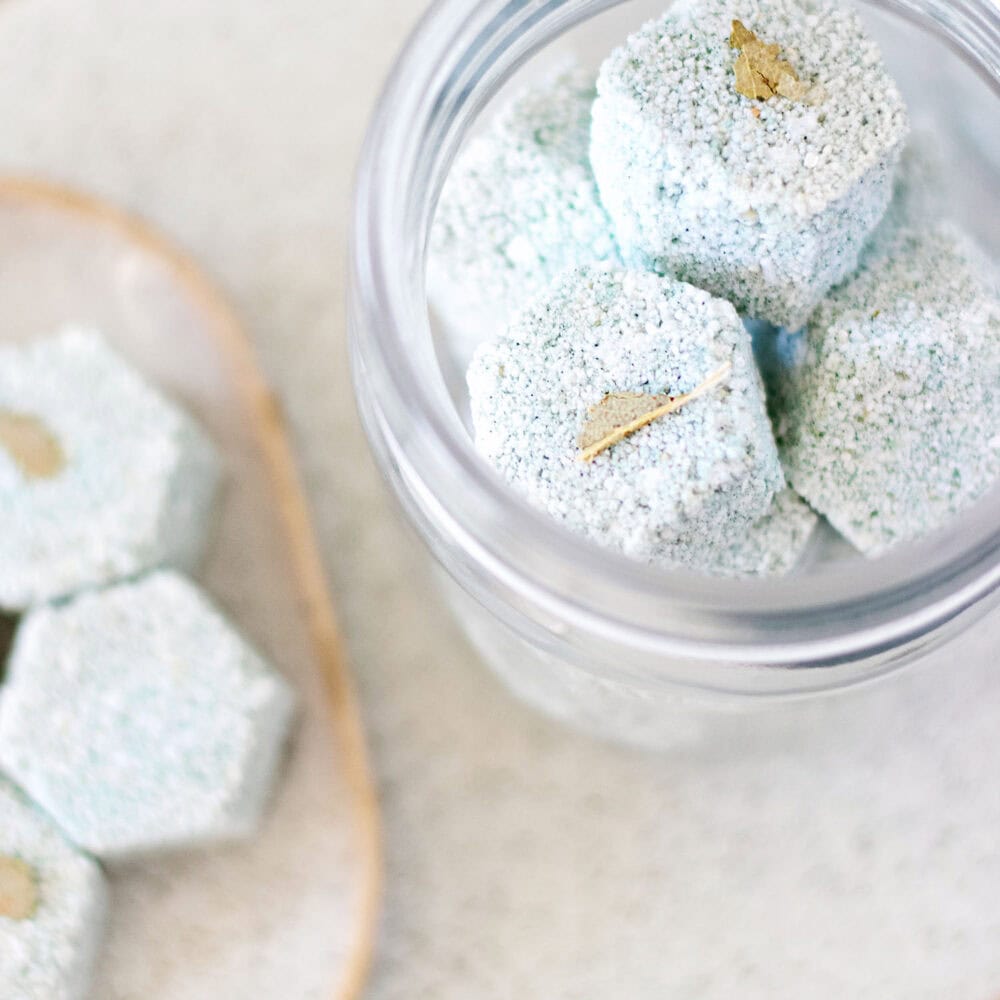
I happen to love the convenience of a tablet. All you have to do is drop one in the corner of the shower and let the steam disperse the essential oils into a vapor. And you’re never left with a half-finished shower bomb that you have to scoop out, so it doesn’t go to waste! And don’t you agree these DIY shower tablets look adorable in a jar next to the shower?
While you can make these shower tablets as discs, cubes, or bombs, the difference is in their ingredients more than the shape.
Related To: Shower Approved DIY Sugar Scrub Cubes
What can I put in my shower to open my sinuses?
Well, outside of hanging eucalyptus branches from your shower head (I tried that, pretty at first, but they get icky), you can put a sinus shower tablet in your shower to open your sinuses.
What do shower tablets do?
Like the classic vapor rub my mom would apply to our chests at night when we were congested, these DIY sinus shower tablets are made with the same congestion relieving combo!
Well known to support respiratory health, eucalyptus contains the compound eucalyptol, which can help expand the bronchi and decrease nasal congestion. It’s easy to use in essential oil form and dried leaves in this recipe.
Inhalation of the volatile oils in peppermint essential oil or tea helps relieve nasal congestion in the most pleasant, aromatic way. It’s a natural anti decongestant and antitussive (cough relieving), containing menthol, according to my herbal studies in Medical herbalism: The Science and Practice of herbal medicine by Hoffmann, D.
Plant Therapy boasts that camphor essential oil is as fresh as they come, giving off eucalyptus-like notes due to its high cineole content. And it’s typically used to help clear lungs and boost circulation within your body. All, in turn, it helps you breathe easier.
So, think of these DIY sinus shower tablets as a homemade version of Vicks shower tablets.
Related To: Creamy Homemade Body Wash
How long do shower tablets last?
It might surprise you how long these shower tablets last! They have a shelf life of one year when stored properly.
Store them in an airtight container outside of the shower. You want to keep moisture out, so no wet hands in the jar!
To get the most out of each DIY shower tablet, use it in the shower, not the bath, and keep the bathroom exhaust fans turned off. Drop one tablet in the corner of the shower away from direct water and prevent it from being completely submerged.
Let the steam of the shower do its job, slowly releasing the essential oils into vapor for congestion relief.
If, over time, you notice the shower tablets don’t smell as strong, add a few drops of the essential oils in the recipe to the tablets in the jar to refresh.
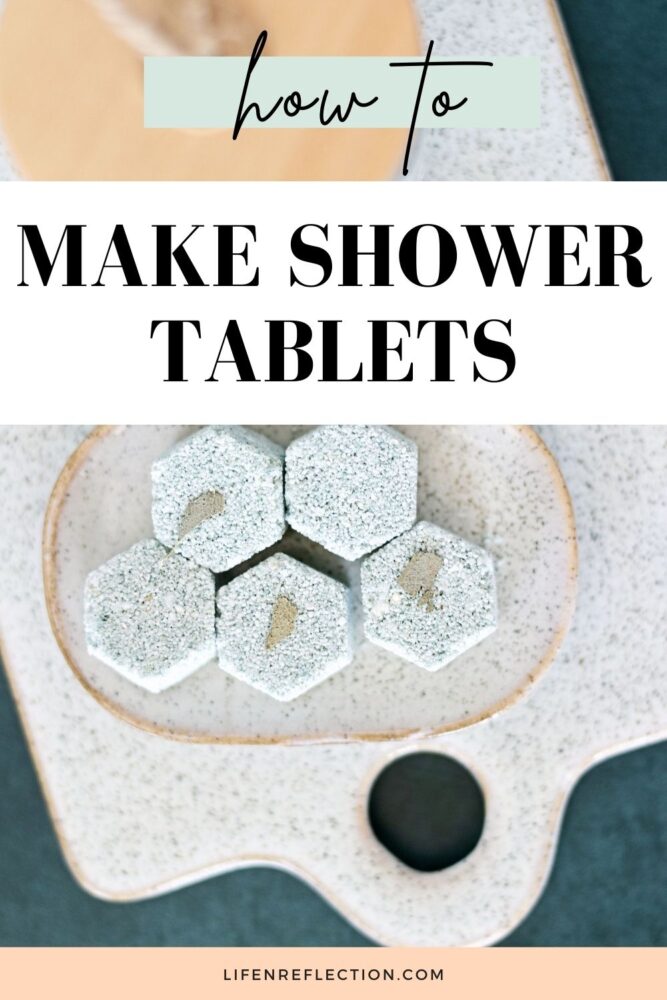
How do you make shower tablets?
Make shower tablets with kitchen staples, baking soda, cornstarch, and citric acid. Along with peppermint, eucalyptus, and camphor essential oils for congestion relief.
And if you want to create a blue-green color as I did, combine seaweed powder and spirulina powder with the help of the Serenity Spa Kit from Earthy Good. (You’ll find plenty of seaweed powder and eucalyptus essential oil in the kit to make more DIYs!)
DIY Sinus Shower Tablet Ingredients
½ teaspoon seaweed powder
1 teaspoon spirulina powder
2 teaspoons eucalyptus leaves
¼ cup baking soda
2 tablespoons citric acid
1 tablespoon cornstarch
8 drops camphor essential oil
12 drops eucalyptus essential oil
10 drops peppermint essential oil
Witch hazel in a spray bottle
How To Make Sinus Shower Tablets
Begin by adding 1/4 cup of baking soda, two tablespoons citric acid, and one tablespoon cornstarch to a large glass or metal mixing bowl. Whisk with a stainless steel whisk to combine.
Then incorporate ½ teaspoon of seaweed powder and one teaspoon of spirulina powder for natural blue-green color. Whisk well to blend the color in. It will look darker as you add wet ingredients but will dry a lighter color, as in the photos. (This step is optional.)
Next, add 8 drops of camphor essential oil, 12 drops of eucalyptus essential oil, and 10 drops of peppermint essential oil while whisking quickly into the dry mixture.
Then spritz the mixture with witch hazel from a spray bottle, whisking as you go (If the mixture begins to fizz or foam, slow down). You want beach sand consistency. Squeeze the shower tablet mixture in your hand; if it holds its shape, it’s ready!
Sprinkle two teaspoons of eucalyptus leaves over the hexagon silicone mold. Then scoop the shower tablet mixture on top of the eucalyptus leaves. Use a small spoon to press down the mixture into each hexagon.
Allow the sinus shower tablets to dry uncovered in the silicone mold for 8 hours or overnight. Once dry, place a wood cutting board on the shower tablets in the mold. Turn it upside down, and then as needed, gently press each shower tablet out of the mold.
NOTES:
- Store in an airtight container outside of the shower until use.
- This recipe makes 24 shower tablets for congestion.
Did you know you can also use these as a face steam?
Oh yeah, using a shower tablet to create a sinus face steam is a seasonal allergy hack worth trying!
To use a sinus opening face steam, place one tablet into a bowl of warm water. Then while seated, drape a towel over your head like a tent. Close your eyes, lean in, and take slow deep breaths of the vapor. Be prepared with a handkerchief within reach.
Read more about the benefits of face steaming, and don’t miss my ten face steam recipes, including a sinus relief steam.
YOU MAY ALSO LIKE:
- Flodesk Studio: First Look
- Wood Cutting Board Care
- Sun-Soaked Garden Beeswax Candles
- Lemon Cedar Dust Spray and Polish
- Lemon Poppy Seed Melt and Pour Soap Recipe
No one looks forward to allergy season, but at least you’ll have these DIY shower tablets made with all-natural ingredients to steam away your sniffles this time around.
Save these DIY sinus shower tables for congestion relief to your best Pinterest board, and while you’re there, be sure to follow Life-n-Reflection for more DIYs.