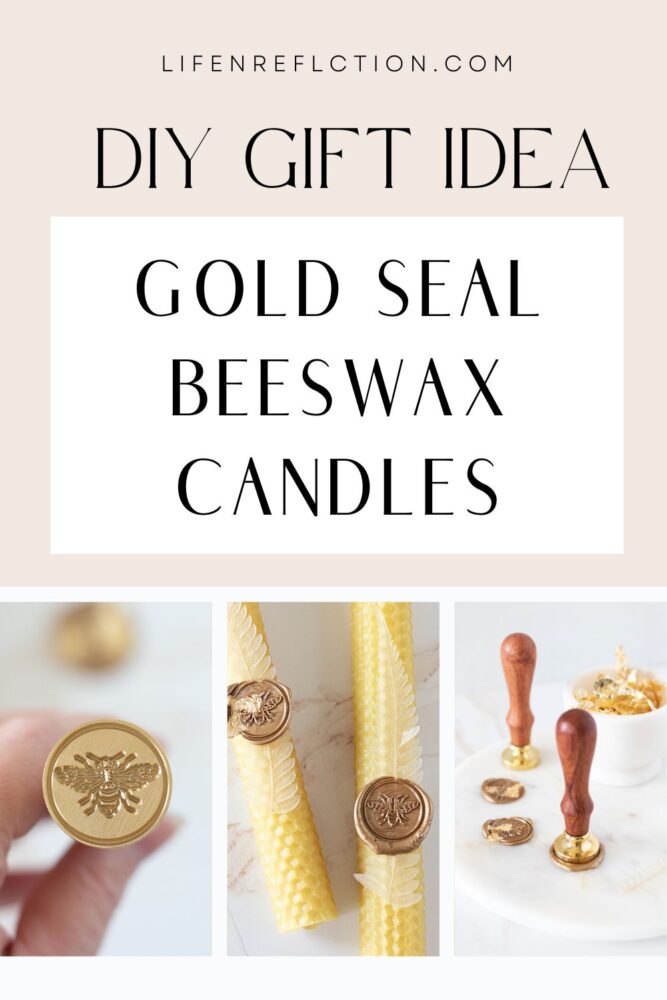
How to Make Rolled Beeswax Candles with Gold Flake Wax Seals
Want to know how to make rolled beeswax candles? Print our step-by-step candle making tutorial for the perfect beeswax candle tapers!
I love candles of all kinds and candle making has become my favorite DIY craft over the years. And I gotta say there is something special about beeswax candles. All-natural, non-toxic, and with the loveliest honey scent. Not to mention, that vibrant yellow color and golden glow.
I’ve shared how to make scented beeswax candles, tealights, and beeswax candle melts, so I thought it was time I gave traditional rolled beeswax candles a try. I quickly fell in love with the experience of hand-rolling delicate sheets of beeswax with a natural honeycomb texture.
Rolled beeswax candles truly have a timeless appeal, maybe it’s the raw materials or maybe it’s their long history of use dating back to Ancient Egypt. Regardless they create a beautiful rich honey scent and warm glow for an instant cozy atmosphere. But the best part about rolled beeswax candles is how extremely easy they are to make!
This post contains some affiliate links for your convenience, read our full disclosure policy.

DIY Hand Rolled Beeswax Candles are So Easy
If you have made candles before or used one of my other candle recipes, then you know that candle making isn’t all that easy. Whereas rolled beeswax candles happen to be so easy to make, even kids can join in!
Yes, you read that right the process is super simple and safe. No boiling water, no difficult measurements, no pouring hot wax, or no dipping into hot wax either. Honestly, rolled beeswax candles are the no-fuss way to make candles.
I’ve found them to be a great activity for homeschool when learning about bees. But, they would be an ideal kids craft any day.
Did you know beeswax candles purify the air too? So incredible! Want to know about candle making? Grab countless printable swipe files from the Simple Living Library.

It took me only ten minutes to make 5 beeswax candle tapers from start to finish!
I loved that I could let my five-year-old daughter join in without worrying about all the common candle making mistakes. Even at her young age, she got the hang of rolling the candles after I secured the wicks. And I didn’t feel the need for the candles to perfect (like I normally would).
Making hand rolled beeswax candles together was a lot of fun and I enjoyed sharing my favorite hobby with her. I could tell she felt a great sense of accomplishment about it too. We lit them up for an impromptu Harry Potter birthday dinner with family and they were the perfect touch!
A pair of hand-rolled beeswax candles make a wonderful handmade gift too. A great choice of gift any time of the year for any occasion.
Related To: Beeswax Candle Melts
What do you need to make rolled beeswax candles?
Homemade rolled beeswax candles couldn’t be more simple to make! All you need is beeswax sheets and a cotton candlewick spool. Choose a square braid wick design for the thick, stickiness of beeswax at a #1/0 size for rolled beeswax tapers.
You can buy each of these separately as I’ve shared links above or you can get them together in a beeswax taper candle-making kit. This is the kit I bought from Etsy to make these candles. It came carefully packaged and exactly as pictured.
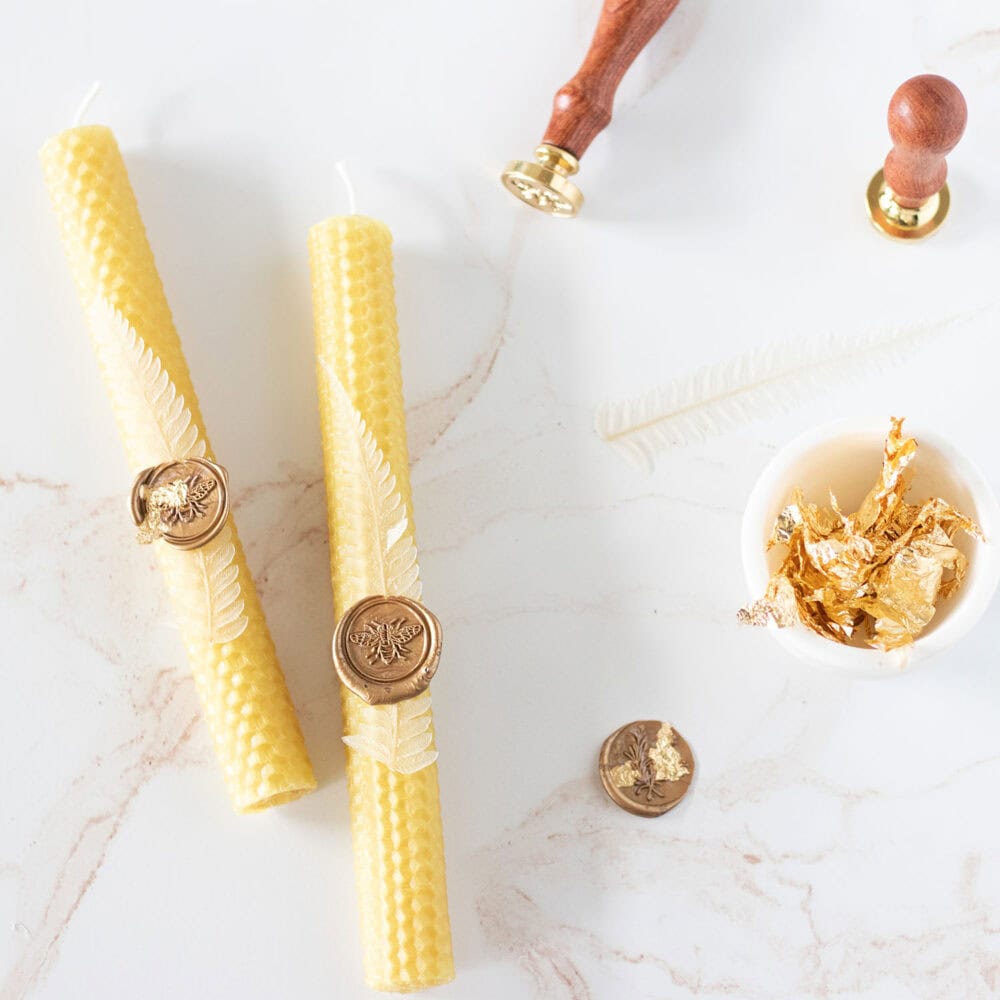
How To Make Gold Flake Wax Seals:
If you love the look of the honey bee, golden wax seals with gold flakes, then follow these easy steps to make your own. Just keep in mind you’ll need to remove them before lighting a candle taper.
Step 1: Chill Your Wax Stamp
The first is to chill your wax stamp for a great impression. I like to fill a tiny bowl with ice water, but you can also use an ice pack. Dip the metal end of the stamp into the ice water, then blot it on a microfiber towel. Place the stamp on a marble cutting board (this is the one I use) or a marble coaster to keep cold.
Step 2: Melt The Wax
While your stamp is chilling, begin melting the wax. Place a tea light (I make my own) inside a wax seal furnace and light the wick. Place 1 gold wax bead in the melting spoon to make one wax seal.
Step 3: Pour The Wax And Stamp
Once the wax has melted, pour the wax onto the marble board or coaster in a circular pattern. (Don’t worry if it’s messy.) Drop a gold leaf flake or two into the wax. Then stamp the seal into the center of the wax.
Step 4: Reveal The Seal
Wait 15 to 30 seconds for the wax to cool, then give the stamp a gentle pull. If the wax moves, let it cool longer. But if it feels stiff, wiggle the handle and pull the stamp off to reveal the seal!
Add a double-sided wax seal sticker to the back of the seal and stick it to a leaf, then onto the candle taper. Repeat for additional wax seals.
Related To: How to Choose Candle Wax Types
How do you make rolled beeswax candles?
I’ve broken down how to make rolled beeswax candles into five detailed yet easy-to-follow steps with kids in mind. But once you make a few, you won’t even need these steps again – it’s that easy!
So simple, in fact, we’ve already made a second batch of these beeswax tapers to custom-fit a trio of glass vases. That’s what’s so brilliant about making hand-rolled beeswax candles – they can be cut and rolled to fit any candle holder.
I plan to make short fat ones that will fit votive candle holders like these creative ones next. They could be fun in a tea light candle holder too!
You’ll Need These Rolled Beeswax Candles Supplies:
- Beeswax sheets (10 pack) + Cotton candlewick spool
- Or a Candle Making Kit
- Scissors

How To Make Rolled Beeswax Candles
Step 1: Warm the Beeswax Sheets
Layout your beeswax sheets in a warm place like near a sunny window, before starting to warm up the wax a little. This helps to avoid cracking and breaking the beeswax sheets.
You may want to cover your surface with wax or parchment paper to keep the beeswax from sticking to the surface. I just rolled the beeswax sheets on an old farm table.
Step 2: Cut the Beeswax Sheets to Size as Needed
The second step is to choose how many candles you want. You may want to turn the beeswax sheet in the direction that best fits your needs. For example, if you want tall tapers, turn the sheets in the direction that would produce the tallest height and only cut as needed.
If you want shorter candles with a wider width, do the opposite and cut each beeswax sheet to your desired candle height.
Step 3: Cut Candle Wicks
After deciding on the number of candles you want and cutting each beeswax sheet to size as needed, it’s time to prepare the candle wicks. Lay the candle wick from the spool across the long side of your beeswax sheet. Leaving about a half-inch of wick out from the top of the sheet, cut candle wicks to size.
Step 4: Secure the Candle Wick
Place one cut wick at the edge of the long side of a beeswax sheet. Press the wick into the beeswax sheet lining up with the edge while leaving half an inch of the wick extended from the top of the sheet.
Then tightly fold the beeswax sheet over the wick to secure it in place. If the sheet feels too hard or stiff to roll slightly, warm it up with a hairdryer or heat gun designed for candle making.
Step 5: Roll the Beeswax
Now we’re ready to roll! Carefully roll the wax sheet up as tightly and evenly as possible. When you come to the end, gently press the seam into the candle seal. You may also warm the edge of the wax before finishing the roll with a heat gun for a smoother seal.
Then trim the wick to ¼ of an inch and repeat for as many candles as you are making.
The best part? Once rolled, these candles are ready to use! There’s no waiting time for candle wax to harden and cure.
How long do rolled beeswax candles last?
I was surprised to learn that rolled beeswax candle tapers burn for up to 40 minutes per inch in height. So most have up to a 6-hour burn time. But, I’ll let you in on a little tip – the tighter a candle is rolled, the slower it will burn; therefore, the longer it will last.
Light these homemade rolled beeswax candles as you would any taper candle, trimming the wick to ¼ inch each time and never leaving it unattended.
Print our step-by-step candle-making tutorial for the perfect beeswax candle tapers!

How to Make Rolled Beeswax Candles
Want to know how to make rolled beeswax candles? Print our step-by-step candle-making tutorial for the perfect beeswax candle tapers!
Materials
- Beeswax sheets (10 pack)
- Cotton candlewick spool
Tools
- scissors
- ruler
- cutting mat (optional)
Instructions
- Layout your beeswax sheets in a warm place like near a sunny window, before starting to warm up the wax a little. This helps to avoid cracking and breaking the beeswax sheets.
- You may want to cover your surface with wax or parchment paper to keep the beeswax from sticking to the surface. I just rolled the beeswax sheets on an old farm table.
- The second step is to choose how many candles you want. You may want to turn the beeswax sheet in the direction that best fits your needs. For example, if you want tall tapers, turn the sheets in the direction that would produce the tallest height and only cut as needed.
- If you want shorter candles with a wider width, do the opposite and cut each beeswax sheet to your desired candle height.
- After deciding on the number of candles you want and cutting each beeswax sheet to size as needed, it’s time to prepare the candle wicks. Lay the candle wick from the spool across the long side of your beeswax sheet. Leaving about a half-inch of wick out from the top of sheet cut candle wicks to size.
- Place one cut wick at the edge of the long side of a beeswax sheet. Press the wick into the beeswax sheet lining up with the edge while leaving half an inch of wick extended from the top of the sheet.
- Then tightly fold the beeswax sheet over the wick to secure it in place. If the sheet feels too hard or stiff to roll slightly, warm it up with a hairdryer or heat gun designed for candle making.
- Now we’re ready to roll! Carefully roll the wax-up as tightly and evenly as possible. When you come to the end gently press the seam into the candle seal. You may also warm the edge of the wax before finishing the roll with a heat gun for a smoother seal.
- Then trim the wick to ¼ of an inch and repeat for as many candles as you are making.
Notes
Once rolled, these candles are ready to use! Light these homemade rolled beeswax candles as you would any taper candle, trimming the wick to ¼ inch each time and never leaving it unattended.
Recommended Products
As an Amazon Associate and member of other affiliate programs, I earn from qualifying purchases.


YOU MAY ALSO LIKE:
You just can’t go wrong with a simple, classic hand rolled beeswax candle. My daughter and I loved making these. They were the perfect activity for our honey bee homeschool unit! Plus, they made adorable gifts wrapped in pairs.
Have you made beeswax candles before? Tag #lifenreflection on Instagram to share your candle-making with us. And pin these five steps on how to make rolled beeswax candles now, or print this tutorial out above.
Hi, could you please share where / how you got the leafs that are sandwiched between the candle and the seal? The 3-dimensional aspect is great.
Thank you!
You can either use a transparent glue dot to adhere a leaf or warm up the beeswax taper with a heat gun and gently press the leaf into the taper. Then apply the gold wax seal with a wax seal sticker or large glue dot. The wax seal stickers are generally larger and stronger than a glue dot.