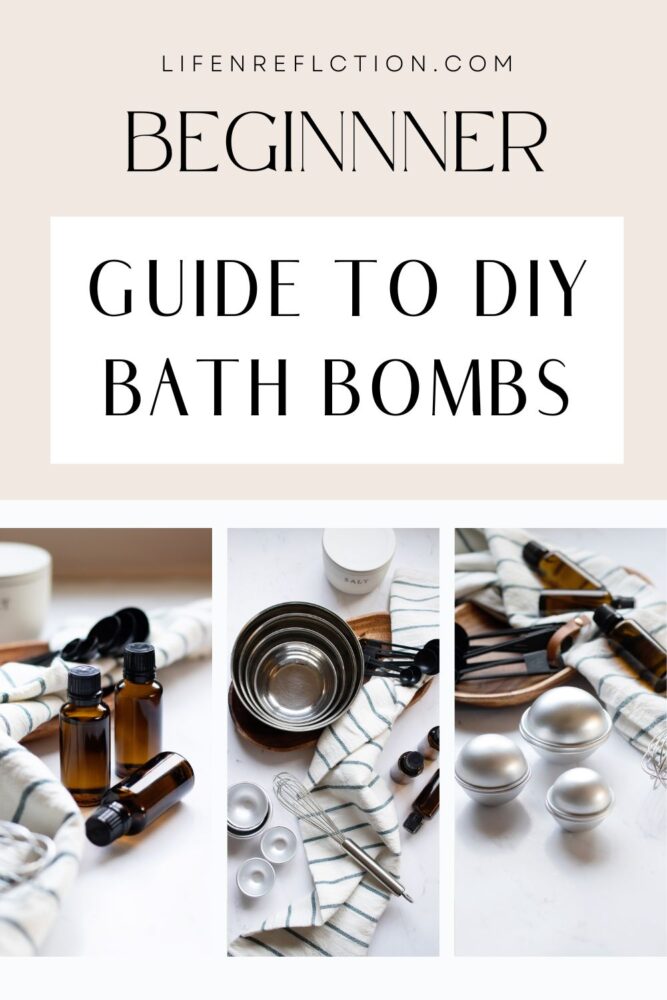
Ready to Start Making Bath Bombs?
Do you want to start making bath bombs? Check out our easy tips and tricks, including where to find bath bomb molds and ingredients.
Bath bombs make such adorable gifts for just about any occasion! Birthdays, Christmas, get well soon (think a headache or sinus relief), bridal showers, and weddings are great opportunities to gift bath bombs.
I think what makes them such a versatile gift is the ability to customize bath bombs with colors and scents.
But there are so many bath bomb recipes on Pinterest that it’s hard to tell which ones work and which ones are good for your skin.
If you haven’t noticed, I’m a green-living girl who doesn’t waste money or my health with toxic products. And that includes bath bombs! Luckily, it’s easy to use natural ingredients for bath bombs to protect your skin and health.
Learn where to find skin-safe ingredients, bath bomb molds that work, and a no-fail recipe to start making bath bombs at home with success!
This post contains some affiliate links. Thank you for your support. Please read the full disclosure policy for more details.
Where To Begin Making Bath Bombs
I’ll be the first to admit it takes a little practice to make bath bombs, but it’s a great project for anyone to try!
My first batch wasn’t perfect; in fact, they fell apart, but I still tossed them in the tub, and they fizzed like crazy. So don’t feel bad if you’ve had mixed results when you started making baking bombs.
Follow these five tips to make your bath bomb experiments more successful than my first. I know once you get the hang of it, making bath bombs will be a breeze—no doubt.
5 Tips to Start Making Bath Bombs
#1
Fail-Proof Method to Avoid Clumps:
Have you made bath bombs before, but they came out clumping? Well, here’s a little trick I learned to avoid bath bomb clumps!
How To Avoid Bath Bomb Clumps:
- When adding your dry ingredients to a bowl, use a handheld sifter or a fine mesh strainer that you can lay right on top of your bowl.
- Then, use a whisk to push the ingredients through the mesh strainer.
- After adding all dry ingredients, remove the strainer and whisk to combine your bath bomb mixture thoroughly.
I promise you won’t find a single clump in the mixture after using this bath bomb tip!

#2
Best Way to Add Color to Bath Bombs
You can use natural mica powder to create a rainbow of colors. Or you can turn to other natural methods for coloring bath bombs, such as colorful food ingredients.
Take these ingredients, for example:
Another option is to use food coloring made from 100% natural vegetable juices and spices like Watkins natural food coloring. It works just as easily as standard food coloring but without the chemicals. I’ve successfully used it to color bath bombs and soaps!
Just remember to add any dry color ingredients to your dry ingredients after you’ve thoroughly combined all the other dry ingredients. The same goes for liquid coloring ingredients—add them to the wet ingredients after mixing together all the wet ingredients.
#3
Making Bath Bombs Without Citric Acid
What can you use instead of citric acid in bath bombs? To make bath bombs without citric acid, all you need is a baking staple you likely already have in your kitchen.
That’s right. Cream of tartar can be substituted for citric acid. Cream of tartar is an acid but has a different pH, so the results will be different. I have tried it for making bath bombs and found it does work, but it creates less fizz than citric acid.

#4
How To Avoid Crushing Bath Bombs
How do you get bath bombs out of the mold without crushing them?
For bath bombs made in stainless steel molds versus silicone molds, make sure you let them sit for a minute or two before you remove them. This step allows them to compress and stick together.
Additionally, when working with stainless steel molds, make sure to overpack each side of the mold before pressing them firmly together.
You may also want to consider adding a drop or two of sweet almond oil to a towel and rubbing the oil into the mold—just like you would grease a baking dish for cakes or brownies. This can help you remove them more easily.
Also, if you’re bath bombs are crumbling after you’ve successfully removed them from the mold, then add a stabilizer such as white Kaolin clay to strongly bind bath bombs.
#5
What if baking soda irritates your skin?
I’ve noticed baking soda irritates my skin if I use too much of it in a natural deodorant. No worries if you have similar issues with baking soda; simply cut the amount used in a bath bomb recipe in half and add arrowroot powder in its place.
Or substitute baking soda altogether for arrowroot powder. I love using arrowroot powder for beauty, hair, and natural skin care recipes. Find it one of my favorite milk bath recipes for a warming spiced chai latte bath!

How to Find Ingredients to Start Making Bath Bombs
Picking up ingredients to make bath bombs at your local brick-and-mortar stores can be challenging. Sometimes, it’s quite overpriced when you need a few pounds of an ingredient versus a few ounces in a spice jar.
That’s why I compiled this list of bath bomb ingredients and links to where you can easily and affordably find them.
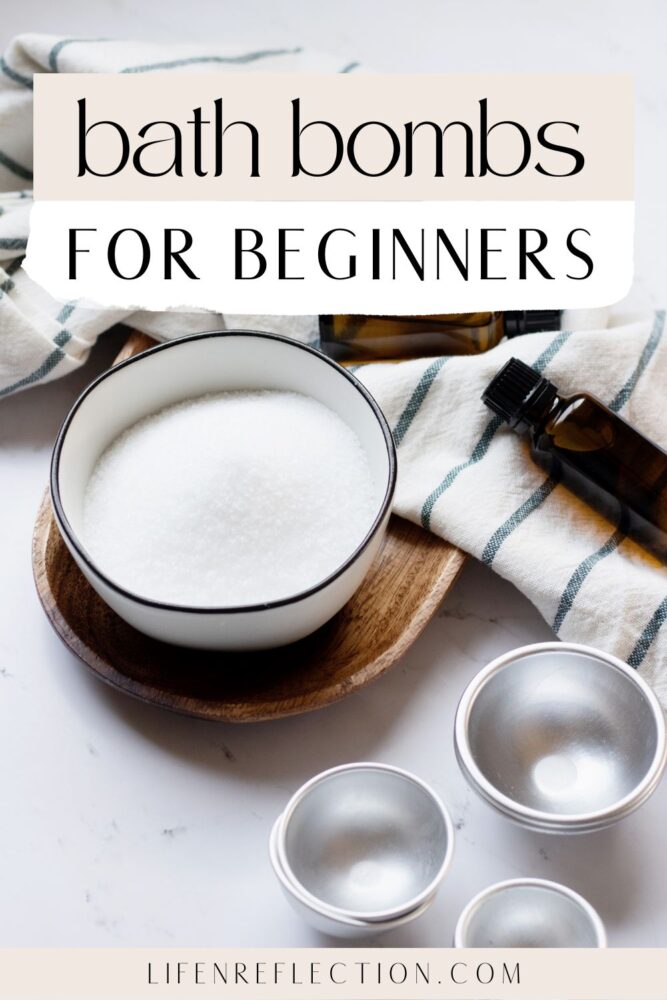
Epsom Salts
Thanks to Epsom salts, bath bombs do much more for our bodies than moisturizing the skin. Named after a small town in England where it was discovered in 1618, Epsom salts are known for their powerful ability to relieve aches and pains.
They break down the build-up of lactic acid, which causes muscle pain. Add ½ cup of Epsom salt to your next bath, or try them in my recipe for a bubbling lemon-vanilla bath soak.
Carrier Oils
Natural carrier oils can make a big impact on the health and condition of your skin. They are packed with vitamins and antioxidants essential for healthy skin.
There are a variety of carrier oils available, such as apricot kernel oil, grapeseed oil, and sweet almond oil. You may want to experiment with your choice of carrier oil to make bath bombs. I use sweet almond oil in my bath bomb recipes.
Baking Soda
Baking soda, also known as sodium bicarbonate, is a naturally occurring substance best known for its use as a scouring agent and odor absorber. It is also used as a binding agent in bath bomb recipes.
It’s easy to find and very affordable at your local grocery store. The beauty experts at Hello Glow say it’s one of the most versatile ingredients!
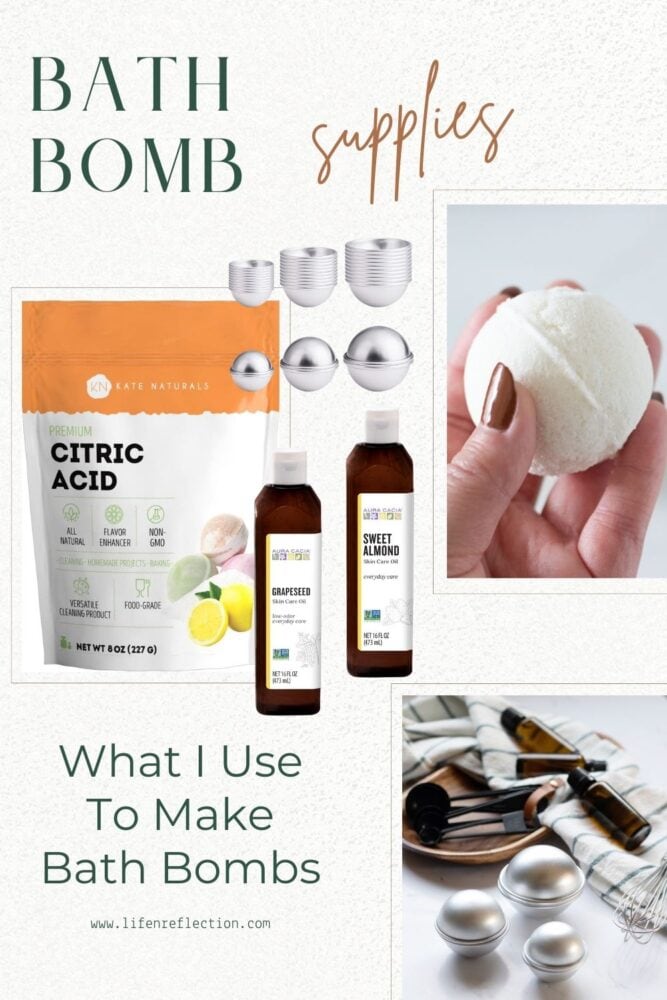
Citric Acid
Want to know the secret ingredient to make bath bombs fizz? It’s citric acid and it’s an all-natural ingredient often used to preserve food at home when canning.
Sometimes, you can find it at your local grocery store in a very small spice jar for a very steep price. I’ve found it in a two-pound resealable bag for so much less. I use it in a handful of my natural cleaning recipes, too!
Witch Hazel
Witch hazel is a plant-based substance made from the witch hazel shrub. It’s a staple in my homemade facial toner for its skin-soothing benefits.
I use it in place of water to make bath bombs. Why? Because it doesn’t cause as much fizzing loss to occur when you need to add just a little more moisture to a bath bomb mix.
Related: Fizzy Lemon Meringue Bath Bombs
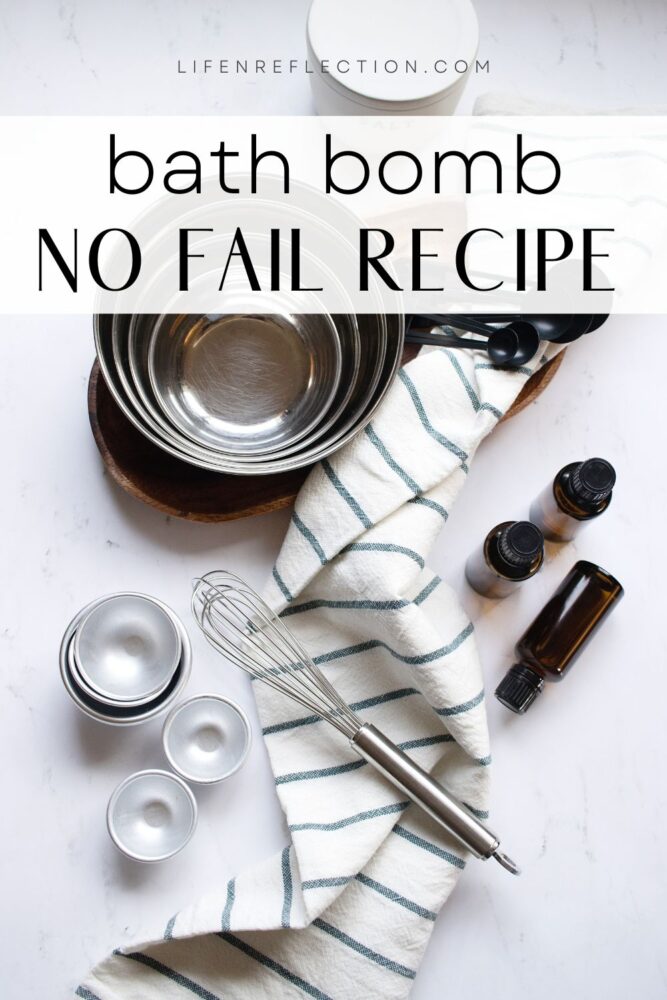
Now, Let’s Start Making Bath Bombs With A Basic Recipe
Once you have mastered making this basic recipe, then you can begin to experiment with unique variations. I love to add dried herbs and flower petals to my bath bombs, as I did in my recipe for garden rose bath bombs. You can even go as far as to add hidden surprises like small toys inside a bath bomb!
Let’s start by breaking down what you’ll need to start making bath bombs into three categories. Then follow my basic bath bomb to give it a go!
Bath Bomb Tools You’ll Need:
Bath Bomb Wet Ingredients:
Bath Bomb Dry Ingredients:
This basic bath bomb recipe yields 6 large 5 oz bath bombs or 12 to 15 small 2 oz bath bombs.
Step by Step Instructions to Start Making Bath Bombs
Step 1: Over a large glass or metal mixing bowl, add all dry ingredients using a fine mesh strainer or handheld sifter. Whisk well to combine and set aside.
Step 2: Pour all wet ingredients into a small mixing bowl and stir to combine.
Step 3: Slowly add the wet mixture into the dry mixture, whisking as you go. If the mixture begins to fizz or foam, slow down and add a smaller amount.
Step 4: After combining mixtures, scoop a small amount into your hand and squeeze it together to test the consistency. It should stick together and hold its shape. If the mixture is too dry and powdery, add ½ teaspoon of witch hazel. Then mix well and test again. Repeat until you have the correct consistency.
Step 5: Once the bath bomb mixture is ready, scoop each side of the bath bomb mold into the mixture until it’s just overflowing. Then press together and let stand for 2 minutes. (I recommend using multiple bath bomb molds so you can keep going while the others are setting.)
Step 6: Once set, gently release the bath bomb onto a cutting board or cookie sheet. If the bath bomb cracks while removing it, scoop a little more mixture and press together again. (If this continues to happen, see tip #4)
Allow bath bombs to dry uncovered for 8 hours or overnight. Once dry, store in a dry place or container until use.
Did you try this?
Mention @lifenreflection or tag #lifenreflection to share on Instagram! What did you love most? Leave a comment below!
I hope this helps you fill in the answers and get started! If you have any other questions about making bath bombs that I can answer, please leave them in the comments.
Find this helpful?
Share it on Pinterest
And while you’re there, be sure to follow Life-n-Reflection for more inspiring ideas.
This is the best recipe I’ve tried! I think I packed them too tight though because it only made two small bath bombs for me haha!
Glad to help, I know how tricky bath bombs can be when you don’t have the full instructions. Now, that you’ve had success though you’ll find you’re groove on how to pack into the molds the more you make them.
First time bath bomb maker, and they turned out PERFECT!! Thank you!
Yay, happy to hear that!