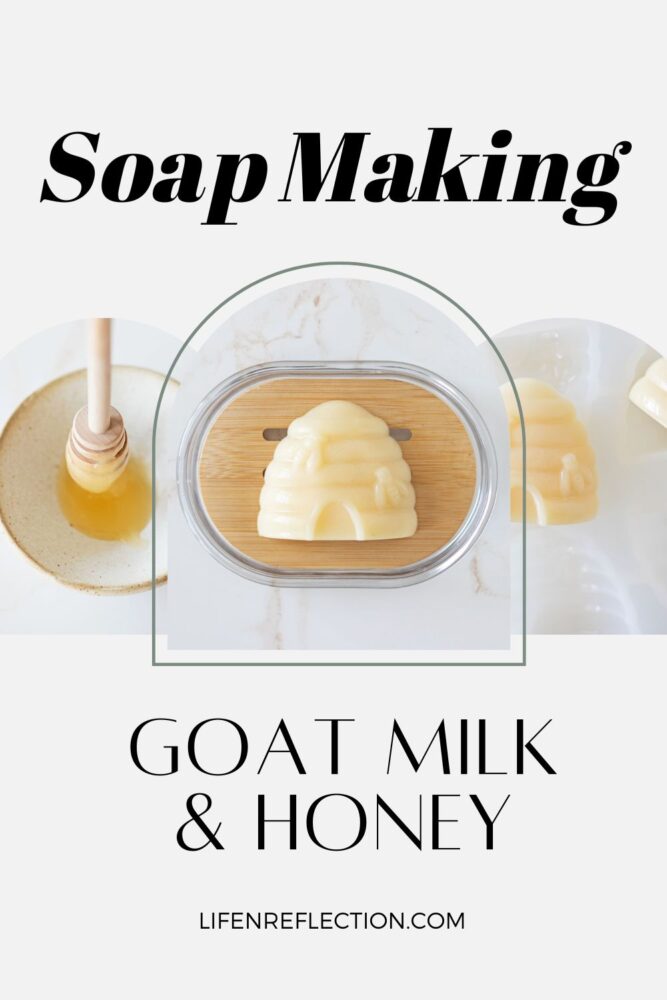
Goat Milk and Honey Soap Recipe To Make Beehive Soap
Follow this goat milk and honey soap recipe to make beehive soap at home. It’s a creative, easy melt-and-pour soap recipe!
In the world of simple living, there’s a serene art in crafting your own essentials. And handmade soap is one of those essentials that binds practicality with creativity and beauty.
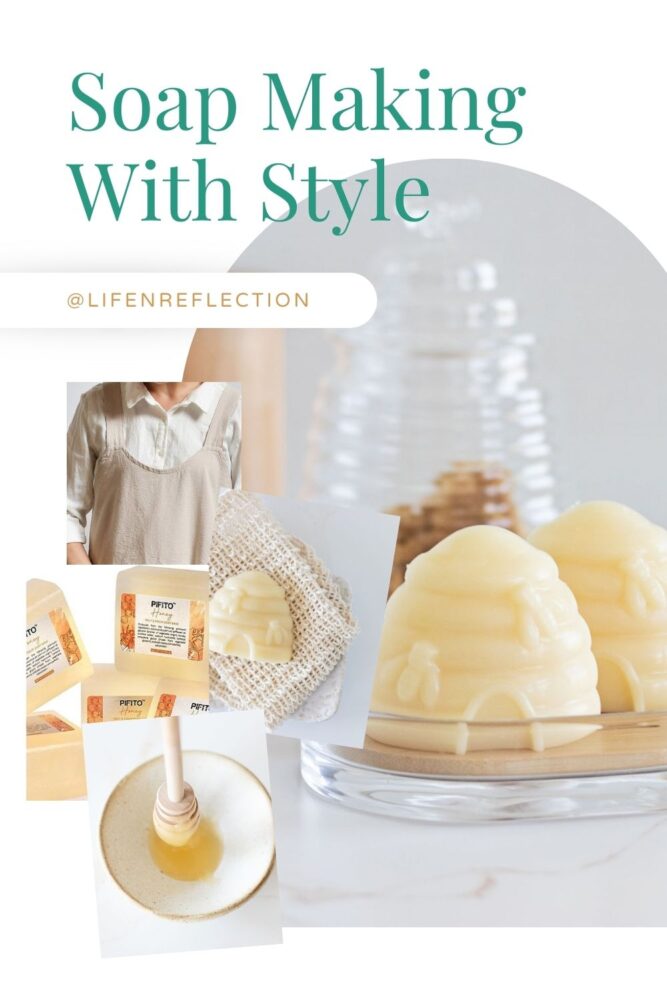
And by making our own soap, we eliminate plastic waste and gain control over what touches our skin. I choose the timeless allure of honey beehives, creamy goat milk, and rich honey to craft these soothing soap bars.
The melt and pour soap base of goat milk and honey in this soap recipe creates a creamy lather that nourishes the skin.
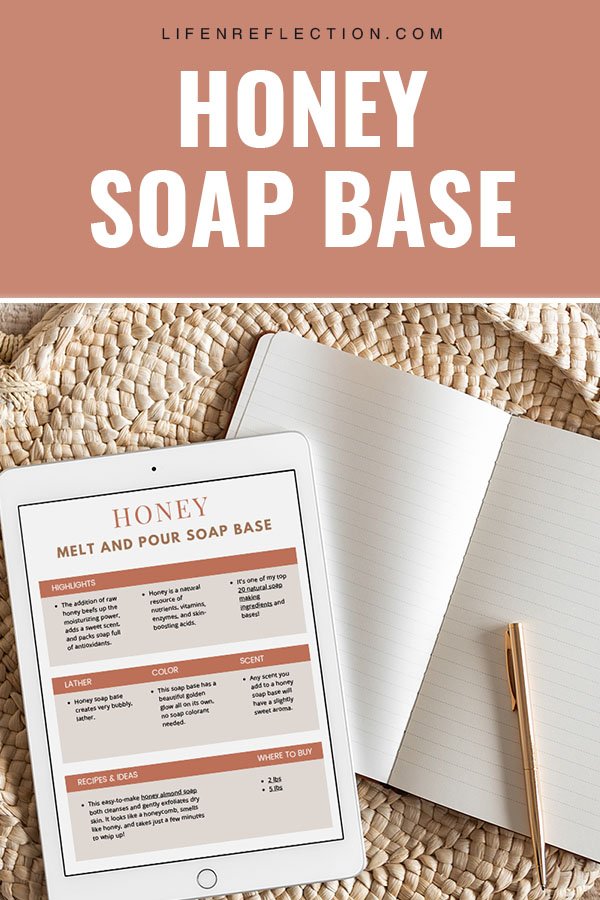
What is melt and pour soap? Melt and pour soap is an easy way to create handmade soap without the hassle of working with lye. The convenience of melt and pour soap bases brings the goodness of goat milk and honey into a process that’s as simple as mixing and pouring. Check out this detailed soap making guide for more information.
Through this easy melt and pour soap recipe, we’ll capture the charm of beehives with a nod to nature and simplicity. PLUS, don’t miss my tips for making perfectly shaped soaps!
This post contains some affiliate links. Thank you for your support. For more details, please read the full disclosure policy.
for you
the simple living library
Learn more about melt and pour soap bases with our printable soap-making guides for honey, goat milk, and more in the Simple Living Library. Join thousands of members and gain access to all past, current, and future items in the Library along with our exclusive Simple Living Weekly Edition.

How Do You Make Beehive Soaps?
If you’ve never made soap before, this is a fair question. And you might be surprised to know all it takes is soap mold.
Just like baking a cake, you can use molds to shape and form your soap bars. However, choosing the proper soap molds can make all the difference in the final product. Silicone soap molds are the easiest to work with. I share a list of the best soap molds I’ve used here.
I fell in love with this beehive soap mold made by BrambleBerry. It’s sturdy and super durable, yet slightly flexible too. The flexibility is a must in order to remove your soap from the mold. Check my tips for making it easier below.
Related To: DIY Peach Soap In A Tin: Melt And Pour Soap Idea
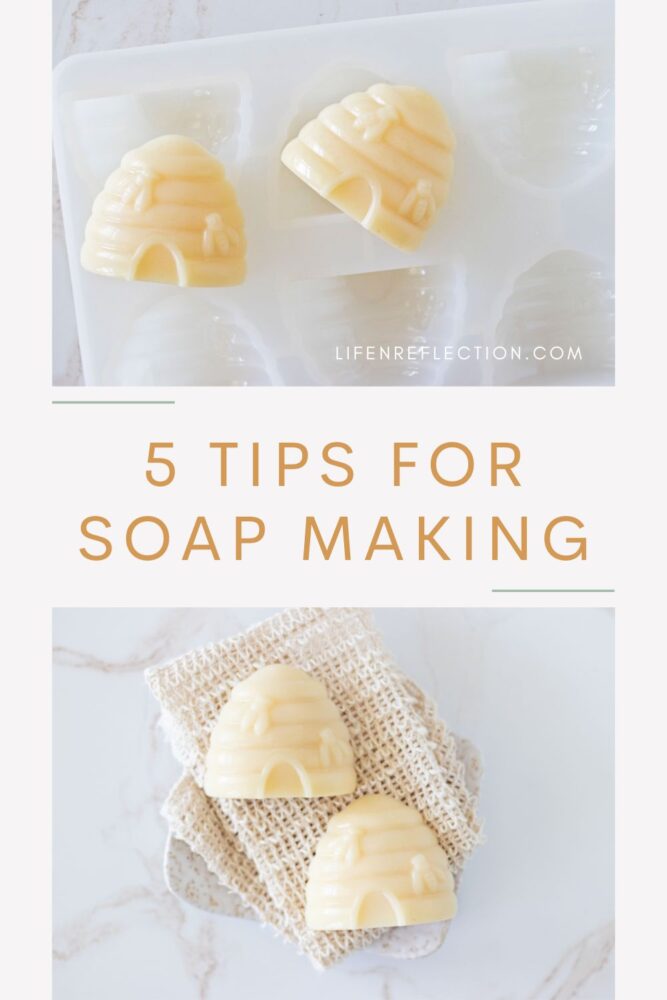
5 Tips For Perfectly Shaped Handmade Soap
When it comes to creating perfectly shaped handmade soap bars, here are some helpful tips to ensure a smooth pour, great cure, and clean unmolding:
1. Clean & Prepare:
Make sure your soap mold is clean before using it. If there is dust, glitter (yes, this happened to me at Christmas time), or soap residue from a previous soap making project in the mold, clean it. Soap and hot water will do.
Also, ensure your soap mold is dry. Any water, even a few drops, can run the appearance of your soap. Last, while you’re soap base is melting, give your soap mold a spritz of isopropyl alcohol to sanitize.
2. Support:
Some silicone molds are not that sturdy, so it’s best to place your soap mold on a tray, cutting board, or cookie sheet. This tip also gives you some flexibility if you need to move your soap during the curing process.
3: Prevent Air Bubbles:
The first step to preventing unsightly air bubbles or pockets in your soap bars is to pour S L O W L Y.
Another way to prevent bubbles from forming while the soap is still in its liquid state is to give it a tap. Gently lift the tray or cookie sheet your soap mold is resting on, then tap it on the counter or table., This will release any air bubbles that may have formed during the pouring process. (I use the same technique to keep air pockets out of my cakes and brownies.)
And if air bubbles have formed on the exposed surface of the soap, you can spritz the surface with isopropyl alcohol while the soap is still liquid. I keep a fine mist glass bottle filled with isopropyl in my soap-making supplies.
4. Allow Sufficient Cooling Time:
After pouring your soap mixture into the beehive soap mold, it’s essential to allow sufficient cooling time. Check the recommended cooling time provided with your specific soap base, as it may vary. Typically, I recommend allowing soap to cool and harden for at least 1-2 hours or until completely solidified.
5. Apply Pressure to Release the Soap:
Once the soap has cooled and hardened, carefully apply gentle pressure to the back of the soap mold to release the soap bars. Start by pressing on one side of the mold, gradually working your way around until the soap pops out smoothly.
If you encounter any resistance, try flexing the mold slightly or gently twisting it to help loosen the soap.
By following each of these tips, you can ensure a smooth and clean finish for your beautiful beehive soaps. Now let’s move on to the exciting part—the step-by-step recipe to create your own milk and honey soap!
Related To: How to Make a Candle Last Longer With 5 Easy Tips
Goat Milk and Honey Soap Recipe For Beehive Soaps
Embrace the art of simplicity with my handcrafted milk and honey soap recipe. Follow this easy melt and pour soap recipe to bring the charm of beehives into your home.
Milk and Honey Soap Ingredients:

Milk and Honey Soap Instructions:
Prep:
Prepare the silicone beehive soap mold by cleaning, drying, and spritzing it with rubbing alcohol.
Set the soap mold aside and slice 3 ounces of the honey soap base and 2 ounces of the goat milk soap base on a cutting board with a soap knife into 1” cubes or slices.
Melt:
Next, scoop the soap slices into a large glass measuring cup. Place it in the microwave and melt the soap base for three 30-second intervals, stirring intermittently to avoid burning for approximately 1.5 minutes.
Scent:
Then promptly remove the melted soap base from the microwave and add ¼ teaspoon honey. Whisk it into the soap mixture and add 10 ml of skin-safe, natural manuka honey soap scent. (Use code CREATEWITHKRISTY10 to get 10% off your order at Makesy.) Whisk the scent into the soap mixture, then carefully pour the soap into two sections of the soap mold.
Cure:
Spritz the top of each soap bar with isopropyl alcohol to remove any air bubbles, as needed. Then let the soap cool in the mold for one to two hours or until solid.
Once the soap has cooled and hardened, follow the tips above to pop it out of the mold.
Print The Soap Recipe

Goat Milk and Honey Soap Recipe
Here’s how to make a milk and honey soap recipe in charming beehive shapes!
Materials
- Beehive Silicone Soap Mold
- 3 ounces honey melt and pour soap base
- 2 ounces goat milk melt and pour soap base
- 10 ml natural manuka honey soap scent
- ¼ teaspoon honey
Instructions
- Prepare the silicone beehive soap mold by cleaning, drying, and spritzing it with rubbing alcohol. Set the soap mold aside and slice 3 ounces of the honey soap base and 2 ounces of the goat milk soap base on a cutting board with a soap knife into 1” cubes or slices.
- Next, scoop the soap slices into a large glass measuring cup. Place it in the microwave and melt the soap base for three 30 second-intervals, stirring intermittently to avoid burning for approximately 1.5 minutes.
- Then promptly remove the melted soap base from the microwave and add ¼ teaspoon honey. Whisk it into the soap mixture and add 10 ml of skin-safe, natural manuka honey soap scent. (Use my link to get $10 off your first order at Makesy.) Whisk the scent into the soap mixture, then carefully pour the soap into two sections of the soap mold.
- Spritz the top of each soap bar with isopropyl alcohol to remove any air bubbles, as needed. Then let the soap cool in the mold for one to two hours or until solid.
Notes
Once the soap has cooled and hardened, follow my tips to pop it out of the mold.
Recommended Products
As an Amazon Associate and member of other affiliate programs, I earn from qualifying purchases.


If you were dreaming of crafting soap from scratch? Save our step-by-step instructions to make your very own soap bars. Because our simple goat milk and honey soap recipe is a blend of practicality and creativity, anyone can make it!
Find this helpful?
Share it on Pinterest
And while you’re there, be sure to follow Life-n-Reflection for more inspiring ideas.
Did you make this?
To share your creation on Instagram, mention @lifenreflection or tag #lifenreflection! What did you love most? Leave a comment below!