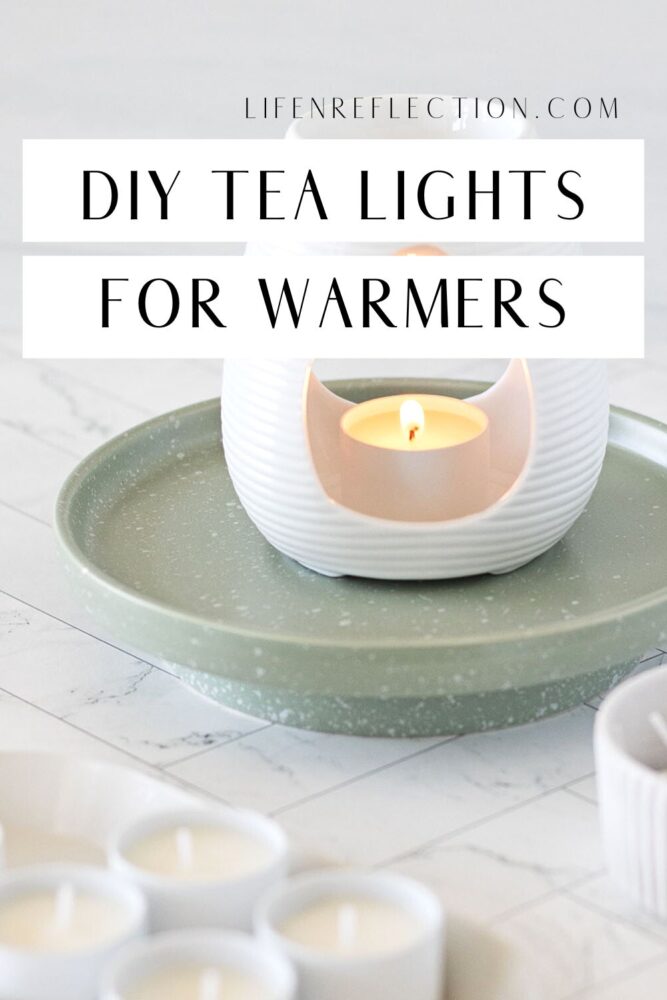
Create DIY Tea Light Candles For Warmers And Essential Oil Burners
Create DIY tea light candles for warmers and essential oil burners with this simple project. It’s easier than you think!
I love making candles of all types, but candle wax melts are the easiest to make! And just a small amount of candle wax can make dozens of wax melts.
I’ve made coffee candle melts, spicy chai wax melts, candle melts with dried flowers, and countless more. So, I have quite the stash of wax melts just waiting to be melted.
What’s holding me up? A lack of space and outlets. Wax warmers are typically pretty bulky and require an electrical outlet for use.
I don’t know about you, but counter space is valuable real estate, no matter if we’re talking about our kitchen, bathroom, or laundry room. As someone who values a clutter-free home, I prefer to keep our surfaces clear, leaving ample room to bake, cook, fold laundry, or get ready for the day.
To make matters worse, when it comes to outlets, most of ours are located above counters (need I say more), under windows – why? or behind furniture. Which leaves a place to use a wax warmer quite limited. Are yours the same?
Well, I figured out an ingenious solution that doesn’t involve compromising precious counter space or hunting for elusive outlets. If you’re looking for an alternative to electric wax warmers, too, make these DIY tea light candles for warmers. It’s easier than you think!
For your convenience, this post contains some affiliate links; read the full disclosure policy.
How Do You Use A Tea Light Wax Warmer?
When it comes to how to use tea lights for wax warmers or essential oil burners, it’s a breeze! Wondering if you can burn wax melts in an oil burner? Yes, you can melt a wax melt in an oil burner, also known as an oil warmer, with these instructions:
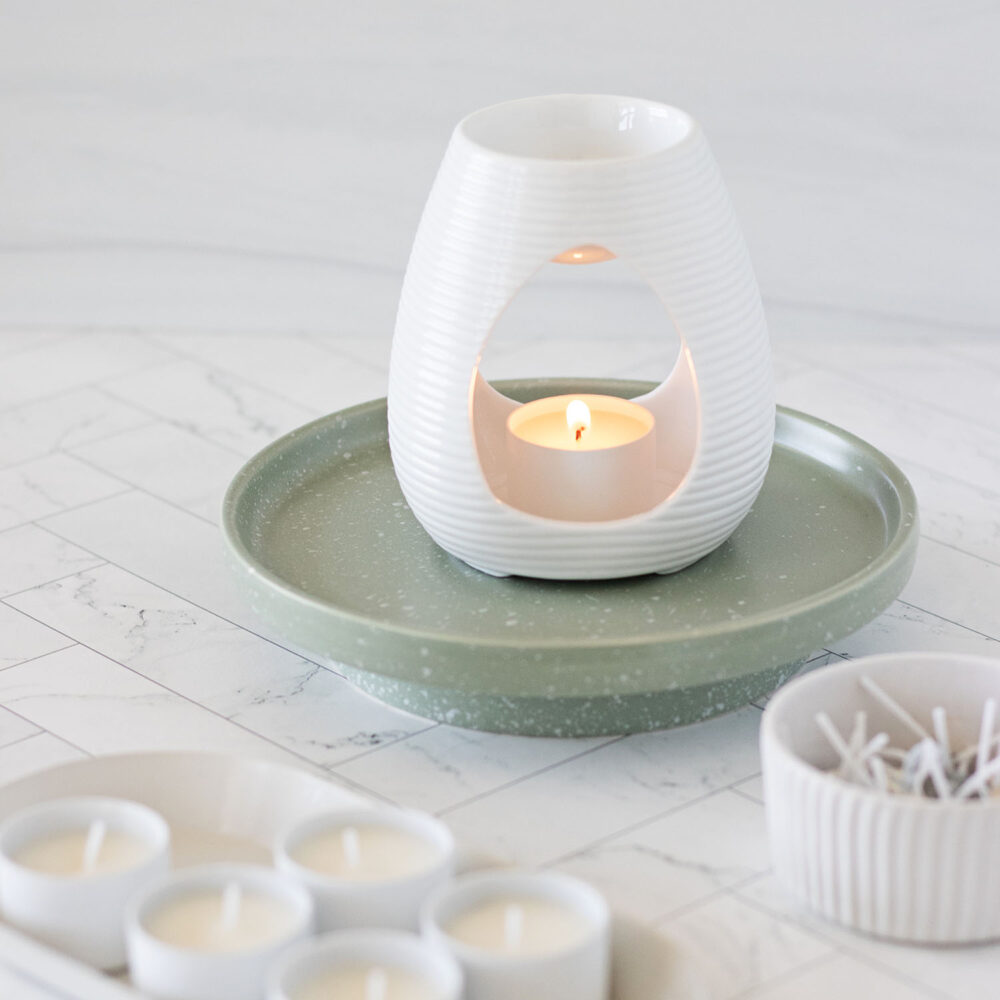
For Wax Warmers: Simply place one small candle wax melt in the top reservoir. Then slip a tea light candle into the bottom compartment and light it with a long handle candle lighter. The candle flame will gently warm the wax melt above, releasing its delightful fragrance into the air.
Put out the tea light candle with a wick dipper after the wax melt above has melted. You’ll continue to enjoy the fragrance until the wax melt has solidified again.
For Oil Burners: Fill two-thirds of water into the top reservoir. Then add 5 – 8 drops of essential oil into the water. Next, insert a tealight candle into the base of the oil burner and light it. The heat from the candle will release the aroma of the essential oils.
Extinguish the tea light candle when done with a wick dipper or if the water level becomes low.
Either method creates a cozy and inviting atmosphere. No electricity is needed – just the warm glow of a tea light to enjoy the calming ambiance and soothing scents effortlessly.
Related To: 3 Common Candle-Making Questions People Ask
How much wax do I need to make tea light candles?
How much wax do you need to make a candle is a common question I am asked. And not just by beginner candle makers; experienced candle makers alike must ask themselves the same each time they want to know how to make candles in different containers and sizes.
But have no fear – figuring out how much wax per candle you need is easy and quick with my candle wax calculator and printable container candle size charts!
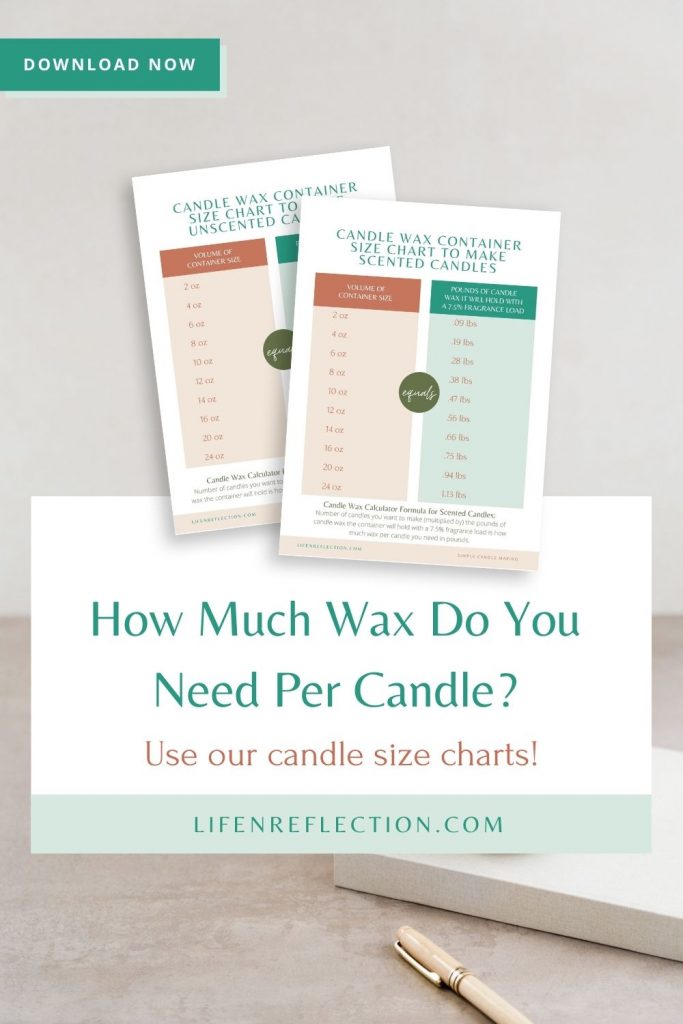
Print out this Candle Wax Container Size Swipe File and more in the Simple Living Library.
The tea light tins I choose for warmers are sold in a set of 12 from Makesy (use my code CREATEWITHKRISTY10 to save 10% off your total order!). They are the perfect size to fit into wax warmers (this is the one I use), oil warmers, and even wax seal furnaces!
I know you’ll get a ton of use out of them too. Plus – you’ll love the fact that they are totally reusable. Check out my tips on how to clean candle containers so that you can reuse these again and again!
So, how much wax do you need? Each tea light tin is 1 inch x 1.5 inch, holding .60 ounces of candle wax, making these candles incredibly affordable!
Follow my steps to learn how to create tea light candles specifically designed for wax warmers and essential oil burners.
Related To: How to Make a Candle Last Longer

Creating DIY Tea Light Candles For Warmers and Essential Oil Burners
Get ready to transform your space into a cozy haven, enveloped in the gentle flicker of a tea light candle and captivating scents of wax melts or essential oils!
Tea Light Candle Supplies You’ll Need:
.3564 ounces soy wax
DIY Tea Light Candle Instructions
1. Cover your area with parchment paper or a washable tray. Press the tab on the bottom of a cotton tea light wick into a glue dot. Then peel it off the roll and place it centered in the base of a tea light candle cup. Repeat until all six are ready.
2. Place a 2-cup glass measuring pitcher on a kitchen scale and tap tare weight. Then pour scoops of soy wax inside it until you reach .3564 ounces.
3. You can melt it in the microwave for such a small amount of wax. (But do not use the microwave if you use a different candle wax!) Place the melting pitcher filled with candle wax inside the microwave. Then melt on at 50% power in 30-second intervals until melted.
4. Once the wax has melted, allow it to cool to 115°F (if you’re using a different wax, refer to the temperature recommendation by the manufacturer). Warm the metal tea light cups with a heat gun before carefully pouring the wax into each cup.
Allow the tea light candles to cure 24 to 48 hours before use.
YOU MAY ALSO LIKE:
- Wood Cutting Board Care
- Sun-Soaked Garden Beeswax Candles
- Lemon Cedar Dust Spray and Polish
- Lemon Poppy Seed Melt and Pour Soap Recipe
- DIY Gardeners Hand Scrub Recipe
PRINT THE TUTORIAL

DIY Tea Light Candles For Warmers
Create your own candles for warmers and essential oil burners with these DIY tea lights.
Materials
- 6 tea light candle cups
- .3564 ounces soy wax
- 6 tea light wicks
Instructions
- Cover your area with parchment paper or a washable tray. Press the tab on the bottom of a cotton tea light wick into a glue dot. Then peel it off the roll and place it centered in the base of a tea light candle cup. Repeat until all six are ready.
- Place a 2-cup glass measuring pitcher on a kitchen scale and tap tare weight. Then pour scoops of soy wax inside it until you reach .3564 ounces.
- You can melt it in the microwave for such a small amount of wax. (But do not use the microwave if you use a different candle wax!) Place the melting pitcher filled with candle wax inside the microwave. Then melt on at 50% power in 30-second intervals until melted.
- Once the wax has melted, allow it to cool to 115°F (if you’re using a different wax, refer to the temperature recommendation by the manufacturer). Warm the metal tea light cups with a heat gun before carefully pouring the wax into each cup.
Notes
Allow the tea light candles to cure 24 to 48 hours before use.
Recommended Products
As an Amazon Associate and member of other affiliate programs, I earn from qualifying purchases.


Now, you can experience the comforting glow of candle wax warmers in your home with these simple DIY tea light candles you can use in essential oil burners too!
Save these instructions for DIY tea light candles to your DIY Candle Pinterest board, and while you’re there, be sure to follow Life-n-Reflection for more inspiring ideas.
Did you know you can Tag #lifenreflection on Instagram to share yours with me?