Why You Need to Learn How to Dry Brush Now!
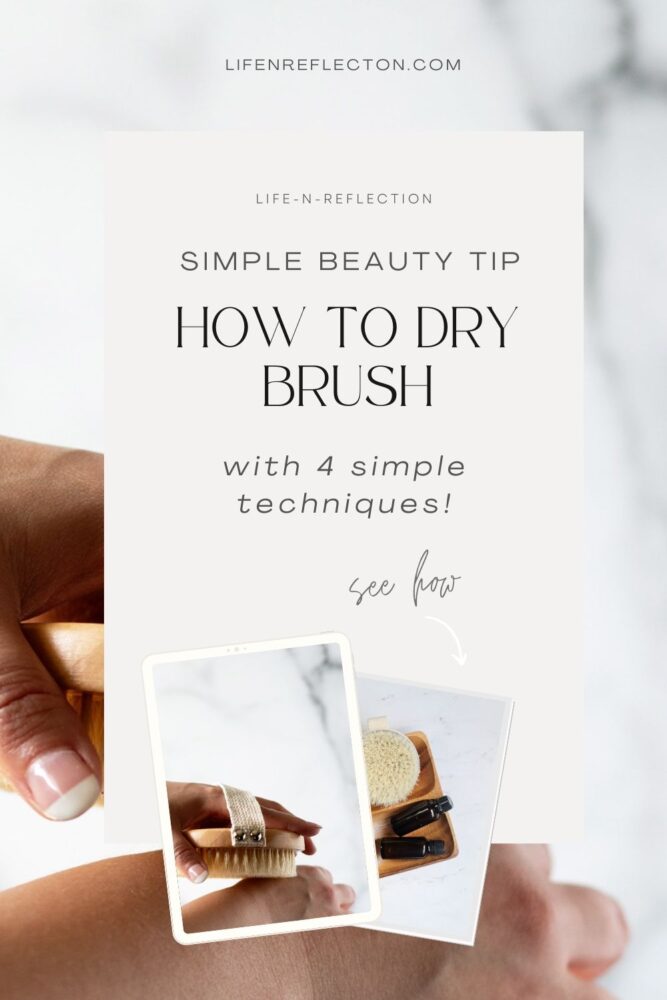
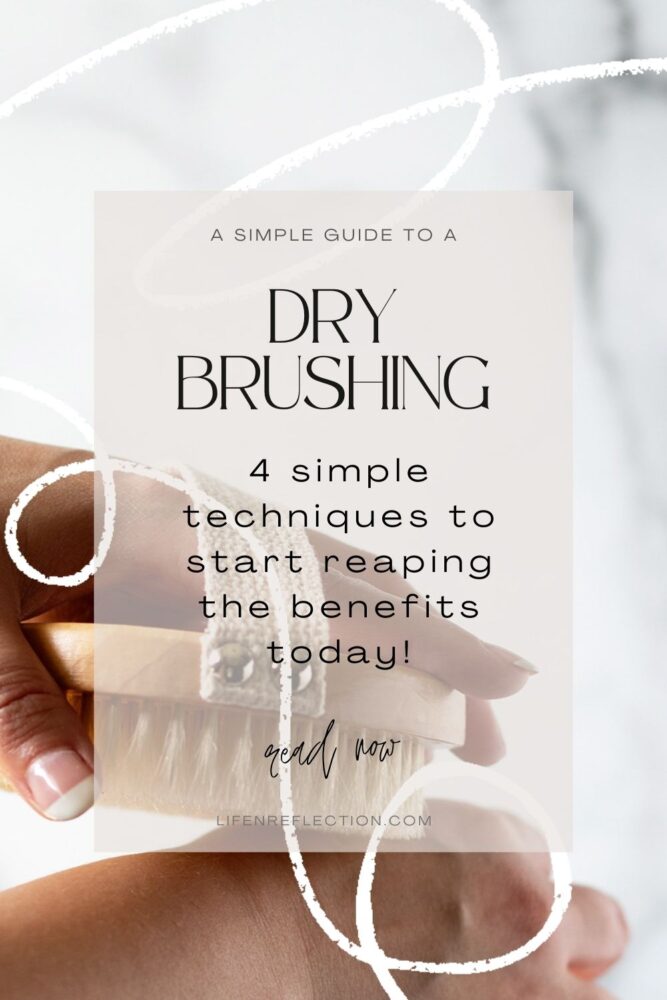
Learn how to dry brush with these four simple dry brushing techniques to start reaping dry brushing benefits for your body today.
I’m sure you’ve heard many things about dry brushing on your social media feeds and across almost every cover of beauty magazines on the newsstands today. It’s become so popular it’s earned the nickname “the juice cleanse of the beauty world.”
The simple act of dry brushing your skin for a few minutes a day or a few times a week benefits reach far beyond the surface of your skin.
Gwyneth Paltrow herself recommends dry brushing as GOOP informs, “… regular users and fans report more benefits when (dry brushing) becomes a permanent habit—from sweeping away dead skin cells to improving the appearance of skin.”
If you’re wondering what all the hype around dry brushing is about and if it works – keep reading to learn the ins and outs of how to dry brush with four simple dry brushing techniques anyone can do at home!
For your convenience, this post contains some affiliate links; read the full disclosure policy.

Are You Dying To Know What All the Hype About Dry Brushing Is?
The good news is that you don’t have to book an expensive spa package to find out all the hype about dry brushing! Dry brushing happens to be one of those beauty rituals like face steaming that feels just as good when applied by yourself as it does in the spa by a professional.
So, what is dry brushing? Essentially, it’s the beauty ritual of softly brushing your skin with dry, stiff-bristled brushes intended for the job over the surface of your skin.
What are the benefits of dry brushing? Unlike a body scrub or bath brush in the shower, dry brushing does more than exfoliate the skin and boosts circulation. In fact, dry brushing benefits have the means to stimulate the lymphatic system, helping to detox the body, for example.
And that’s just the beginning. Want to know more? Here are three reasons why you should start dry brushing!
Dry Brushing Benefits – 3 Reasons You Should Start Now!
1. Unclog Pores and Release Cell Build-up
The most apparent dry brushing benefits are exfoliating the skin and releasing cell build-up, such as dead skin and excess body oils. By unclogging your pores and distributing your natural oils, you’ll often find a natural glow after dry brushing in addition to softer, smoother skin.
2. Detoxify and Improve Cellulite
Speaking of smoother skin, one of the best benefits of learning how to dry brush is improving the appearance of cellulite. How does dry brushing cellulite work?
It starts by increasing blood circulation to the skin-softening fat cells under the skin, helping to release toxins from within. And stimulating the lymphatic system speeds up the process of our body’s natural detoxification system. Coupled together, dry-brushing cellulite is a natural remedy to this beauty dilemma.
3. Invigorate the Body and Mind
The soft-touch, sweeping, and circular motions for dry brushing feel incredible! These motions are similar to that of soothing a baby. It really eases the mind and helps you unwind after a busy day, in my experience. Others say they find dry brushing exhilarating and prefer to make it a part of their morning routine.
No matter what time of day you choose to incorporate dry brushing techniques, I know you’ll find it very satisfying and pragmatic to practice self-care.
Related To: How to Use a Jade Roller
What’s The Best Dry Brush?
You’ve likely found there are a lot of dry brushes available. Just like a jade roller, you’ll want to make sure you are buying the real deal. To find the best dry brush, look for one made with 100% boar hair bristles or vegetable fibers if you’re vegan.
Avoid synthetic fibers that could contain unnecessary toxins. And a handle made with sustainable bamboo is good for you and our environment.
A dry brush that fits in the palm of your hand is the easiest to use for most areas of the body. However, a brush with a long handle like this one is more practical for reaching areas such as the middle of the back. This is my favorite beginner dry brushing set as it includes both a long-handle dry brush, a handheld round brush, and an angled dry brush. With this, you’ve got every area covered!
How To Dry Brush In 4 Steps:
Here’s how to dry brush in just four simple steps. Dry brushing can be done before or after a bath or shower. Just be sure your skin and brush are dry before you begin.
1st Step:
Begin at your feet with light pressure, moving in small circular motions and brush in upward strokes toward your heart to encourage lymph flow to the body’s lymph ducts. Move up to your ankles, calves, thighs, and buttocks. And always work in slow movements.
2nd Step:
When you reach your torso area, move in a circular clockwise motion to aid digestion.
3rd Step:
From there, move up to your chest while being cautious of sensitive areas. And then work on your back. When you brush the chest and upper back, remember to brush downwards back toward the heart.
4th Step:
Finish by dry brushing your hands, wrists, and up the length of your arms. Avoid your face unless you have blemish-free, not irritated skin and a specific brush designed for the face.
Related To: Quick 4-Step Nightly Skin Care Routine
What To Do After Dry Brushing:
Once you’ve finished these four simple dry brushing techniques, you may notice a soft pink glow to your skin. However, it shouldn’t feel sore or irritated. If it does feel that way anywhere, you need to lighten your pressure in the next session.
Following a dry brushing session, you can shower or soak in the bath to rinse the cell build-up and hydrate your skin. Here are 10 bath soak recipes to inspire you!
If you’ve showered first, towel off and apply a moisturizer like one of my favorite beauty DIYs – green tea body butter.
How many times a week should you dry brush?
You can dry brush every day, but it’s not necessary. 5 to 30 minutes once or twice a week, to even as little as a few times a month, is all you need to take advantage of dry brushing benefits. Just find a routine that works best for you, then be consistent.

Simple Tips on How to Clean Dry Brush:
If you are dry brushing clean skin, you really don’t need to clean your dry brush very often. Cleaning your dry brush once a month is quite adequate.
The main issue with cleaning a dry brush is not getting the wood handle wet. I use a spritz of tea tree essential oil and distilled water on the bristles to keep them clean.
But, if you feel you must wash the bristles in soap and water, then use a gentle soap like tea tree Castile soap in a shallow dish of warm water. Dip the brush bristles into the warm, soapy water, avoiding the wood base and handle. Then, give a little swish or swirl in the water to clean.
After, pour out the soapy water and refill with warm water, repeating the steps above to rinse. Place the dry brush, bristles facing down, on a plush towel to dry.
My DIY makeup brush cleaner is handy for cleaning dry brushes. How long does a dry brush last? A well-made dry brush can last years. Only replace it when the bristles have worn.

You May Also Like:
- Wood Cutting Board Care
- Sun-Soaked Garden Beeswax Candles
- Lemon Cedar Dust Spray and Polish
- Lemon Poppy Seed Melt and Pour Soap Recipe
- DIY Gardeners Hand Scrub Recipe
Have you tried dry brushing? When do you prefer to dry brush, in the morning or at night? If you haven’t started yet, pin these dry brushing techniques to your Pinterest beauty tips board and tag #lifenreflection on Instagram to share your experience.