DIY Beeswax Wraps for Simple Living in the Kitchen
Every choice I make involves simple living. Rather it’s my nightly 4-step skincare routine or my zero waste cleaning kit, it all comes down to simplifying our day-to-day. And these DIY beeswax wraps are one of the biggest game-changers I’ve made in the kitchen.
What are Beeswax Wraps?
DIY beeswax wraps are made of a mixture of beeswax, jojoba oil, and pine resin that is infused into the fabric. The result is a sticky fabric that self-adheres and can be reused many times over.
Made of natural ingredients, reusable beeswax wrap has quickly gained popularity as an eco-friendly alternative to plastic food storage.
This post contains some affiliate links for your convenience, read the full disclosure policy.
How Do You Use Beeswax Wrap?
And if you are wondering how to use beeswax wrap – it’s really quite simple. It works just as well as plastic wrap or cling wrap. As a matter of fact, many think it works better because beeswax wrap allows food to breathe.
Whereas plastic wrap causes food to sweat, typically resulting in beads of moisture to pool on the top of plastic wrap. Which is kind of gross, really when you think about it…
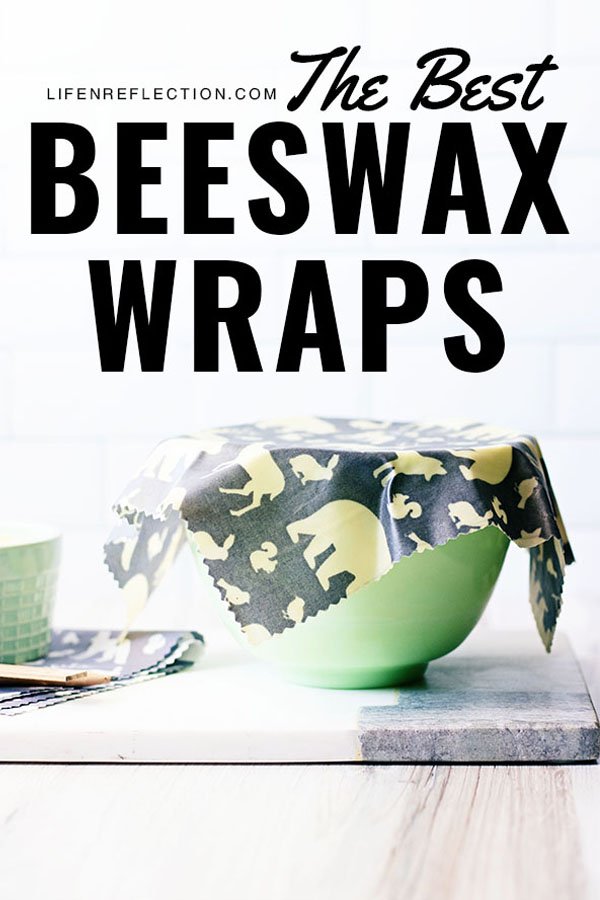
What can you use beeswax wrap for? You can cover leftover plates, bowls, or jars by placing a beeswax wrap over it and rubbing your thumb along the edge of the plate or container to create a seal.
You can wrap food like sandwiches, bananas, muffins, nuts, and cheese without the need for a plastic sandwich bag too!
Both of these make DIY beeswax wraps incredibly useful. We use them in our home, while traveling, or just to bring a snack for our toddler when we are out and about. They are useful to bring food to work or to send with school lunch.
And if you’re aiming for a plastic-free kitchen or home, reusable beeswax wraps are the way to go! Just think of all the waste you can cut down on by making reusable beeswax wraps!
Related To: How to Make Scented Beeswax Candles
What Do You Need to Make Beeswax Wraps?
I made a few versions of DIY beeswax wraps before I found the right ingredients and the best method to make beeswax wraps. Tossing beeswax pastilles onto a baking sheet with fabric and melting in the oven doesn’t make a good wrap. They really don’t stick or hold well. And while I’m quite familiar with using a double boiler, I know from making beeswax candles and lip balm for example just how difficult beeswax can be to remove from your pots.
So rest assured, I discovered the best way to make beeswax wraps! You’ll find my complete step-by-step instructions below and in my experience the best beeswax wrap recipe. Let’s get started with what you’ll need to make these zero waste wraps while covering a little Q and A.
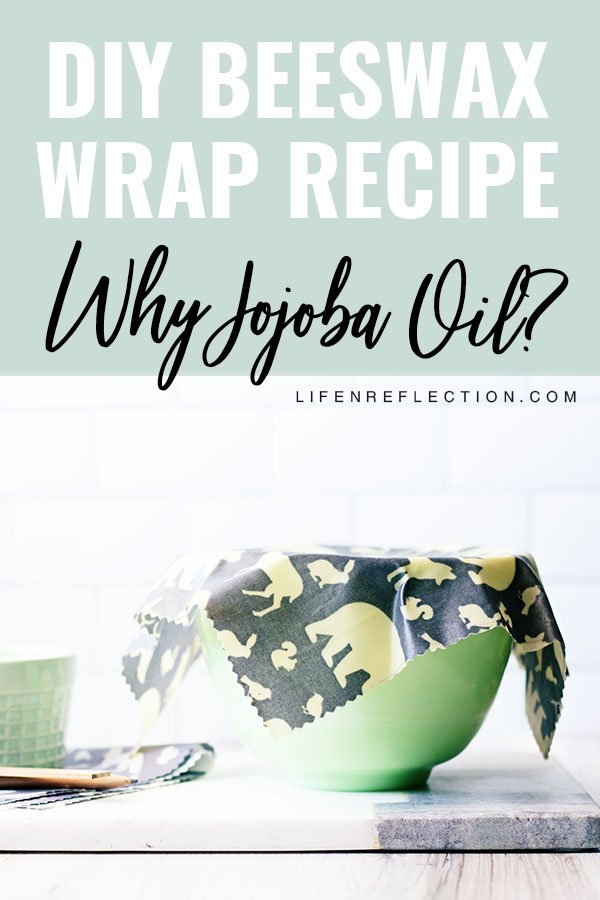
Why use jojoba oil in beeswax wraps?
I’ve seen this question asked a lot, jojoba oil plays a dual role when it comes to how to make beeswax wraps. Jojoba (Simmondsia Chinensis) is a long-lived, drought-resistant, perennial plant with interesting economic value as it is processed for liquid wax production. Yes, jojoba is actually a wax, which gives it some interesting uses.
- Jojoba oil creates flexibility in wraps helping to soften the beeswax and create a soft finish.
- It naturally contains antimicrobial, antibacterial, and antifungal properties. While studies found that jojoba oil doesn’t kill all bacterial or fungal species, it does kill certain bacteria and fungi that can cause salmonella, an E. coli infection, and others. All good things for food storage if you ask me!
Can you just use cooking oil to make beeswax wrap? Maybe, but I wouldn’t advise it. Jojoba oil doesn’t oxidize, which means it has a long shelf life and is stable in environments where other oils may falter.
Related To: Zero Waste DIY Cleaning Kit
What fabric is best for beeswax wraps?
100 percent cotton fabric works best to make beeswax wraps. You can choose any pattern you like! But, keep in mind some yellowing will occur due to the beeswax. I found it isn’t as noticeable on darker or colorful fabrics. Although I think the soft yellow hue is pretty anyhow.
I love the pattern fabrics from this organic fabric shop and this organic fabric shop both found on Etsy. Alternatively, beeswax wraps are a great way to use up leftover fabric scraps too.
How much fabric do you need to make beeswax wraps? It really depends on how many wraps you want to make. You can get several out of a ¼ yard or a fat quarter as fabric is commonly sold. I recommend 8 x 8 inches for small, 12 x 12 inches for medium, and 14 x 14 inches for large size wraps.
Another option is to measure the diameter of the bowls, plates, and jars you intend to cover. Then add about 3 inches to the diameter for a great fit.
Do you need pine resin to make beeswax wraps?
While some beeswax wrap recipes leave pine resin out, I’ve found it makes a high-quality wrap just like those selling for upwards of $15 per individual wrap! You see pine resin adds to the stickiness of the wrap and creates more durability and strength for a much better hold. You can find pine resin in a few forms, but powder resin is the easiest to work with. And you can get a 1 pound bag for less than cost one store-bought wrap. (Did you know you can use it to make pine tar soap too?)
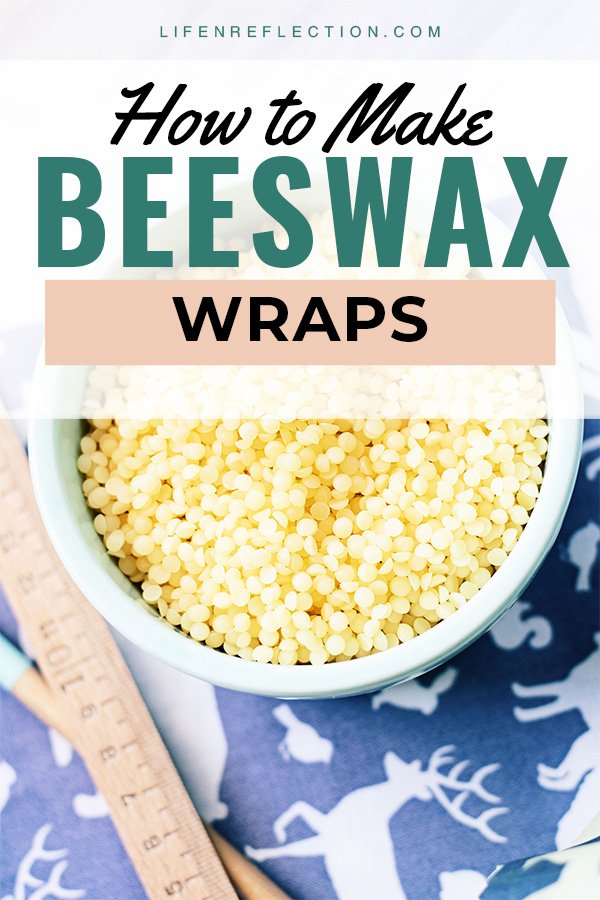
What type of beeswax is best to make DIY beeswax wraps?
While any type of beeswax will work, if you use a solid beeswax bar you will have to grate it. And trust me, grating beeswax is far from a simple task. The wax is really hard and as I mentioned before it’s hard to clean up. Beeswax pastilles are the way to go! They are very easy to use and measure.
Now that you’ve got your beeswax wrap recipe ingredients let’s get to the instructions.
How to Make Beeswax Wraps
DIY BEESWAX WRAP INGREDIENTS AND SUPPLIES:
cotton fabric
paintbrush
1 ½ teaspoons jojoba oil
6 teaspoons beeswax pastilles
1 ½ tablespoons pine resin powder
PREPARATION:
Start by washing and drying your fabric choice. Ironing is optional… Then decide if you want round or square beeswax wraps or an assortment of both. To prevent the fabric from fraying use pinking shears to cut each wrap.
I recommend the following sizes:
- Small 8×8 inch
- Medium 10×10 inch
- Large 12×12 inch
INSTRUCTIONS FOR DIY BEESWAX WRAPS:
1. Preheat the oven to 200 degrees F. Cover baking pans with parchment paper and place the cut fabric on top. (This makes a much easier cleanup.)
2. Combine 1 ½ teaspoons jojoba oil, 6 teaspoons beeswax pellets, and 1 ½ tablespoons pine resin powder into a medium mixing bowl. Stir with a metal spoon to mix.
3. Evenly sprinkle the mixture over each fabric wrap. Then place in the oven for 5 minutes. After carefully pull it from the oven and spread the mixture more evenly with a paintbrush. (I suggest dedicating a new paintbrush to this task, to keep things food-safe.) Use the paintbrush to push excess out of the wrap where it appears too thick.
4. Return both pans to the oven once you have a thin coating and melt for another 3 to 5 minutes. Once fully melted pull the wraps out of the oven again and spread the mixture once more with the paintbrush. You don’t need to flip the wraps as it will have soaked through to the other side.
5. Last, using kitchen tongs lift each beeswax wrap from the pan and give it a wave in the air for a few seconds over the pan to drip away any excess mixture and allow for cooling. (They do cool fairly quickly.) Preferably hang them to dry or lay on a new piece of parchment paper. I waited 24 hours before I used my DIY beeswax wraps.
Rather have a printable beeswax wrap recipe?
DIY Beeswax Wraps
The best DIY beeswax wraps recipe for simple living. Here’s how to make beeswax wraps with jojoba oil for a stronghold.
Materials
- 1 ½ teaspoons jojoba oil
- 6 teaspoons beeswax pastilles
- 1 ½ tablespoons pine resin powder
- cotton fabric
Tools
- pinking shears
- baking pans
- paint brush
- parchment paper
- kitchen tongs
Instructions
PREPARATION:
Start by washing and drying your fabric choice. Ironing is optional… Then, decide if you want round or square beeswax wraps or an assortment of both. To prevent the fabric from fraying, use pinking shears to cut each wrap.
I recommend the following sizes:
Small 8x8 inch
Medium 10x10 inch
Large 12x12 inch
INSTRUCTIONS FOR DIY BEESWAX WRAPS:
- Preheat the oven to 200 degrees F. Cover baking pans with parchment paper and place the cut fabric on top. (This makes a much easier cleanup.)
- Combine 1 ½ teaspoons jojoba oil, 6 teaspoons beeswax pellets, and 1 ½ tablespoons pine resin powder into a medium mixing bowl. Stir with a metal spoon to mix.
- Evenly sprinkle the mixture over each fabric wrap. Then place in the oven for 5 minutes. After carefully pulling from the oven, spread the mixture more evenly with a paintbrush. (I suggest dedicating a new paintbrush to this task to keep things food-safe.) Use the paintbrush to push excess out of the wrap where it appears too thick.
- Return both pans to the oven once you have a thin coating, and melt for another 3 to 5 minutes. Once fully melted, pull the wraps out of the oven again and spread the mixture once more with the paintbrush. You don’t need to flip the wraps as it will have soaked through to the other side.
- Last, using kitchen tongs, lift each beeswax wrap from the pan and give it a wave in the air for a few seconds over the pan to drip away any excess mixture and allow for cooling. (They do cool fairly quickly.) Preferably hang them to dry or lay on a new piece of parchment paper. I waited 24 hours before I used my DIY beeswax wraps.
Notes
I gotta say our DIY beeswax wraps have been a real game-changer for simple living.
Recommended Products
As an Amazon Associate and member of other affiliate programs, I earn from qualifying purchases.


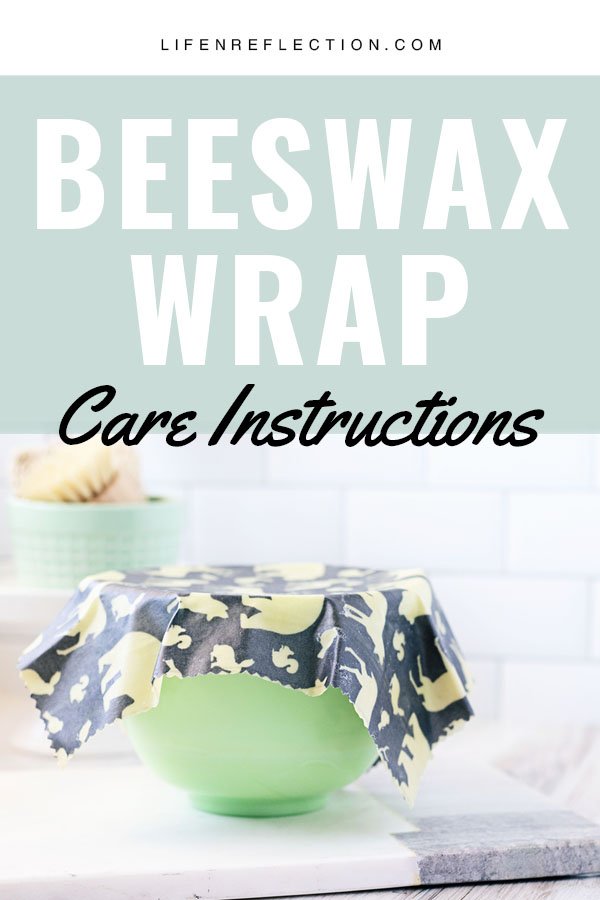
Tips on How to Care for DIY Beeswax Wraps:
How do you wash beeswax wraps? How water will melt the beeswax covering the wraps. So, make sure to only wash wraps in cold water. You can simply rinse or use a mild soap like castile soap. Rinse well and hang to dry.
How long do beeswax wraps last? Beeswax wraps will typically last a year with good care. Anytime you feel like they start to lose their stickiness you can refresh them by using the method above.
Can you put beeswax wraps in the freezer? To my surprise, you can! Wrap food as normal with a beeswax wrap and create a tight seal. It works well to cover pie crusts and cookie dough in the freezer. And as for the fridge, you can use beeswax just like you would have with plastic wrap. I love to wrap bananas I’ve cut in half for our toddler. It literally keeps until the next day without turning brown.
Can you use beeswax wraps for meat? Well, since the wraps cannot be washed with hot water, I don’t recommend using them for meat or fish.
What are beeswax wraps best used for? When it comes to how to use beeswax wraps – truly just about anything outside of meat or fish is game. Fruits, cheese, bread, herbs, vegetables, brownies, leftovers, are all things we wrap and cover with our DIY beeswax wraps.

Game-Changer
I gotta say our DIY beeswax wraps have been a real game-changer for simple living. Since figuring out how to make beeswax wraps I’ve reduced a lot of waste in our home and actually saved some space in our pantry too. They take up a lot less space than boxes of plastic wrap or sandwich bags.
Not to mention they are quite beautiful to use compared to plastic. And a great way to reuse fabric scraps you already have laying around. So are lavender linen sachets by the way. I’m planning to make a batch of beeswax wraps for gifts this year too.
Have you made DIY beeswax wraps? Tag #lifenreflection on Instagram to share yours with us. Pin these easy techniques on how to make and use beeswax wraps.
Hallo, first of all thank you for posting this tutorial. I tried it, and my results aren’t awesome. The wrap is pretty ummm funky, leaves quite a residue on my hands, and it doesn’t really stick to the bowl or itself when I try and close a bowl with it. Any idea what I may have done wrong, or advice on what to do to fix it? I am gonna melt them again and see if that makes any difference. I was pretty bla with the measurements, did it close enough but not perfectly… maybe that? Any advice for me please?
Not following the measurements certainly skews the results. Sounds like you may need to add more beeswax. Mine come out fine and I’ve been using them for about year.
Hi! Roughly how many wraps would this recipe make please? I know it’ll vary depending on their size but just an idea would be great. Thanks!
I made three wraps with this recipe but had excess to make more.