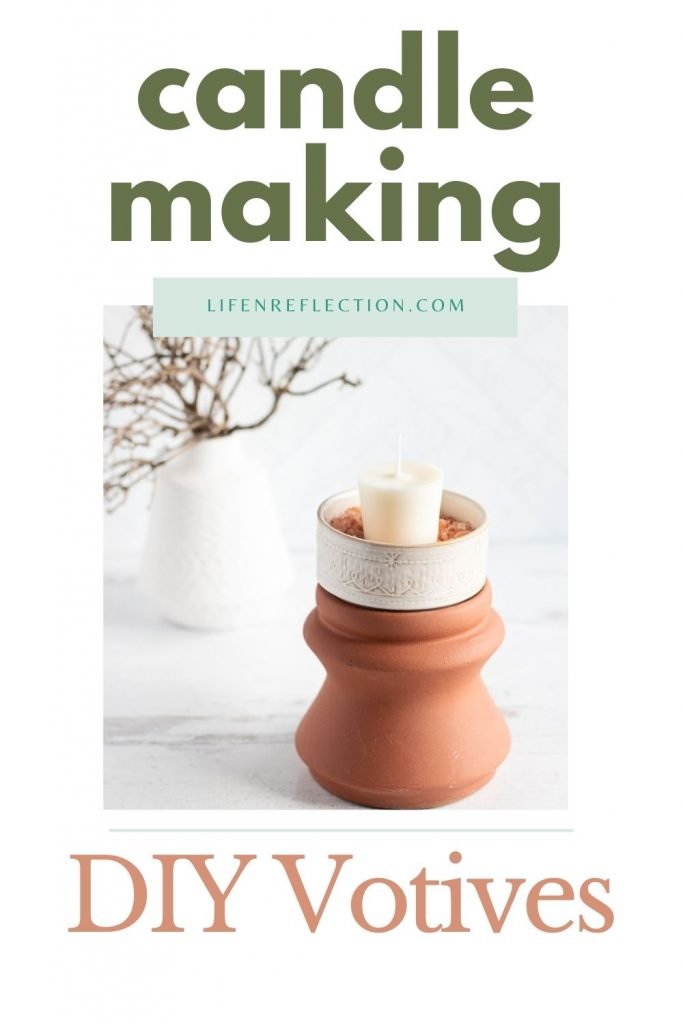
How to Make Votive Candles – THE EASY METHOD!
How to make votive candles without a candle mold or wick pins for that matter. You’ll love these dreamy white DIY soy votive candles!
Votive candles are a versatile staple in any home decor. From basic white to a rainbow of colors they can easily be adapted to your style. Showcase a single votive candle or create a dramatic display of flickering votive candles for a special occasion or just downtime.
For me, I prefer my votive candles fragrance-free in classic dreamy whites. So, if I have a whole table or sideboard lit up by votive candlelight, the scent won’t overwhelm or interfere with delicious dinner delights. The same can be said for homemade tea light and taper candles too.
Opting for fragrance-free candles also gives way to a much easier candle making process and affordable cost. Something I know other candle makers can appreciate. (If you are not a seasoned candle maker, let me point you to my Ultimate Soy Wax Candle Guide.)
Find everything you need to know on how to make votive candles: how much wax is needed for a votive candle, what candle wick size, and tips for smooth tops below. Let’s get started!
This post contains some affiliate links for your convenience, read our full disclosure policy.
How do you make homemade votive candles?
Homemade votive candles are arguably one of the easiest types of candles to make outside of a container. And a good starting point toward learning how to make pillar candles. Which now feels a little less intimidating to me since mastering votive candle making.
But, figuring out how to make votive candles wasn’t easy as I hoped it would be. I really, really wanted to make votive candles with a silicone mold. I’ve found silicone molds are a breeze to work with for candle and soap making. Unfortunately, all I could find were metal votive candle molds with wick pins and hard plastic molds.
The metal molds require some type of sealant around the wick pins and just seem too complicated all around. Truth be told, I have tried making candles with metal tart pans in the past and the candles got stuck. And no amount of ideas were able to free them.
So, I purchased plastic votive molds with high hopes. These didn’t require a sealant but a candle mold release spray was recommended. On reading the label of such spray, I choose to coat the molds with olive oil instead.
That didn’t work either and once again the candles were stuck in the mold. I tried the freezer trick and the votives cracked. I tried tapping the candles on the counter… and so on. I was able to remove only 4 votives out of the 12 I made! Just one of the four didn’t crack upon removal.
This failure led me to a deep dive into other methods to make votive candles. And through which I found the idea of using paper dixie cups. To my surprise, they are exactly the diameter and size of votive candles.
An even bigger shocker – they worked! The votive candles didn’t get stuck in the dixie cups.
They don’t require any mold release spray or oil. Nor do you need to mess with sealant and wick pins. You can place the wicks just like you do when making container candles.
I didn’t encounter any issues with cracking using dixie cups either. That being said, rather you choose to try a candle mold or opt for paper dixie cups like me, you’ll still need the same amount of wax.
How much wax is needed for a votive candle?
Votive candles are typically 3 ounces. You can make votive candles without a candle mold using 3 ounce dixie cups.
To calculate the amount of candle wax you’ll need to make a votive candle use our candles wax formula:
The number of candles you want to make (multiplied by) the volume of your container (divided by) 20 (equals) how much wax per candle you need in pounds.
For this tutorial we are making 6 votive candles:
6 candles x 3 ounces = 18 / 20 = 0.90 pounds of wax
Because there can be some shrinkage after pouring, I added a little extra wax to smooth the tops bringing it to an even 1 pound of soy wax.
For more tips on how to measure candle wax see our guide here with printable charts. If you are adding fragrance or color use or candle fragrance calculator and method for creating color candles.
What candle wick size do you need to make votive candles?
I’ve learned choosing the right candle wick size is crucial to avoiding candle problems. And there are more than a handful of things to consider when choosing the correct candle wick.
Luckily, I’ve done the work for you with easy-to-use candle wick size charts!
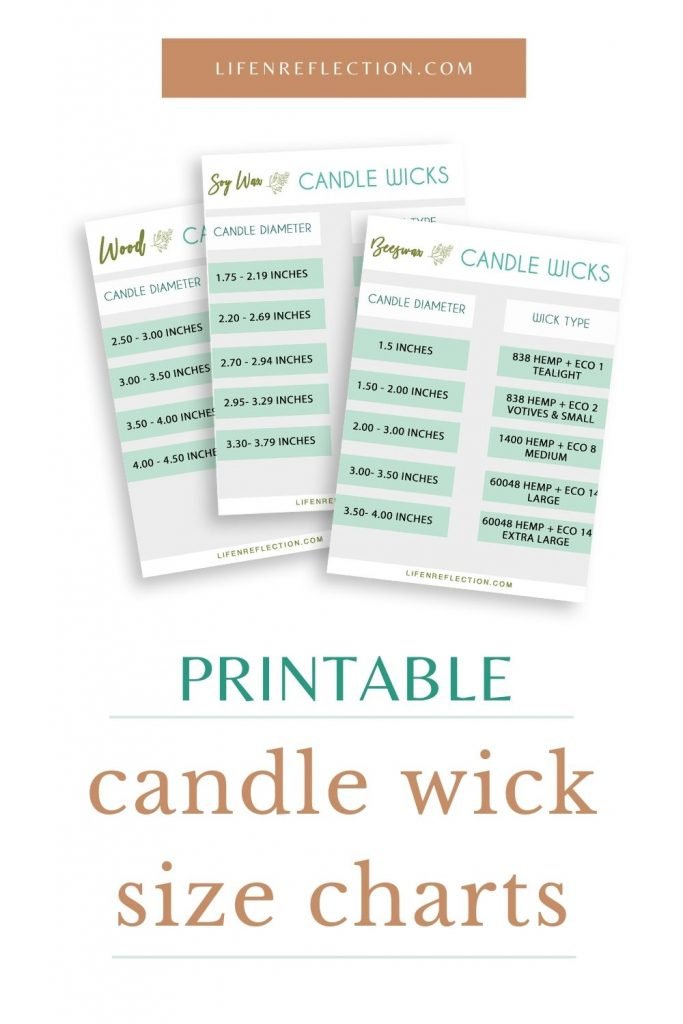
Find all of our printable candle wick charts in the Simple Living Library. Learn everything you need to know about candle wick types and sizes in our all-in-one candle wick guide.
Rather you are using candle molds or dixie cups to make votive candles you’ll be looking at a 2-inch diameter. So, when we refer to our soy wax candle wick size chart, we see we need an extra small wick. An ECO 4 or LX 12 candle wick size will work best.
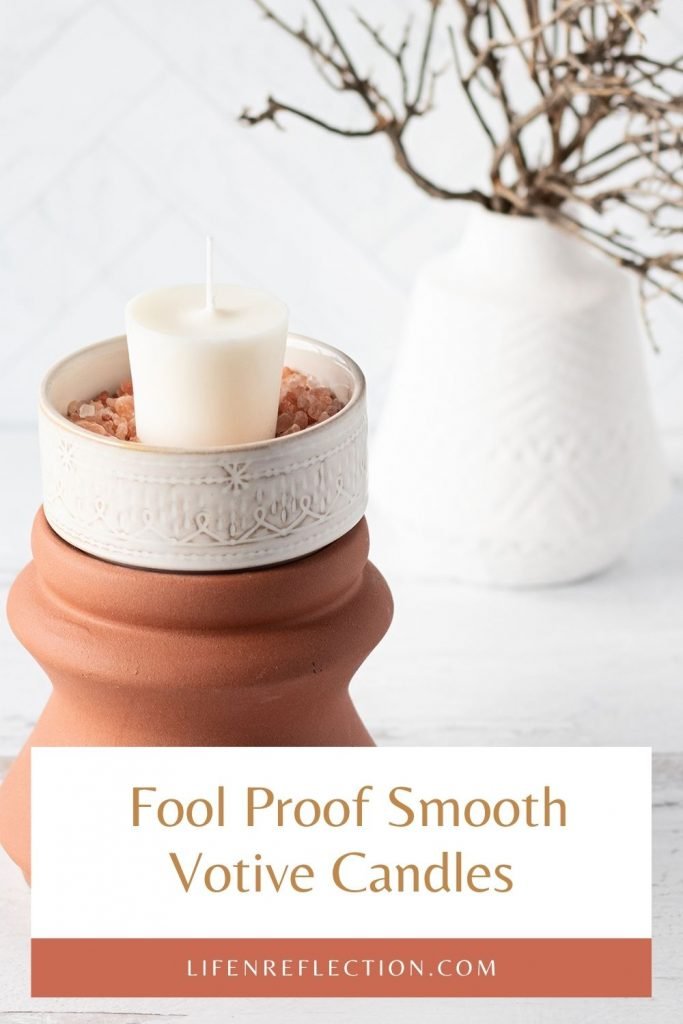
How to Make Votive Candles Without a Candle Mold
You can make these dreamy white DIY soy votive candles at home too with my easy votive candle making method! No wax sealant, spray, wick pins, or freezing involved.
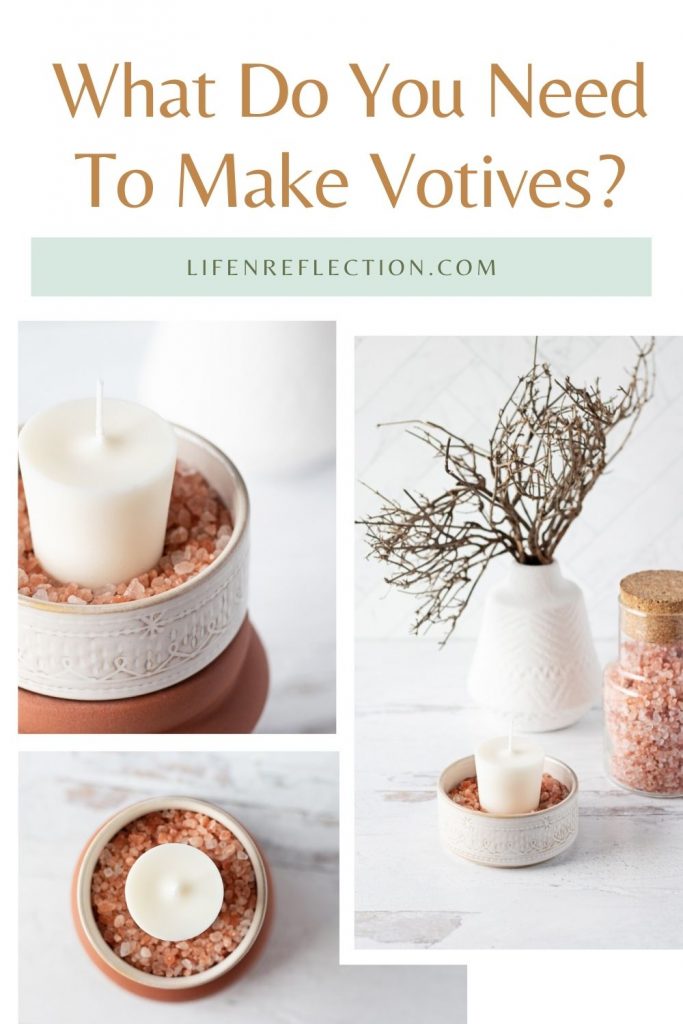
Votive Candle Supplies:
- 6 votive candle molds or 6 paper 3-ounce dixie cups
- 6 glue dots
- 1 pound of soy wax flakes
- 6 eco 4 cotton wicks or small soy wax dipped wicks for votives
Instructions to Make Votive Candles:
Step 1:
I recommend using a cookie sheet covered with parchment or wax paper to place the dixie cups or individual candle molds on. This makes them easy to move on your surface without causing any cracking or disrupting the curing process.
Press a small soy wax dipped wick into a glue dot on the roll. Then place it into the center base of a dixie cup. Repeat for each dixie cup or candle mold.
Step 2:
Next, use a kitchen scale to measure 1 lb of soy wax flakes. And pour the soy wax into a candle melting pitcher. You’ll want to use a small one like this designed for small-batch candles.
Step 3:
Place the filled pitcher inside a saucepan filled with approximately 2 inches of water. Using the double boiler method, heat on low heat up to 150°F. Stir slowly, yet often with a heat-resistant silicone spatula.
Step 4:
After the wax is completely melted, turn off the heat source and pour the wax at 130°F to 140°F. Fill each dixie cup three-fourths full. Place the pitcher with the remaining wax back in the double boiler. Place clothespins or other wick-centering devices on each wick to hold the wicks upright.
Step 5:
Allow the poured votive candles to cool for 10 minutes. You want the candles to still be warm so the two layers of wax have good adhesion.
(If you poured too fast and created air bubbles, use a toothpick to pop those.) Reheat the saved wax as needed.
Remove the wick holders and SLOWLY pour the remaining wax over each votive aiming for the brim without overfilling. This will fill in any air holes, shrinkage, or uneven surfaces creating beautiful smooth tops! (The second pour is the secret to consistent smooth tops.)
Step 6:
After the second pour let the votive candles cure for 24 hours. To remove the candles you just peel the dixie cup off. It’s so easy!
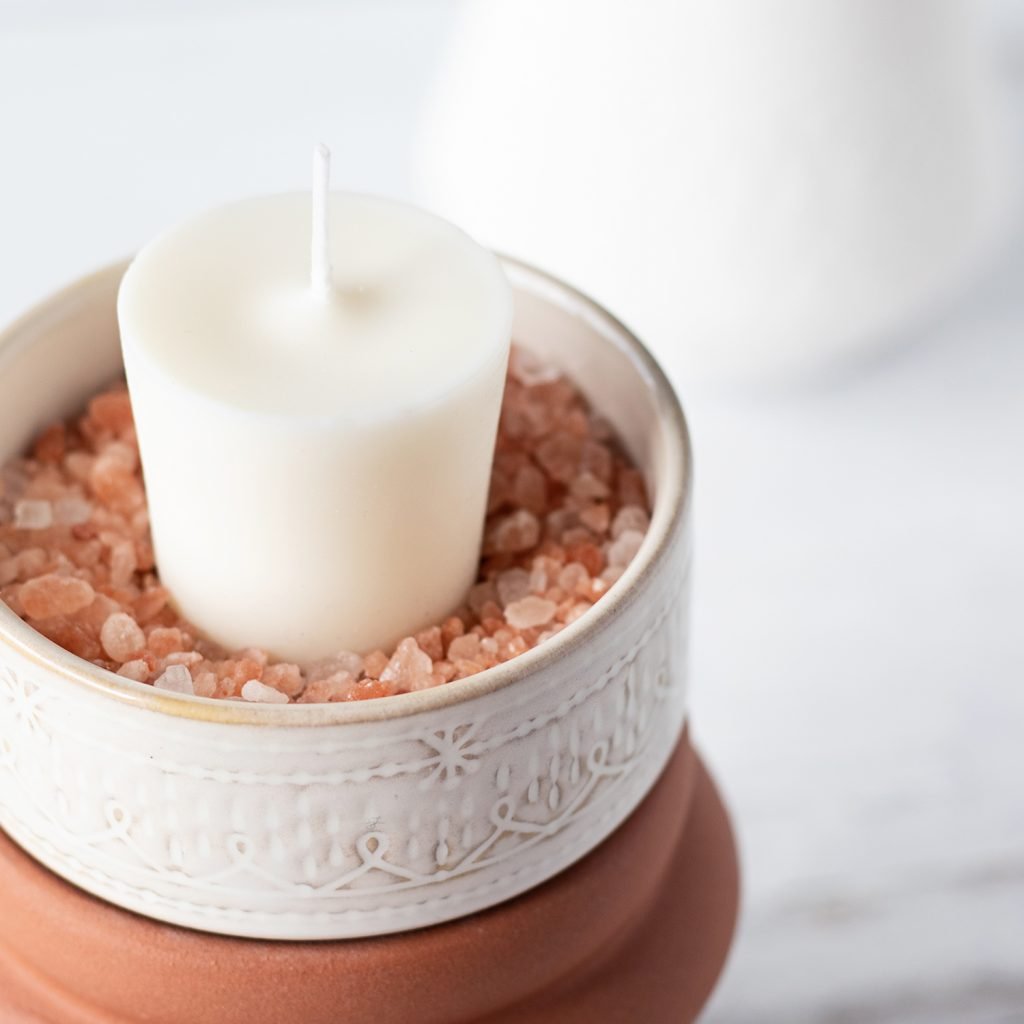
Don’t forget to trim the wicks to ¼ an inch and place in a votive candle holder before lighting.
I know you will be pleased with how easy it is to make fragrance-free white soy wax votive candles! They add classic charm to any space, no matter your style. Remember it is important to burn votives only in a holder that is intended for votives. If you are looking for candle holder ideas? Stop here with these 15 creative candle decorating ideas for any space!
YOU MAY ALSO LIKE:
PRINTABLE CANDLE MAKING INSTRUCTIONS:

How to Make Votive Candles
You can make these dreamy white DIY soy votive candles at home too with my easy candle-making method!
Materials
- 6 eco 4 cotton wicks or small soy wax-dipped wicks for votives
- 1 pound of soy wax flakes
- 6 votive candle molds or 6 paper 3-ounce dixie cups
- 6 glue dots
Tools
- kitchen scale
- candle melting pitcher
- silicone spatula
- infrared thermometer
Instructions
Step 1:
- I recommend using a cookie sheet covered with parchment or wax paper to place the dixie cups or individual candle molds on. This makes them easy to move on your surface without causing any cracking or disrupting the curing process.
- Press a small soy wax dipped wick into a glue dot on the roll. Then place it into the center base of a dixie cup. Repeat for each dixie cup or candle mold.
Step 2:
- Next, use a kitchen scale to measure 1 lb of soy wax flakes. And pour the soy wax into a candle melting pitcher. You’ll want to use a small one like this designed for small-batch candles.
Step 3:
- Place the filled pitcher inside a saucepan filled with approximately 2 inches of water. Using the double boiler method, heat on low heat up to 150°F. (I use an infrared thermometer for a contact-free, easy reading.) Stir slowly, yet often with a heat-resistant silicone spatula.
Step 4:
- Once the wax is completely melted, turn off the heat source and pour at 130°F to 140°F. Fill each dixie cup three-fourths full. Place the pitcher with the remaining wax back in the double boiler. Place clothespins or other wick-centering devices on each wick to hold the wicks upright.
Step 5:
- Allow the poured votive candles to cool for 10 minutes. You want the candles to still be warm so the two layers of wax have good adhesion.
- (If you poured too fast and created air bubbles, use a toothpick to pop those.) Reheat the saved wax as needed.
- Remove the wick holders and SLOWLY pour the remaining wax over each votive aiming for the brim without overfilling. This will fill in any air holes, shrinkage, or uneven surfaces creating beautiful smooth tops! (The second pour is the secret to consistent smooth tops.)
Step 6:
- After the second pour let the votive candles cure for 24 hours. Then to remove the candles you just peel the dixie cup off. So easy!
- Trim the wicks to ¼ an inch and place each in a votive candle holder before lighting.
Notes
If you are looking for candle holder ideas? Stop here with these 15 creative candle decorating ideas for any space!
Recommended Products
As an Amazon Associate and member of other affiliate programs, I earn from qualifying purchases.


Pin this easy method for how to make votive candles now and don’t miss the candle making printables above! Tag #lifenreflection on Instagram to share your candle making with us.
I make beeswax votives with k-cups and metal wick pins. I fill the puncture hole with a bit of poster putty, and lubricate the cups and pins. No second pour, nor 24-hour cure. Just cool to room temperature, remove, and insert wicks. A pound of beeswax yields at least a dozen.
That is a brilliant idea too!! Do you use the reusable type of K-cup? Or remove the tip and rinse out a used one?