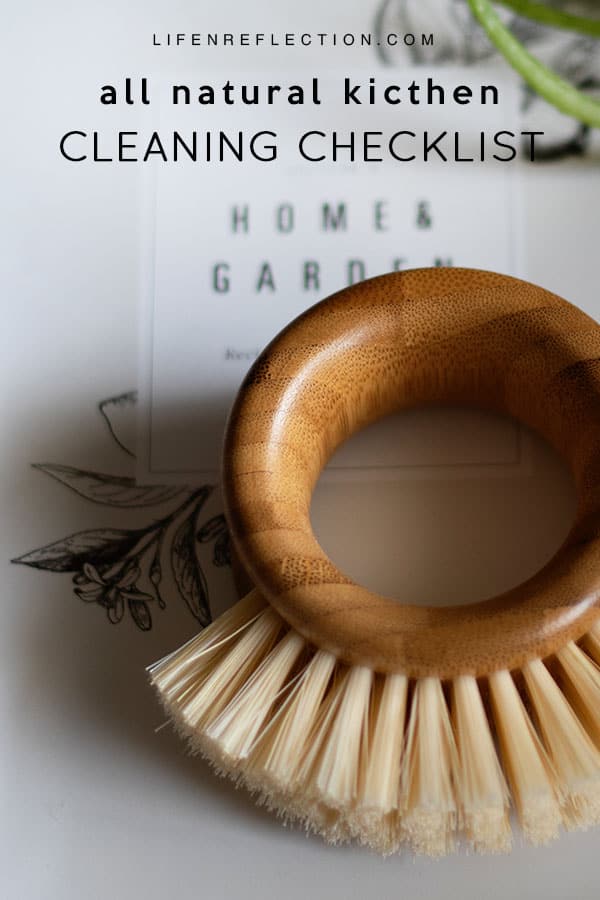
Are you ready to tackle your kitchen cleaning checklist without toxic fumes?
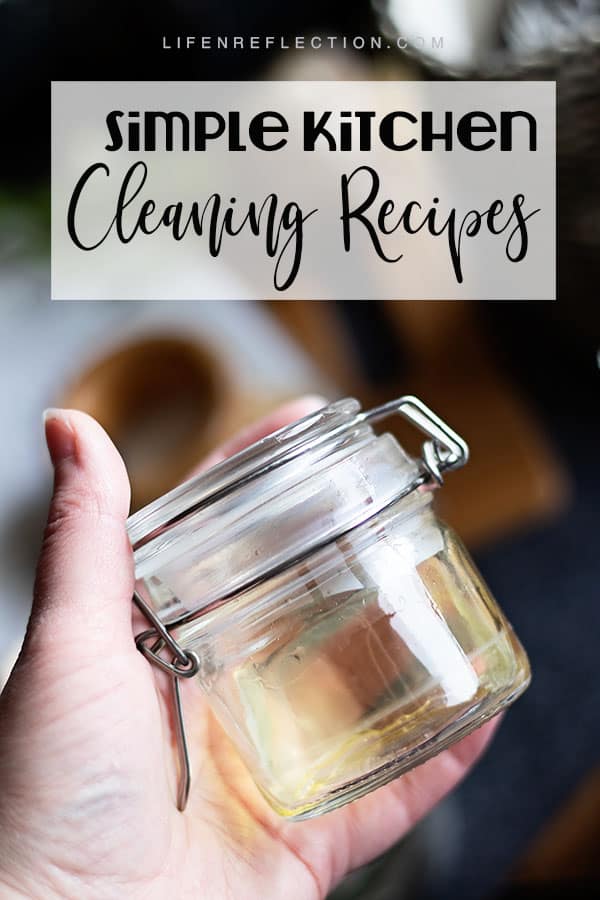
Don’t miss this natural kitchen cleaning checklist with a dozen natural cleaning recipes to ditch and switch your kitchen cleaners.
Maybe you’ve been asking yourself, “What does natural cleaning involve, and is it really worth the effort?
Unfortunately, if you live in the US, no laws govern the requirements of what is disclosed on product labels for cleaners, cosmetics, perfumes, air fresheners, skincare products, and the list goes on.
Sadly, the Environmental Working Group reports that the average household contains 62 known toxic chemicals to our health. Therefore, finding safe cleaning products to clean our kitchen alone is a major obstacle.
This post contains some affiliate links for your convenience; read the full disclosure policy.
Related: 20 Must-Have Green Living Essentials
Related: How to Clean with Essential Oils
How do clean countertops naturally, or the stove, microwave, or fridge???
In short, you will discover that only a few basic cleaning agents are needed to create natural kitchen cleaning products. To clarify, everyday items such as vinegar, peroxide, and alcohol effectively kill germs and sanitize surfaces. Each can be easily found at your local supermarket or purchased in bulk online.
Here’s a quick list of five natural kitchen cleaning staples we use in our home. By keeping these natural cleaning agents on hand, you’ll be able to whip up a cleaner and tackle your kitchen cleaning checklist in no time!
(or scroll down to find all my simple, natural cleaning recipes for the kitchen and a printable kitchen cleaning checklist)

TOP 5 NATURAL KITCHEN CLEANING AGENTS
#1 LEMON
Did you know lemon is a great natural deodorizer in addition to antibacterial? This makes it quite perfect for everyday kitchen clean-up!
And it’s exactly why I make Lemon Zest Hand Soap for our kitchen. Not to mention, it’s wonderful at removing unpleasant culinary aromas from your hands.
#2 BAKING SODA
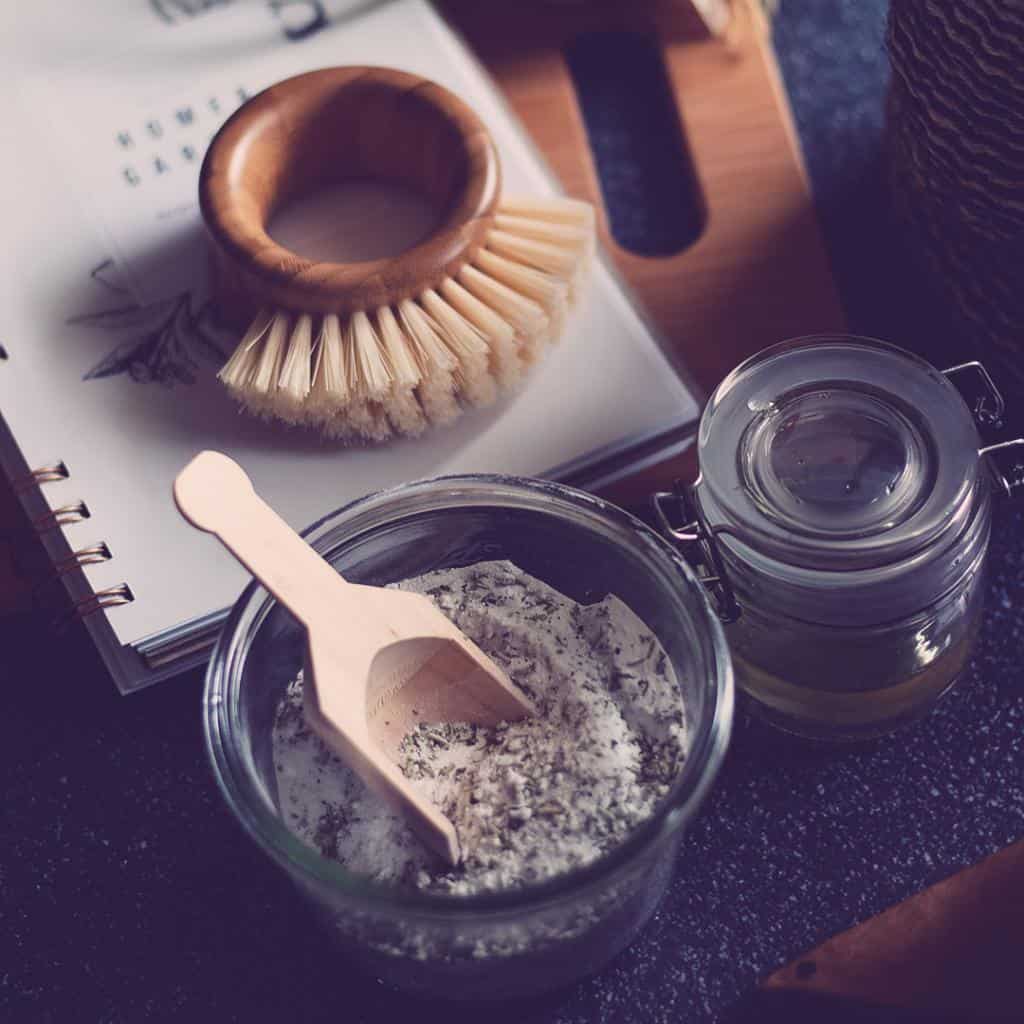
Similarly, baking soda is a naturally occurring substance, also known as sodium bicarbonate. Popular for its use as an odor absorber and scouring agent. Baking soda is effective in natural cleaning recipes to fight against dirt, grease, and odors. This clean agent alone is a must-have for kitchen cleaning; find it in a one-pound bag here.
#3 WHITE DISTILLED VINEGAR
I’ve often been asked is it better to clean with white vinegar or apple cider vinegar? To clarify, white distilled vinegar and apple cider vinegar share the same benefits for cleaning. Both are biodegradable, nontoxic cleaning agents with a very similar acidity level. However, I simply choose white distilled vinegar over apple cider vinegar because the scent isn’t nearly as strong, and the odor can easily be masked with essential oils.
#4 HYDROGEN PEROXIDE
Using hydrogen peroxide for kitchen cleaning is practical, non-toxic, and cheap! It is antibacterial, anti-fungal, anti-mold, and anti-mildew, so it clearly makes sense to use it as a household cleaner. However, it can take some time to kill all the tiny pathogens. Therefore, if you are using it to sanitize, let it sit while you clean other areas.
#5 Alcohol
Rubbing alcohol, isopropyl alcohol, or vodka are one and the same when you’re making natural cleaning recipes. The high alcohol content of vodka happens to be perfect for killing mildew, mold, and germs. However, all of these alcohol options are really helpful for polishing chrome and glass in addition to killing odors. And each is antiseptic, which is why you may have seen vodka poured on wounds in cowboy movies.
You May Also Like: 6 Cleaners to Stop Buying
You May Also Like: 3 Reasons to Use Wool Dryer Balls

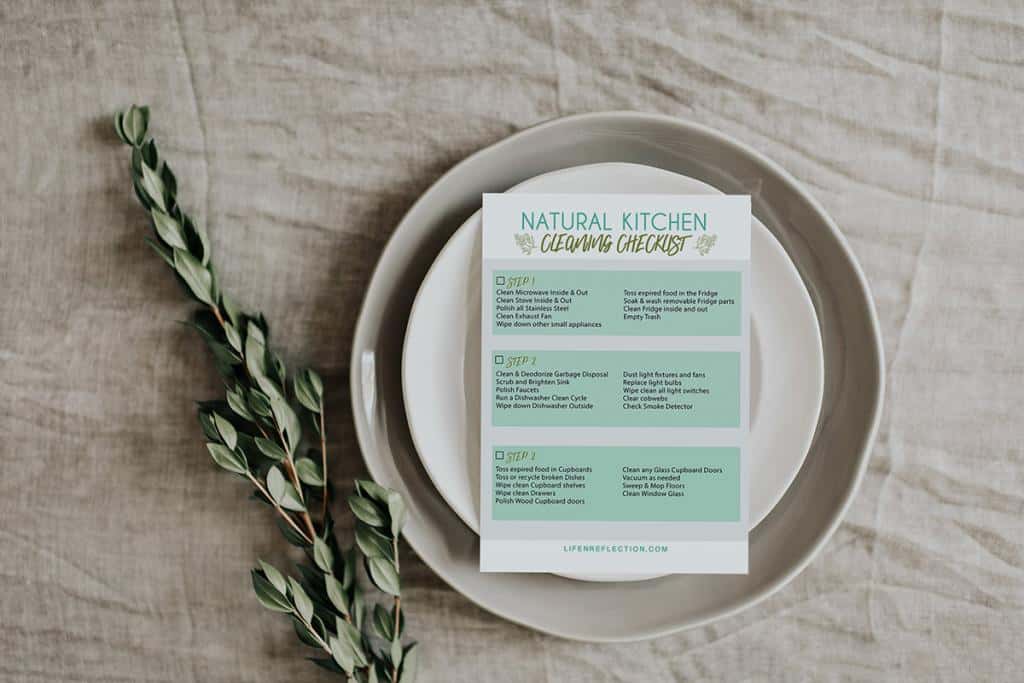
The Ultimate Natural Kitchen Cleaning Checklist to Ditch and Switch
Now that you’ve covered the basics of natural cleaning, I’m going to share with you my kitchen cleaning checklist and each natural cleaning recipe I use. Let’s start cleaning!
Step 1: Clean the Stove and Microwave
Start with my quick 3 step process to clean the microwave. It’s so fast it’ll give you the boost of motivation you need to keep going once you’ve started.
After that, put on your cleaning gloves to de-grime the oven and de-grease the stovetop with my recipe for a heavy-duty natural kitchen cleaner.
Use its kitchen cleaning power as a natural scrubbing cleaner by spraying the stovetop, adding a small amount of water, and scrubbing with a scrub brush. Repeat as necessary and wipe clean with a damp cloth.
If it’s grease you’re after – spray the stovetop and sprinkle two teaspoons of baking soda over the stove. Scrub with a scrub brush and wipe clean with a damp cloth.
Last, if either your microwave or stove are stainless steel, give them a polish with my two-step stainless steel natural cleaning method.
Step 2: Clean the Sink, Dishwasher and Garbage Disposal
With your microwave fresh as rain and your stove looking good as new, tackle the next area. Put away all your dishes and pop some homemade dishwasher detergent along with this simple DIY rinse aid into your dishwasher. After that run, the dishwasher on empty to give it a much-needed refresh.
DIY Rinse Aid:
Pour one cup of 3% hydrogen peroxide into an airtight glass bottle. Next, add 10 to 15 drops of essential oil such as lemon or lavender. Place the lid on the bottle and shake to infuse. Add it to the rinse aid compartment of your dishwasher.
Clean the Garbage Disposal:
- Fill the drain with two cups of ice.
- Pour one cup of sea salt over the ice.
- Lift the faucet to release a stream of cold water and turn on the garbage disposal. Let each run until the ice is gone. Then turn off the faucet and disposal. The coarse salt and ice will work together to remove grime in the disposal and drain.
- Peel a lemon and slice in half. Squeeze the lemon juice into a small bowl and set aside. Fill the drain with the peels and the halves.
- Next, turn on the hot water and let the disposal run for 15 seconds or until clear. The lemon peels will help disinfect and deodorize the disposal and drain.
Speaking of garbage, if your kitchen trash is constantly filling the room with odors – check out my easy DIY garbage can deodorizer pods.
Now, let’s get to my favorite part of kitchen cleaning – brightening the sink!! It doesn’t matter if you have a stainless steel sink or white stone farmhouse sink like me. You’re going to notice filth and stains from typical everyday use.
I’ve got just what you need to cut through tough stains and brighten your kitchen sink with an all-natural, very effective homemade scouring powder. It’s an affordable, easy kitchen cleaning recipe you’re gonna love too!
Step 3: Clean the Fridge Inside and Out
How to properly clean and deodorize the fridge leaves many puzzled. Use these four easy-to-follow kitchen cleaning steps to overhaul this often overlooked area.
The first step is to empty the fridge. And this means everything – drawers, shelves, compartments, and food. The next step requires cleaning every surface like this:
- Place all the parts of the fridge you were able to remove in the sink to soak with warm soapy water.
- Next, spray down all surfaces with a natural surface spray. For spills that may have been there a bit too long, use my heavy duty kitchen cleaner. Dry all the surfaces with a cloth and return to the sink.
- Wash and dry all the things you had soaking and return them to the fridge.
The third step is to deodorize the fridge. Make this simple natural cleaning recipe for a fresh breeze of lemon every time you open the fridge!
And the final step is to give the outside of your fridge a good cleaning. Use the multipurpose surface cleaner for standard refrigerators and a DIY stainless steel spray for those who like it shiny, like me.
Step 4: Clean the Cupboards and Countertops
You’re almost there, don’t stop now! Remove everything from your kitchen cupboards and pantry. Toss expired foods and broken items. Fill bins or bags to donate or sell what you don’t use or need. If you need inspiration on this step, grab the widely popular book The Life-Changing Magic of Tidying Up by Marie Kondo or watch the Netflix series Tidying Up.
After tackling this major kitchen organization step, you can begin to wipe clean every cupboard shelf with either an all-purpose surface cleaner or a DIY wood cleaner depending on how your cupboards are made.
Last, bring new life to your kitchen cupboards by polishing cupboard doors with lemon cedar wood polish. It’s one of my favorite natural cleaning recipes!
Step 5: Clean the Floor
You’ve nearly cleaned the kitchen from top to bottom. This final step is to clean the floor, of course. Start with sweeping to remove dust and fallen food. Next, for wood floors, dilute the wood cleaner mentioned above in a sink of hot water. For everything but wood floors, find my recipe and tips for natural floor cleaning wipes in the book No-Nonsense Natural Bathroom Cleaning.

Pin this natural kitchen cleaning checklist to simplify cleaning in the heart of the home. Then when you are ready, print the kitchen cleaning checklist above if you enjoy checking things off a list too. Tag us on Instagram #lifenreflection to share your natural cleaning tips with us.