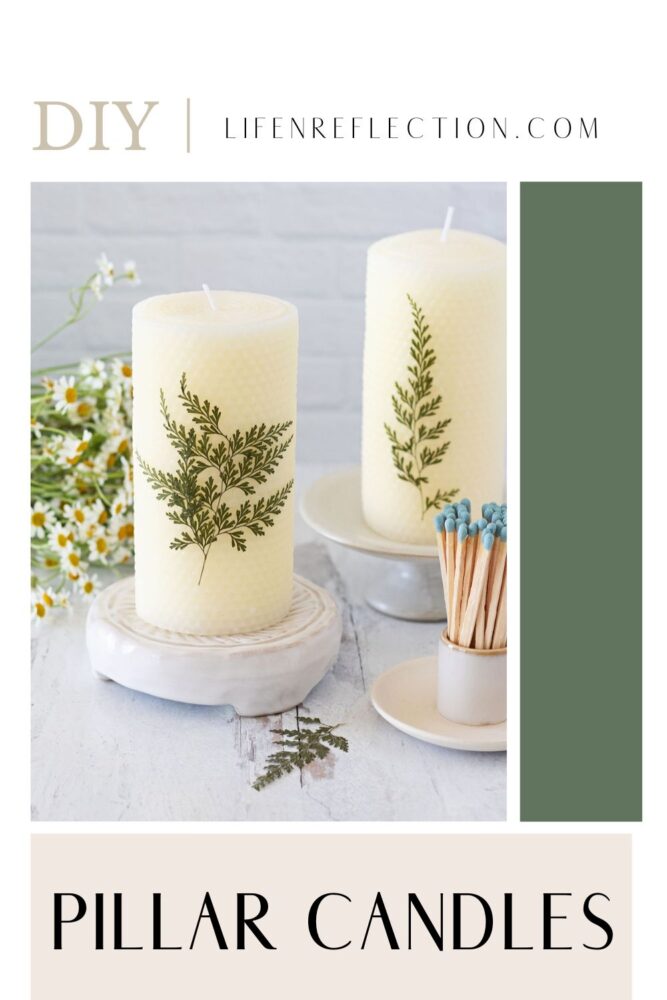
Pressed Leaf Candle Pillars Tutorial: Unique Home Decor
Pressed leaf candle pillars tutorial: an easy method on how to make beeswax candle pillars with pressed leaves for unique home decor!
I am an avid candle maker: hence my latest book, Creative Candle Made Simple, but there are a few types of candles I haven’t made. Hovering at the top of my shortlist to make – are pillar candles.
What is a pillar candle? A pillar candle is a cylinder-like shape candle made to stand alone without a container. They can vary in height and width, styles, or colors, but all are made from strong wax (typically paraffin wax) in order to hold their shape without the use of a container.
I prefer to make candles with natural wax types, so I was glad to learn you can make pillar candles with beeswax. So if you’ve been questioning, is beeswax good for pillars? I’m happy to report that beeswax can be used to make all types of candles, including tapers, votives, containers, and pillars.
It’s truly one of the best candle waxes on the market and meets the needs of conscious consumers looking for environmentally friendly candle wax.
The next step was figuring out how to make beeswax pillar candles at home versus a factory with machines, trays of candle molds, and conveyor belts. Because I definitely do not live in a castle with a factory in my attic like the creator of Edward Scissors Hands.
I came across various plastic and silicone molds to make candles. But, all of them looked overwhelmingly complicated and expensive, so I put the idea on the back burner.
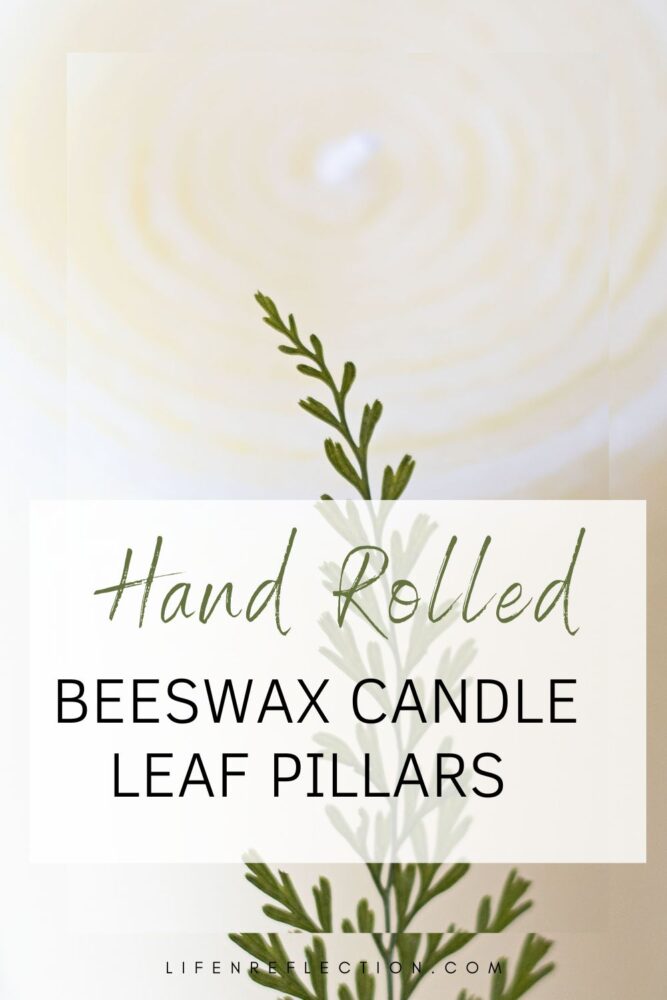
Until recently, when I discovered a simple and fun way to make beeswax sheets into pillar candles when I made beeswax tapers for the fifth time!
Now you can learn how to make beeswax pillar candles, too, with my detailed guide, including tips for pressing leaves to make green leaf candle pillars and step-by-step instructions to roll beeswax sheets into a large candle pillar.
This post contains some affiliate links for your convenience; read the full disclosure policy.
Related To: Common Candle Making Questions People Ask
How Do You Press Leaves?
You can embrace nature and elevate your home decor with beautiful pressed leaf candle pillars. Each delicate green leaf candle pillar will add a refreshing outdoor vibe to your space. And if you’re looking for a unique gift that is both natural and beautiful – you’ve found it!
But before we jump into how to make beeswax pillar candles, I want to share four ways to press leaves. Each work well, and one is not necessarily better than the other. The big difference in my experience is the time or effort involved.
Four Pressed Leaf Techniques
#1 Book Page Pressing
Tuck individual leaves or stems of leaves in between pages of a book or journal. Close the book, place something heavy on top, and wait several weeks for the leaves to press flat. The most significant advantage of this technique is that it’s free!
#2 Wooden Press
The traditional method of botanical pressing uses a wooden press. Place many layers of leaves between thin drying papers and sandwich them between the wood. Like book page pressing, this technique also takes several weeks.
#3 Iron Pressing
Place leaves between parchment paper and press firmly with a dry, hot iron for this technique. The results are fast, but it’s easy to burn your botanicals and your hands in the process.
#4 Microwave Press
This leaf pressing technique is relatively new, but it works really well. In my experience, leaves and flowers kept their color better than other methods. And it only takes minutes to zap them dry and flat in the microwave with a microwave press. Have you seen this incredible microwave pressing before and after?
Where can I buy pressed leaves?
If you don’t have access to leaves in woodlands or a garden, you might consider buying pressed leaves. On occasion, they can be found in the papercrafts area of your local craft store. But you can always order them online.
Just make sure you purchase leaves that are pressed flat versus dried bundles, like the way dried eucalyptus is sold.
Now, let’s add a touch of uniqueness to your home decor with our DIY pressed leaf candle pillars tutorial!
Related To: Pressed Flower Candle Jars
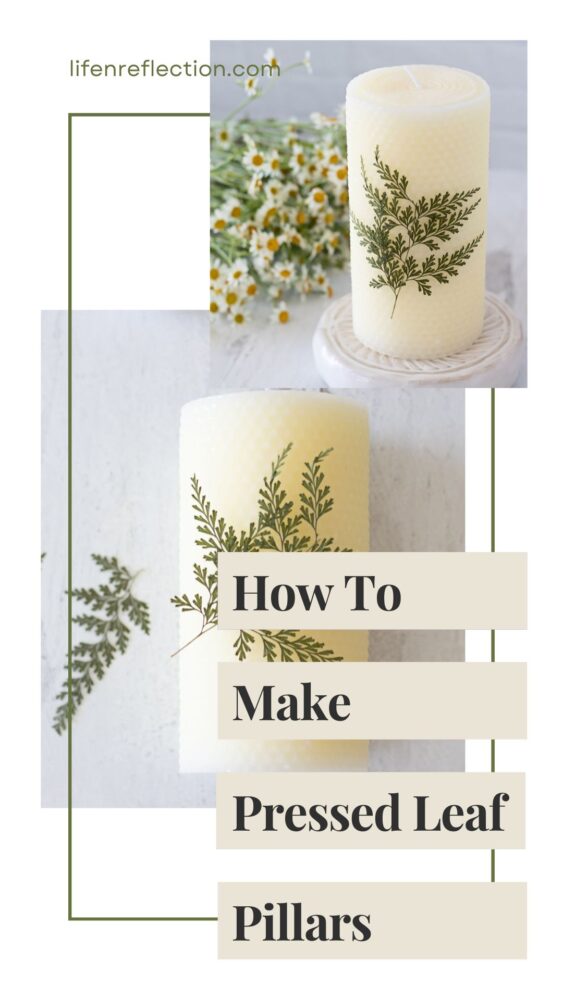
How do you make pressed leaf candles?
Add an outdoor touch to your home decor by creating these pressed leaf candle pillars with my easy-to-follow tutorial. It’s a great introduction to candle making if this is your first time.
Pressed Leaf Candle Pillar Supplies:
Step 1: Warm the Beeswax Sheets
Layout the white beeswax sheets near a sunny window before starting to warm up the wax a little. This helps to avoid cracking and breaking the beeswax sheets.
You may want to cover your surface with wax or parchment paper to keep the beeswax from sticking to the surface.
Step 2: Cut Candle Wicks
Lay the candle wick from the spool across the short side of one 8″ tall x 16 1/4″ wide beeswax sheet. Leaving about a half-inch of wick out from the top of the sheet, then cut the candle wick.
Step 3: Secure the Candle Wick
Place one cut wick at the edge of the short side of a beeswax sheet. Press the wick into the beeswax sheet lining up with the edge while leaving half an inch of the wick extended from the top of the sheet.
Then tightly fold the beeswax sheet over the wick to secure it in place. If the sheet feels too stiff to roll, slightly, warm it up with a heat gun designed for candle making.
Step 4: Roll the Beeswax
Slowly roll the wax sheet up as tightly and evenly as possible. When you come to the end of one sheet, slightly overlap a second sheet and gently press the pieces together.
Keep rolling the candle until you reach the end of the second piece. You may add a third sheet if you want your pillar candle thicker. Otherwise, at the end of the second piece, gently press the seam into the candle seal. You can warm the edge of the wax before finishing the roll with a heat gun for a smoother seal.
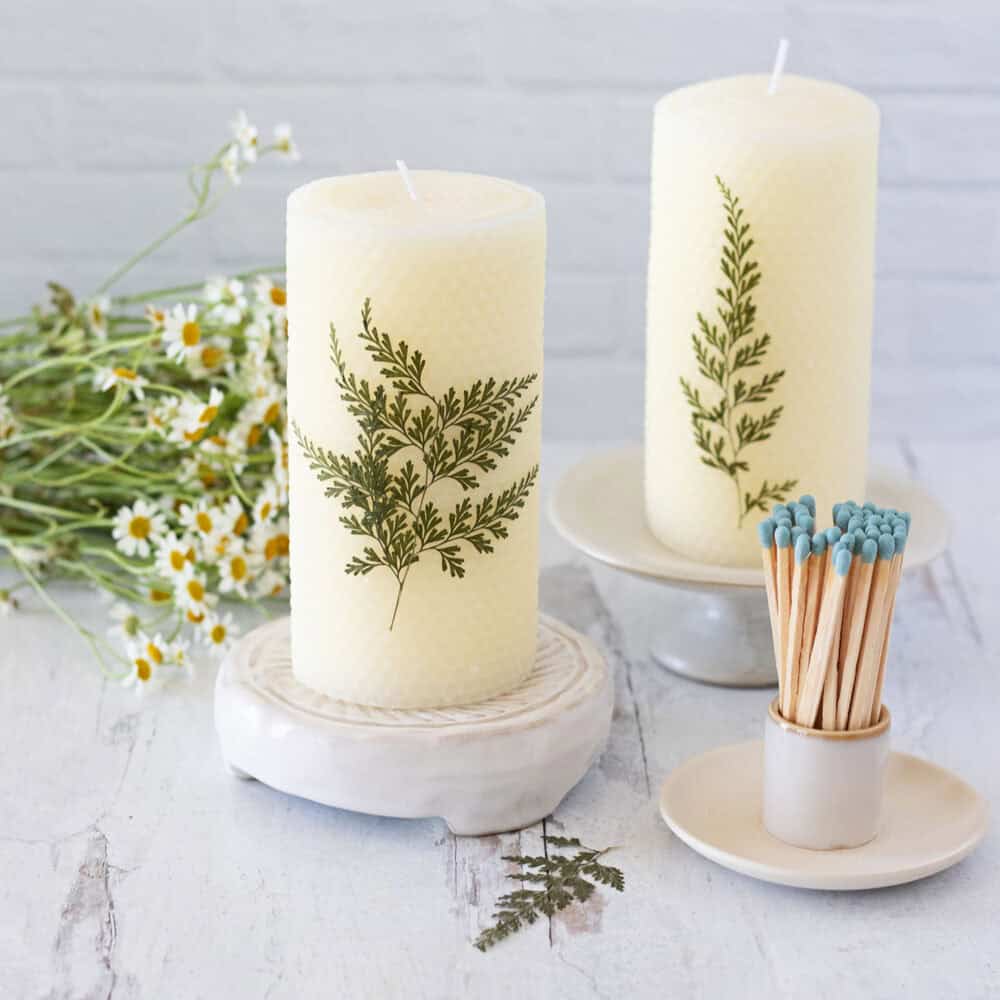
Step 5: Add Pressed Leaves
Place a pressed leaf onto the surface of the pillar candle. Wrap the candle holding the leaf on top with parchment paper. Use a heat gun to warm the beeswax by moving it in circular motions along the candle pillar.
Then gently press the leaf into the candle. Repeat as needed until the leaf sticks to the beeswax. Repeat all steps to make more candle pillars.
Now you can create stunning candle pillars with pressed leaves using our step-by-step guide!
YOU MAY ALSO LIKE:
- Candle Making Tips & Tricks
- Flodesk Studio: First Look
- Wood Cutting Board Care
- Sun-Soaked Garden Beeswax Candles
- Lemon Cedar Dust Spray and Polish
Save this pressed leaf candle tutorial to your Candle Making Pinterest board, and while you’re there, be sure to follow Life-n-Reflection for more inspiring ideas – Tag #lifenreflection on Instagram to share yours with me!