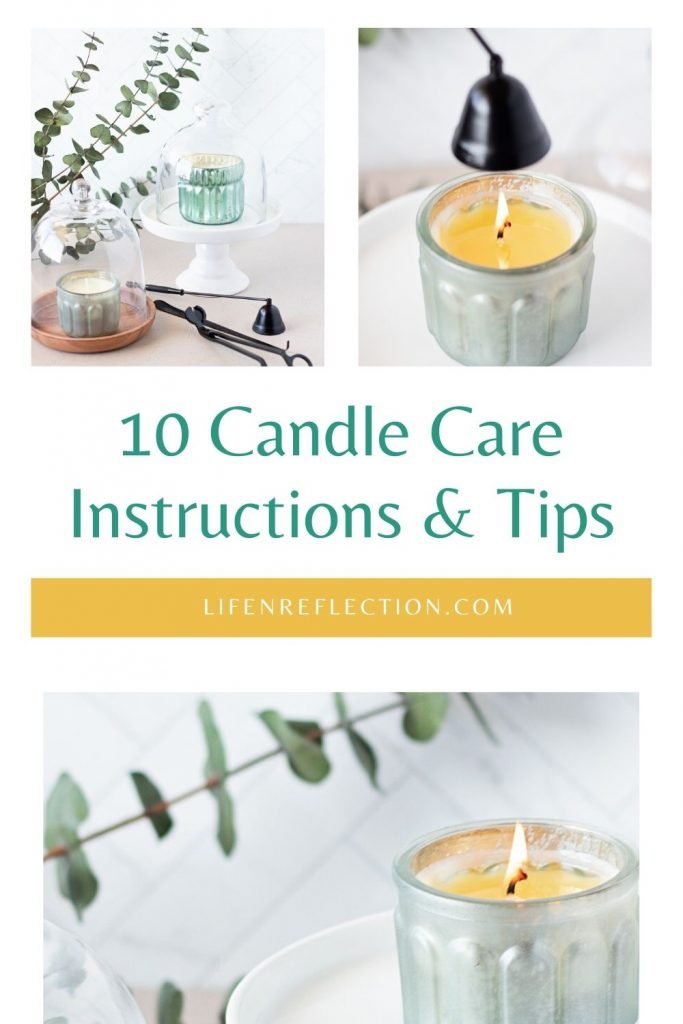
Learn How To Take Care of Candles The Right Way With Candle Care Instructions From An Expert!
You’ll be instantly glad you found these candle care instructions for candle tools and more, with printable candle care cards, a checklist, and candle care tips to make your candles last longer!
Everyone who shares their inbox with me once a week knows I am a bit of a candle addict. OK, maybe more than a bit… I love a good candle and genuinely enjoy making my own—so much so that I wrote a book about it—Creative Candles Made Simple!
Soft yellow beeswax candles, crackling wood wick candles, colored candles, tea lights, or candle mugs; I love them all and can’t get enough! I want to savor each one like a great bottle of wine.
That’s why I’ve learned that proper candle care instructions are essential to the longevity of every candle, whether store-bought or homemade.
If you’re frustrated with candle wicks that won’t stay lit, black soot, candle tunneling, fallen candle wicks, or other candle problems, you’ll be glad you landed here to learn everything there is to know about candle care!
This post contains some affiliate links. Thank you for your support. Please read the full disclosure policy for more details.
CANDLE CARE 101:
10 Tips to Savor Candles to the Last Light With Candle Care Instructions
Candlemakers and lovers will agree that the last thing we want is for our candles not to burn correctly and feel like we’ve wasted our time or money. So, I’m sharing with you these 10 candle tips and convenient candle tools I use to savor my candles to the last light.
#01
Avoid Candles Made with These
Not all candles are created equal. If you’ve found black soot built up where you’ve been burning a candle or have an awful burnt tire smell after putting the candle out – you’ll want to avoid candles made with these:
- Paraffin wax is a by-product of the crude oil refinement process that contains toxins and carcinogens, which can create indoor air pollution. It’s also the culprit for the burnt tire smell. Instead, choose a clean-burning candle made from natural wax, such as coconut wax, soy wax, or beeswax.
- Candle wicks made with a lead core are highly toxic and are illegal to manufacture in the United States. But candles made with lead core wicks are unfortunately not regulated well. Choose a wood wick or a candle wick without a core or a cotton core. See our candle wick guide for more details.
#02
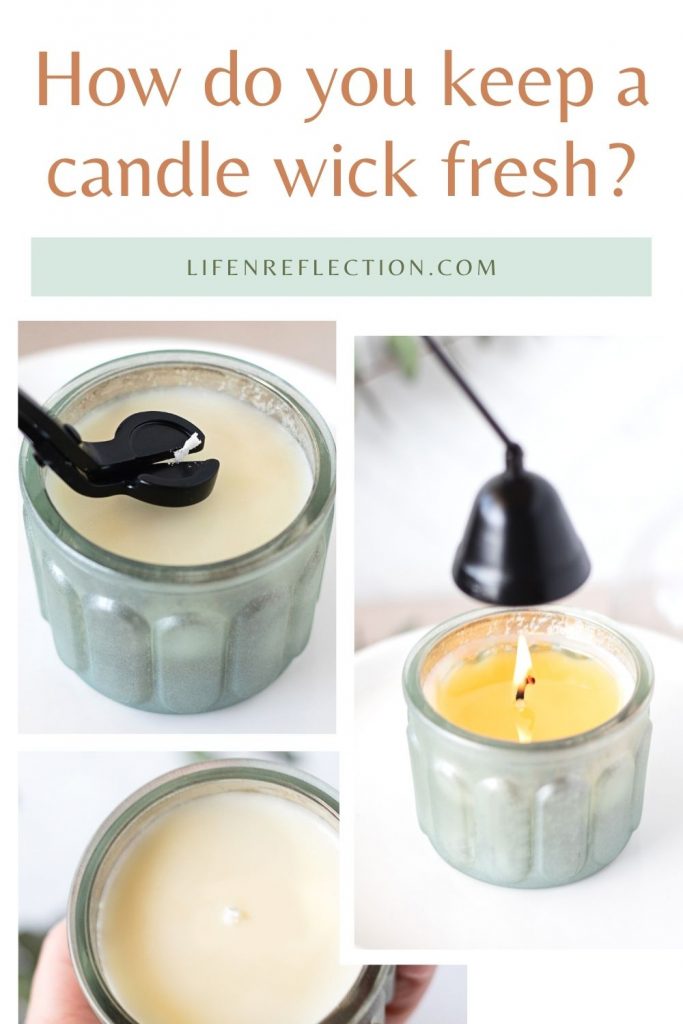
How do you keep a candle wick fresh?
The best way to keep a candle wick fresh is to trim it! Trimming will undoubtedly extend the candle’s life. Trimming a candle wick is the first thing you should do for a new candle, and every time before you light it again!
What happens if you don’t trim candle wicks?
If you don’t trim the candle wick, it will burn at a hotter, faster rate. When this happens, the wax gets used up quicker. Plus, when a wick is too long, it is more likely to flicker and move or bend as it burns, resulting in an uneven melt pool.
Luckily, these issues can be avoided by using a wick trimmer to control the wax being drawn up the wick.
How to Trim a Wick with a Candle Wick Trimmer
Continuously trim your wick to this ideal length before each lighting. (This is the wick trimmer I use.)
How do you keep candles from tunneling?
It’s a little-known fact that candles have a memory.
Let me explain,
When and where you blow a candle out, it remembers. For example, if you light a new candle to see what it smells like and then blow it out 15 minutes later, a small ring will form in the middle. Why? Because you only let that small ring of wax around the wick melt.
The next time you light the candle, it will only melt to that ring, creating a tunnel. This is known as a memory pool in the candle-making world. That is precisely why learning how to burn a candle properly is essential.
#03
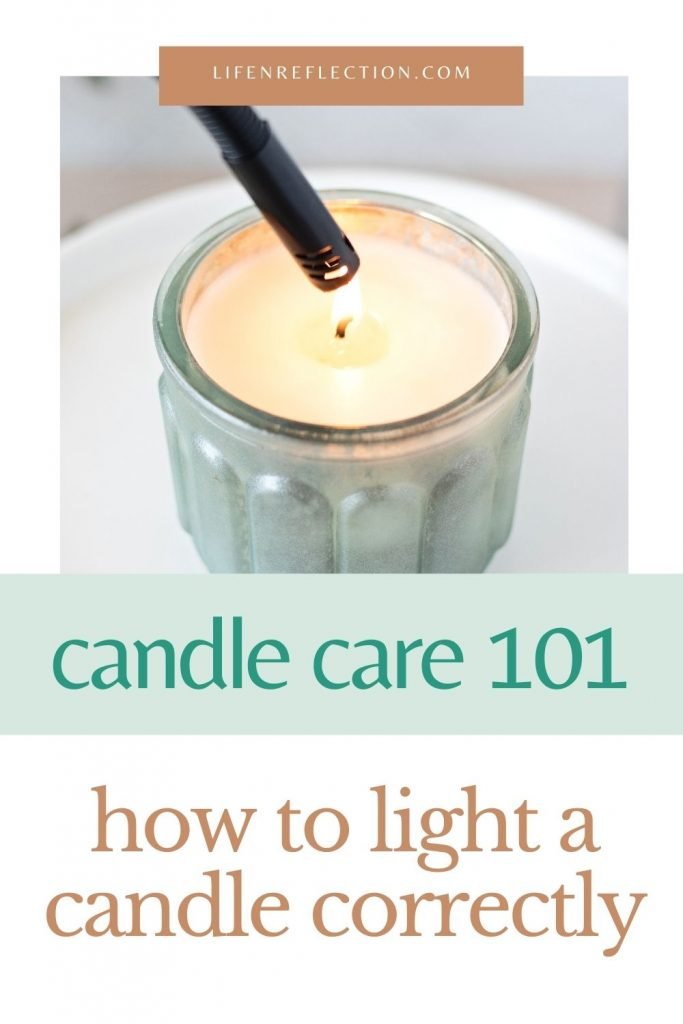
How to Burn a Candle Properly and Light the Wick
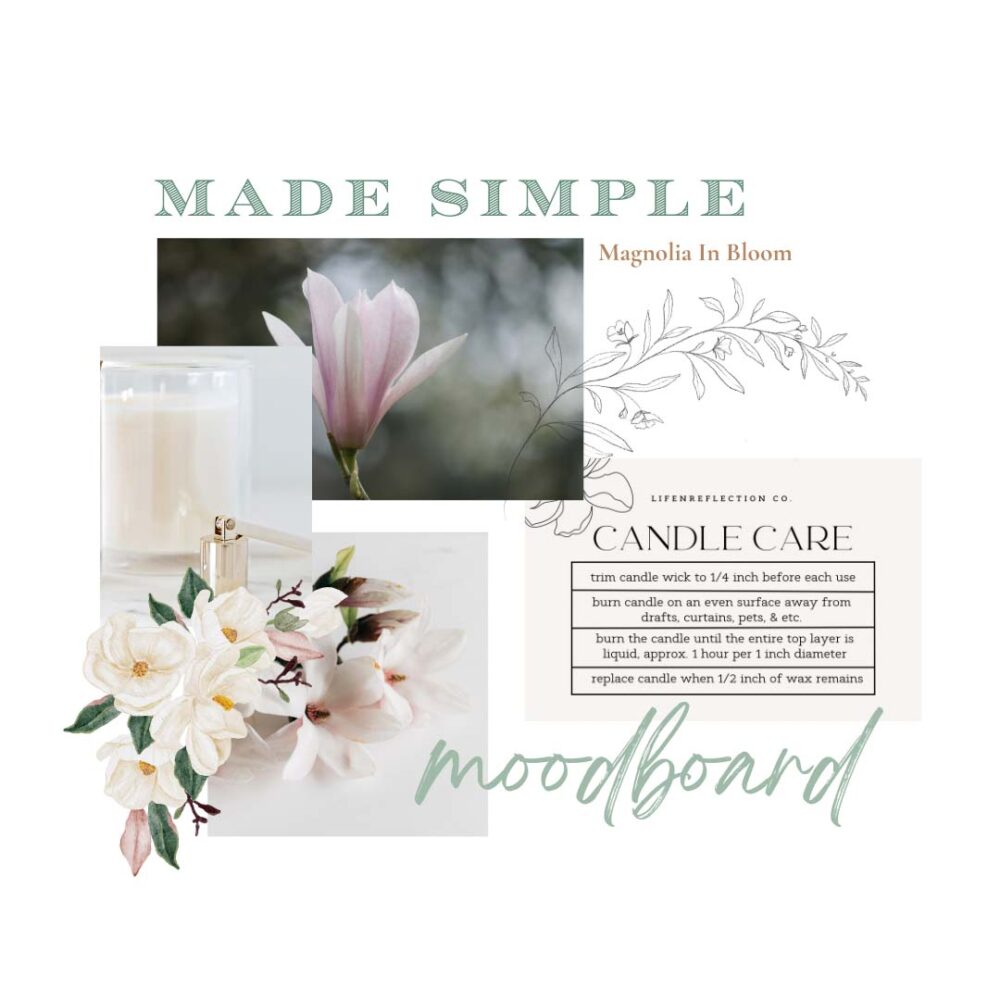
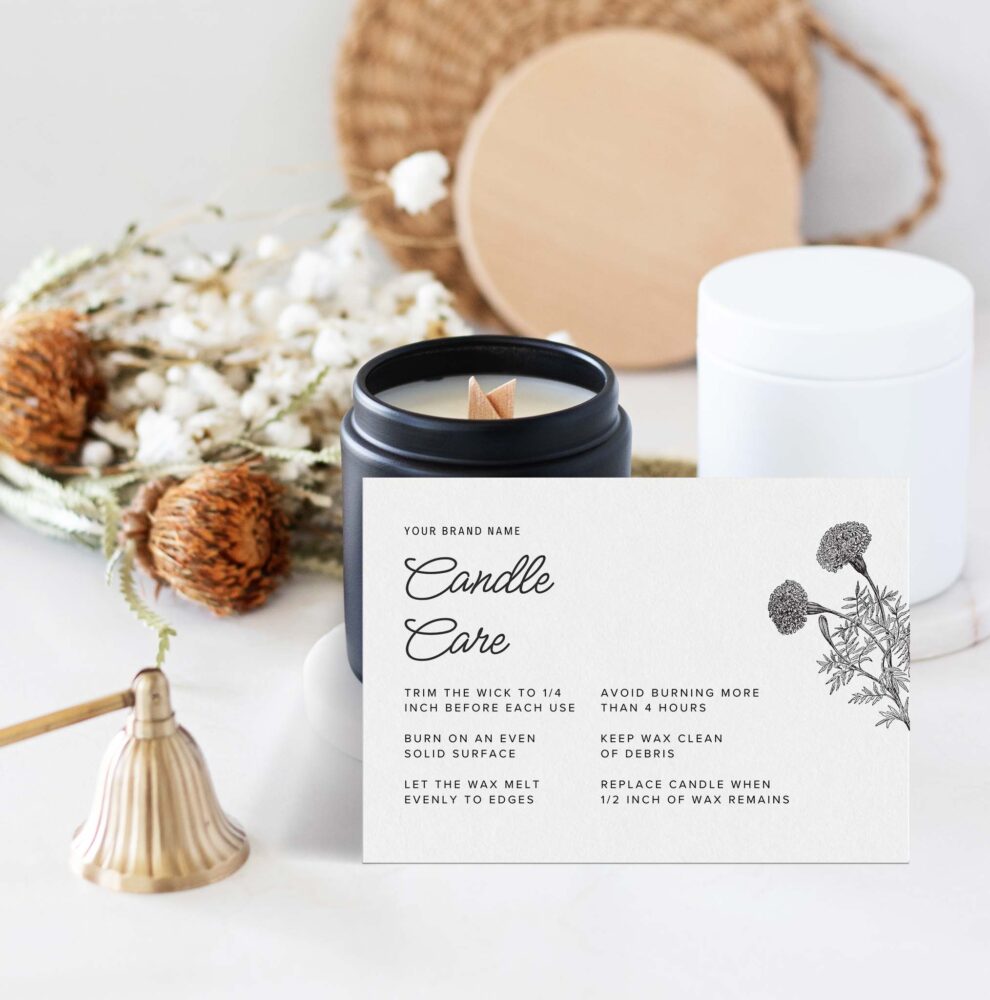
- Start by trimming the wick to ¼ inch
- Discard any debris
- Place the candle in a safe place to burn (see the tips below)
- Next, light your candle with a long match or bendable candle lighter (This allows you to avoid tilting the candle to the side when lighting).
- Allow the candle to burn until the entire top layer of the candle is liquid, reaching from edge to edge across the candle (this can take anywhere from 1 to 2 hours for a single-wick candle and longer for a multi-wick candle, typically 1 hour per 1 inch of the candle diameter
Following these candle care instructions avoids candle tunneling and ensures a great scent throw and a long-lasting candle.
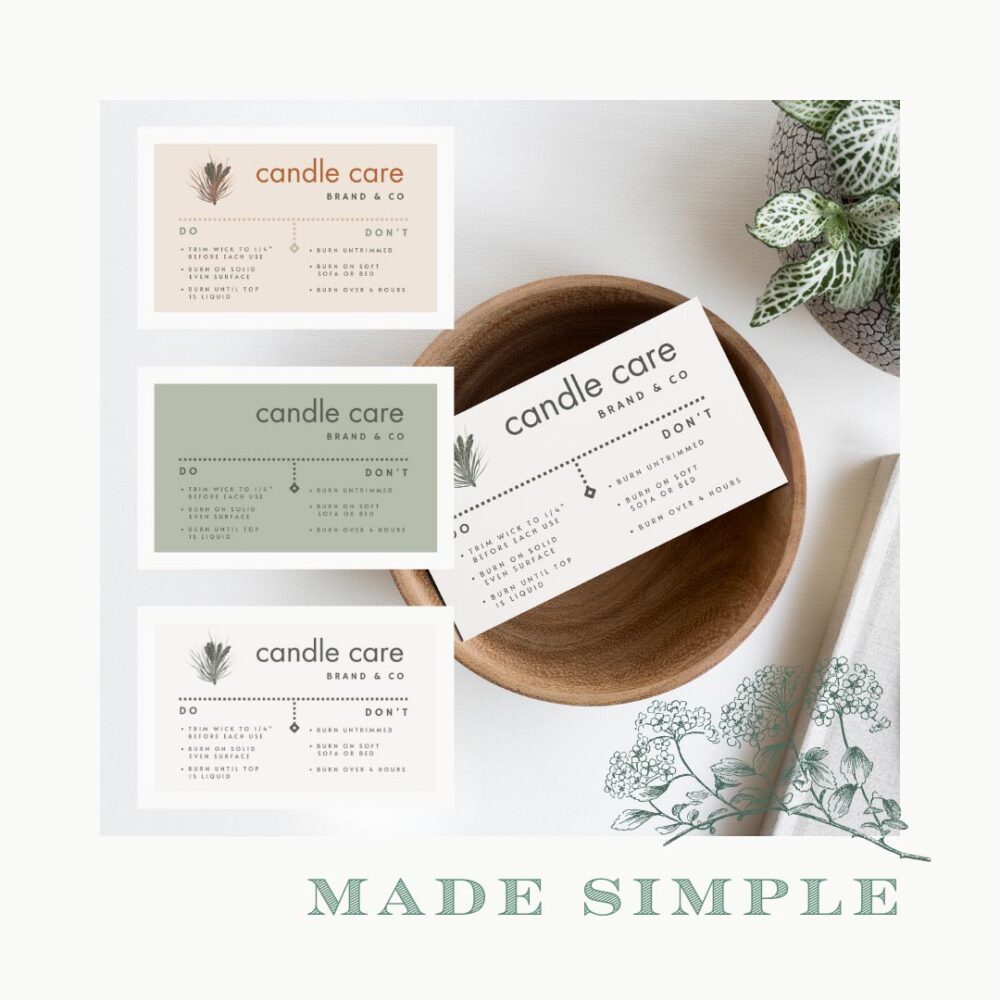
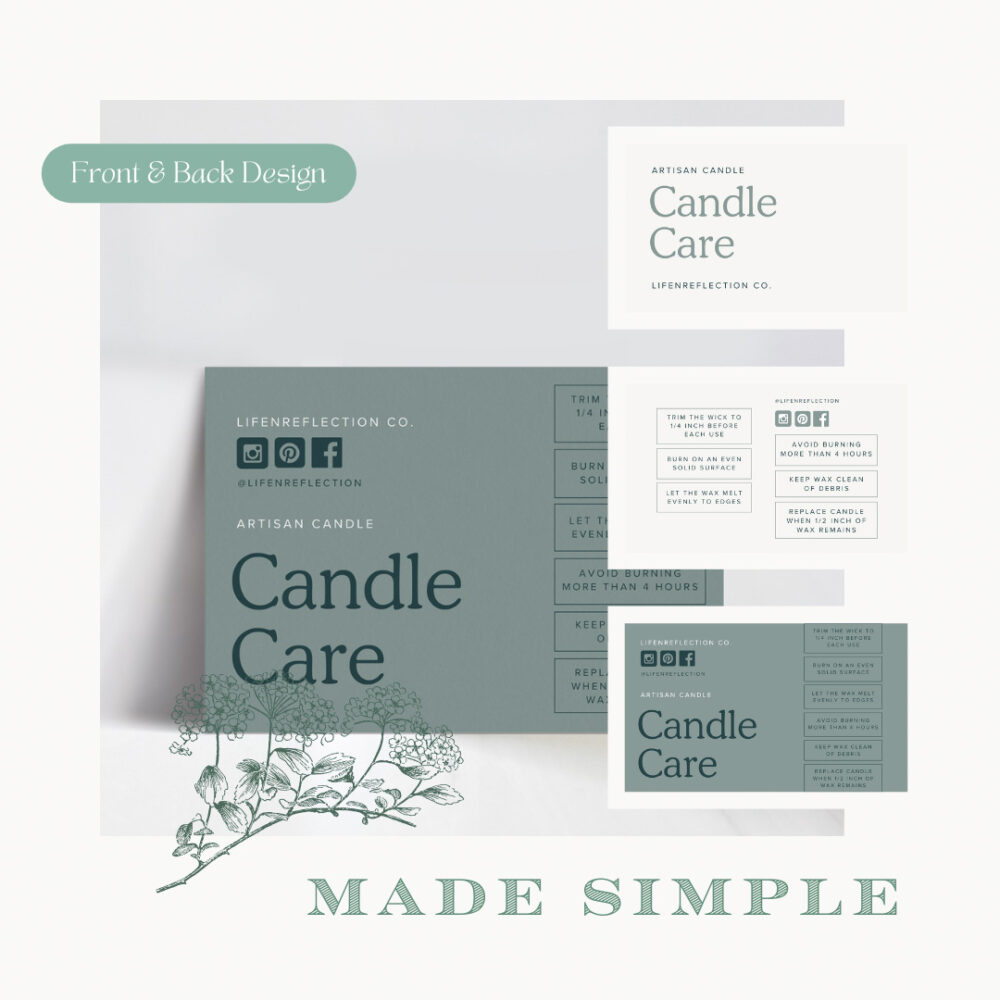
Shop Candle Care Cards
Candle Care Tips for Safety
#04
Avoid Drafts
Always burn candles away from open windows, fans, or drafty areas. Bursts of wind can cause a candle flame to dance, smoke, bend, or flame higher, all of which cause an uneven burn and unsafe conditions.
#05
Avoid Uneven Surfaces
Never burn a candle on an uneven surface. The candle could be knocked over at any time and start a fire. If you have a pet or little one in the house, like me, choose a surface that is out of reach.
You might also consider burning candles on a tray or decorative plate.
#06
The 4-Hour Rule
You may have heard of the 4-Hour Rule, but do you know why you shouldn’t burn a candle longer than four hours at a time?
If you burn a candle for more than 4 hours, the scent throw could be reduced, and the candle wick will likely mushroom due to excessive carbon buildup. When a wick mushrooms, it becomes unstable, and the flame will grow very high. Another thing to consider is that the wax will become too hot and could risk exploding the container.
All things considered, the 4-Hour Rule is not one to break!
If you would like to burn a candle throughout the day, say during the morning and evening hours. Then, extinguish the candle flame properly after four hours. Allow the wax to cool and harden. Trim the wick and light the candle again to enjoy it for another few hours.
What’s the Best Way to Put a Candle Out?
The last thing I want is to have a candle burning for a few hours, making a room smell wonderful, only to blow it out and cause smelly smoke to fill the space. It just drops the mood in the room immediately.
I blame the tradition of blowing out candle wicks on every birthday cake for our confusion about putting a candle out the right way. Blowing a candlewick out can also cause debris to fall into the candle. Nevertheless, all you need is a candle snuffer or wick dipper to instantly put out the flame (you can find both in this gorgeous candle care kit). The scent you’ve been enjoying will linger as smoke will be nonexistent or sparing at the least.
#07
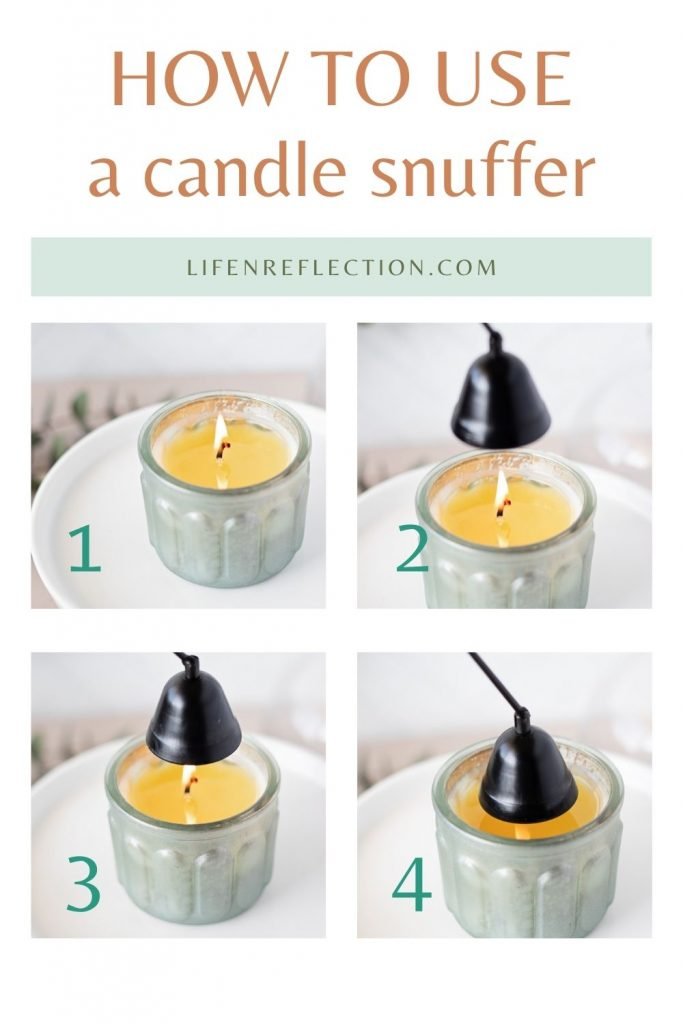
How to Put Out a Candle Flame the Right Way
- With your candle on an even surface, use the bell shape of a candle snuffer to extinguish the flame by lowering it over the flame, close to the surface of the melted wax.
- After extinguishing the flame, use a wick dipper to straighten the wick so it doesn’t dry bent (you can also use it to center the wick if needed).
When you use these candle care instructions for putting out a candle correctly, your candle wick will be straight, centered, and ready to trim before the next burn.
How should you store a candle?
If you’re a candle maker too or have a lot of candles, then you probably don’t burn all of them regularly. So it’s good to know how to store a candle. These are a few candle care tips you can use to get the best and longest performance out of your candles.
#08
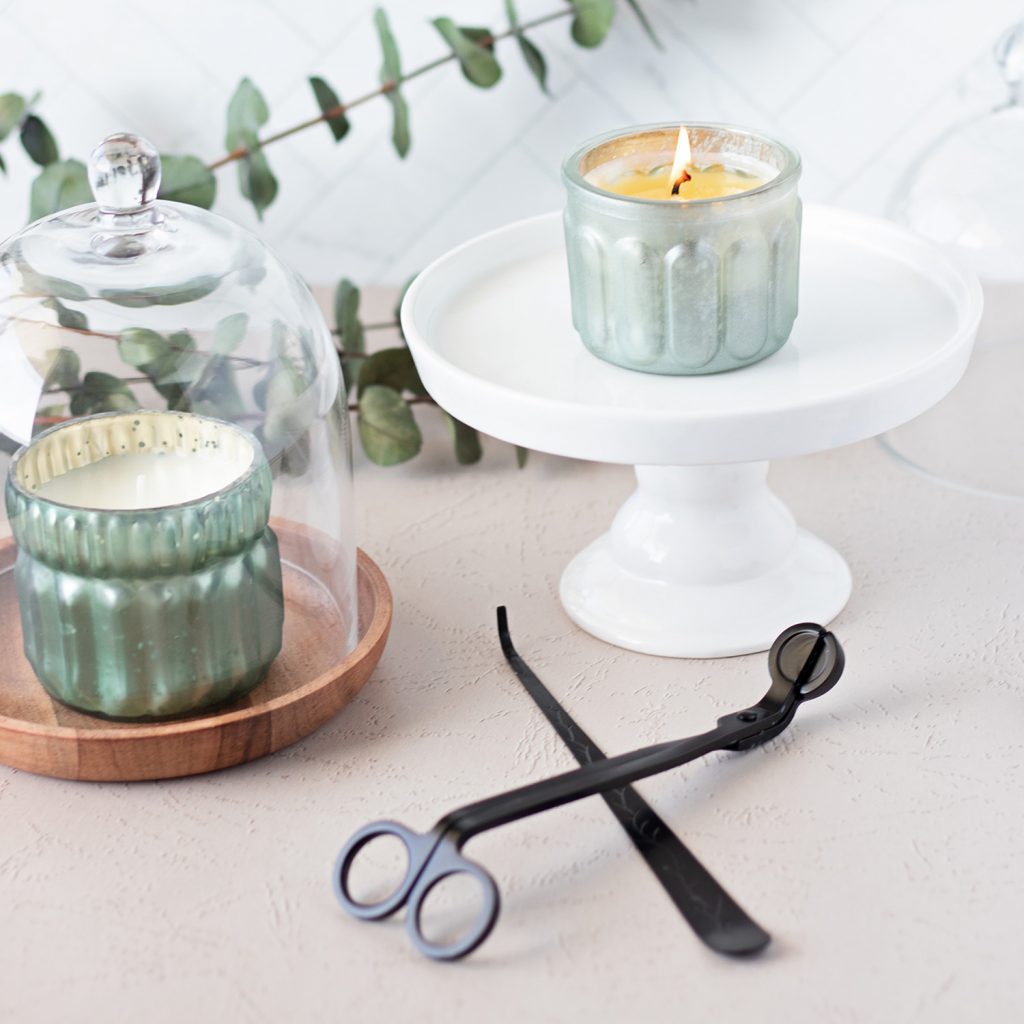
How To Store Candles
- It might go without saying, but candles should be stored away from direct sunlight. I neglected this once in the wintertime, with a candle sitting by the window. To my surprise, the candle’s surface melted unevenly and then hardened to the appearance of the moon’s surface. Talk about a ruined candle!
- I also discovered that if you store candles in a cold place like the basement, they will crack.
- I recently began covering the candles I am currently using after they have cooled. This keeps dust or debris from settling into the candle wax or wick. It also helps to keep the scent strong instead of slowly diffusing into the air over time. So, if your candle has a lid, use it! If it doesn’t have a cover, store it under a glass cloche, like the ones pictured above.
- I’ve found the best place to store candles I haven’t used yet is in the linen closet. A storage cabinet or drawer works well, too. Each is cool, dry, and away from heat and sunlight.

#09
Stop Using a Candle When This Happens
When a candle burns down to less than ½ an inch, extinguish it and do not use it again. If you don’t stop using a candle before there’s no wax left, heat from the direct flame could burn against the metal wick tab or the bottom of the container. You could end up cracking the container and damaging anything near the candle.
#10
Reuse Candle Jars
I’ve always been a fan of repurposing things. My mother taught my siblings and me to make something out of nothing. Candle containers are a great beginning to so many things!
Think succulent pot, seed starter pot, a DIY whipped lotion or sugar scrub jar, or a great place to store homemade dishwasher detergent or toilet bombs. Whatever clever idea you come up with, here’s how to clean up a finished candle to reuse.
How To Clean a Candle Jar for New Use:
- Use a candle-making heat gun or a blow dryer to melt the remaining wax flame-free (wear gloves if the container gets too hot). Wipe out the melted wax with a paper towel.
- If wax remains, pour boiling water into a baking pan about halfway up. Then, set the candle container inside. Let stand for 10 minutes, then wipe out the remaining wax.
- Once the wax is removed, wash the container with hot, soapy water and towel dry.

Grab these free printable candle care cards and a checklist in the Simple Living Library. Give one with your homemade candles to a friend, or hang one up on your bulletin board to remind you of the best candle care tips!
I’ve learned that following these 10 candle care instructions makes my candles last so much longer! And the scent stays strong to the last light. Get all the candle tools I use in one candle care kit – this is my favorite.
Did I leave something out? Do you have a candle care tip to share? Let me know in the comments.
YOU MAY ALSO LIKE:
Pin these 10 candle care instructions now, and don’t forget the free printable candle care candles above! Tag #lifenreflection on Instagram to share your candle-making with me.
Thank you! This is the most useful one for me!
I use candles everyday, this article is the best one ever 🙂
Thanks, Wendy, I use them every day too, so we’ve got to care for them!