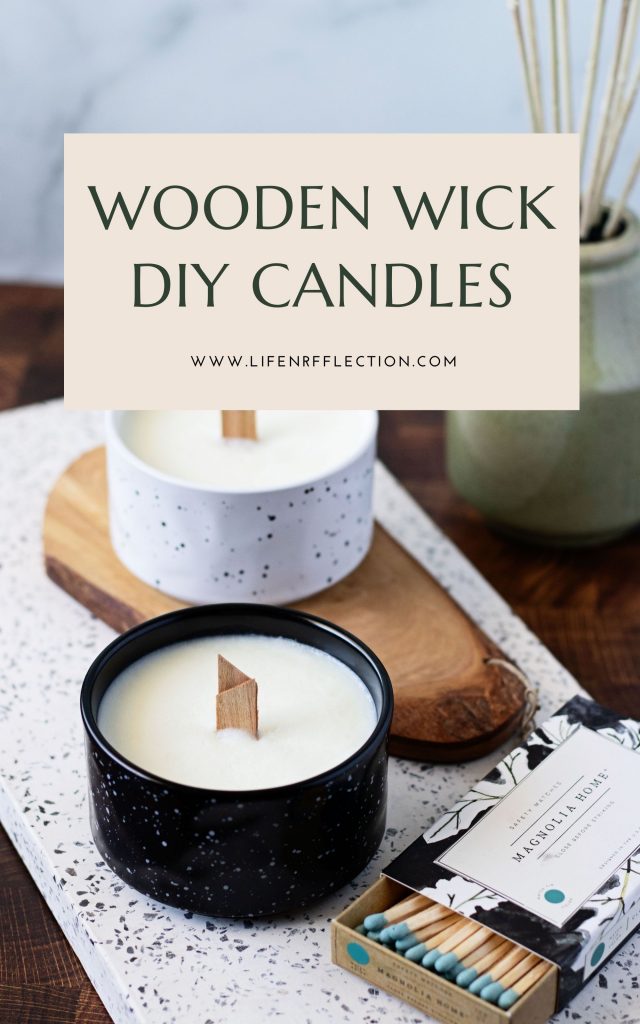
Want to learn how to make DIY wood wick candles?
Are you ready to start making DIY wood wick candles, but have never used a wooden wick candle? They have become quite popular in the last few years as many people are intrigued by their crackling sound. As I was! You’re in luck, I’m going to explain the differences between wooden candle wicks and cotton wicks in this candle making wooden wick guide. Phew, that’s a mouthful!
So, whether you’ve never made a candle before or have only worked with cotton wicks, I’m here to help. Making DIY wood wick candles that smell great and burn properly requires a little know-how.
This post contains some affiliate links for your convenience, read the full disclosure policy.

Why use a wooden wick to make candles?
So, why use a wooden wick to make candles? Why not just keep to the old standard cotton wicks?
Many find them puzzling or see them as a challenge when compared to cotton wicks. Maybe because that’s all they’re familiar with. But there are many other types of candle wicks. In fact, I cover a complete list and review of all candle wick types that I’ve used here. And you’ll find many options for candle wicks, wax, and more included in my tested and recommended candle supplies list.
Altogether wooden wicks allow us to create DIY wood wick candles that have a soft crackling sound, that I’ve come to love, and an appealing candle flame. But, don’t let their uniqueness keep you from trying them. Wood wicks really aren’t much trouble to make candles with. And truth be told, they produce fewer candle problems than cotton wicks and are a more eco-friendly, sustainable option.
Hear me out,
– Wooden wicks don’t need to be dipped in wax before use. They can be used as-is, in their natural state.
– Set up is easy and much faster than cotton wicks.
– You won’t encounter any mushrooming, carbon buildup, or soot from a wood wick.
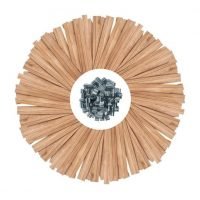
– All are sustainably sourced and manufactured in the USA. Wicks come from oak, cherry, birch, balsam, rosewood, and maple trees.
– Wood wicks can be used in all wax types.
– You can expect a great melt pool.
– Make container, pillar, or votive candles with wood wicks.
– You can skip the additives with wooden wicks as they are 100% natural.
– No straightening is needed. That means you can skip the wick bars, wick centering devices, pencils, clothespins, or dowel rods!
– You can count on clean burning as wood wicks are non-toxic.
– As for the scent, wood wicks produce an excellent hot throw. Your candles will smell strong.
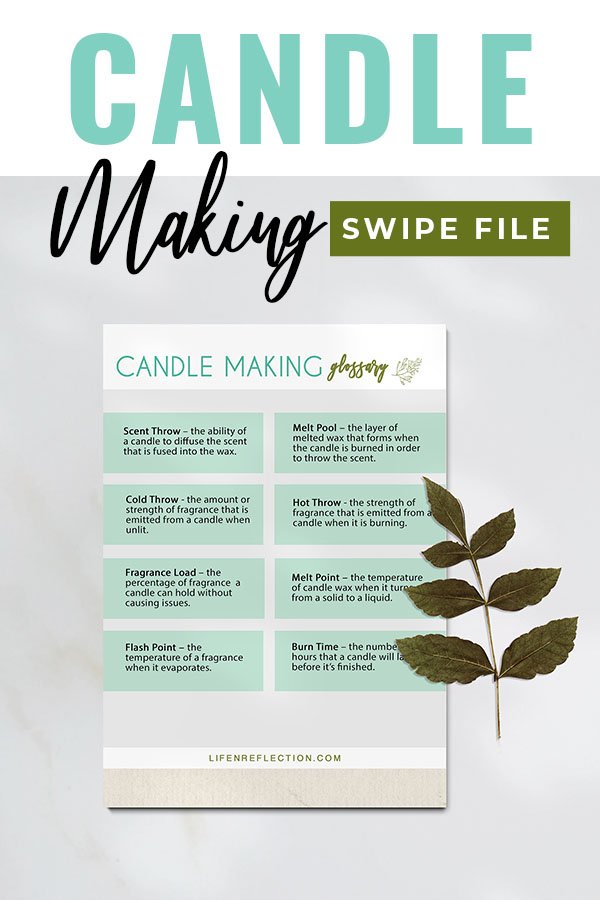
Not familiar with candle making terms like a hot throw or melt pool? Find a candle glossary guide in the Simple Living Library.
Setting Up Wood Wicks
Wood wicks are so much easier to use than cotton wicks or any other type of wick in my experience. They are available in many sizes just like cotton wicks to fit all your candle containers and setup is as easy as 1, 2, 3. Skip the wick bars, wick centering devices, pencils, or clothespins. Because once their setup – you’re done.
Honestly, it’s so simple you’ll be wondering why you weren’t using wood wicks sooner!
HOW TO SET UP A WOODEN WICK:
- Slide one or two wood wicks into a wick clip
- Place a single wick sticker tab or glue dot onto the bottom of the wick clip
- Secure the wood wick centered onto the bottom of your candle container or candle mold by pressing down on the wick clip firmly.
And that’s all there is to it, just like I said 1, 2, 3. Now you’re ready to melt the wax, add fragrance and pour it to make DIY wood wick candles!
Never worry again about your wicks falling or becoming uncentered while your candles are curing. No more dipping wicks before setting up or fiddling clothespins and wrapping wicks on pencils or dowel rods.
Now, let’s start step by step candle making instructions for DIY wood wick candles!
Related To: Apple Cider Candle Tins
Related To: Pumpkin Pie Double Wick Candles
How To Make Wood Wick Candles
For this wood wick guide, I am sharing a tutorial for coffee cake DIY wood wick candles. If you haven’t heard, I’m obsessed with the aroma of coffee. I’ve made coffee body scrubs, bar soap, and coffee wax melts too!
Wood Wick Candle Supplies:
- 4 wood wicks
- 2 wood wick clips
- 2 ramekin 8-ounce containers
- 1.25-ounce coffee cake oil or 30 ml coffee essential oil
- 2 wick sticker tabs
- 14 ounces soy wax flakes
- digital kitchen scale
- no-touch infrared thermometer or candle thermometer
- candle melting pitcher
Wood Wick Candle Instructions:
1. Place two wood wicks in each wick clip. Use a wick sticker tab or glue dot if you don’t have one, to adhere to the center base of each heat-safe ramekin.
2. Use a digital kitchen scale to measure 14 ounces of soy wax. Pour into a candle melting pitcher and place it inside a pot filled with about 2 inches of water to safely melt the wax with the double boiler method. Melt over medium to low heat with a gentle simmer at most, stirring often. (Never leave melting wax unattended.)
3. Remove the candle pitcher of melted wax from the heat source and check the temperature of the wax with an infrared thermometer. If it’s under 200 degrees, which is the flashpoint of the coffee cake oil you can add it. If not, give the wax a few minutes to cool down and check the temperature again.
4. After adding the coffee cake oil stir constantly for 2 minutes for a great scent throw. Then carefully pour the scented wax into each prepared ramekin, avoiding the top of the wood wicks. (Do not fill to the top of the ramekins. Leave room for a safe melt pool.)
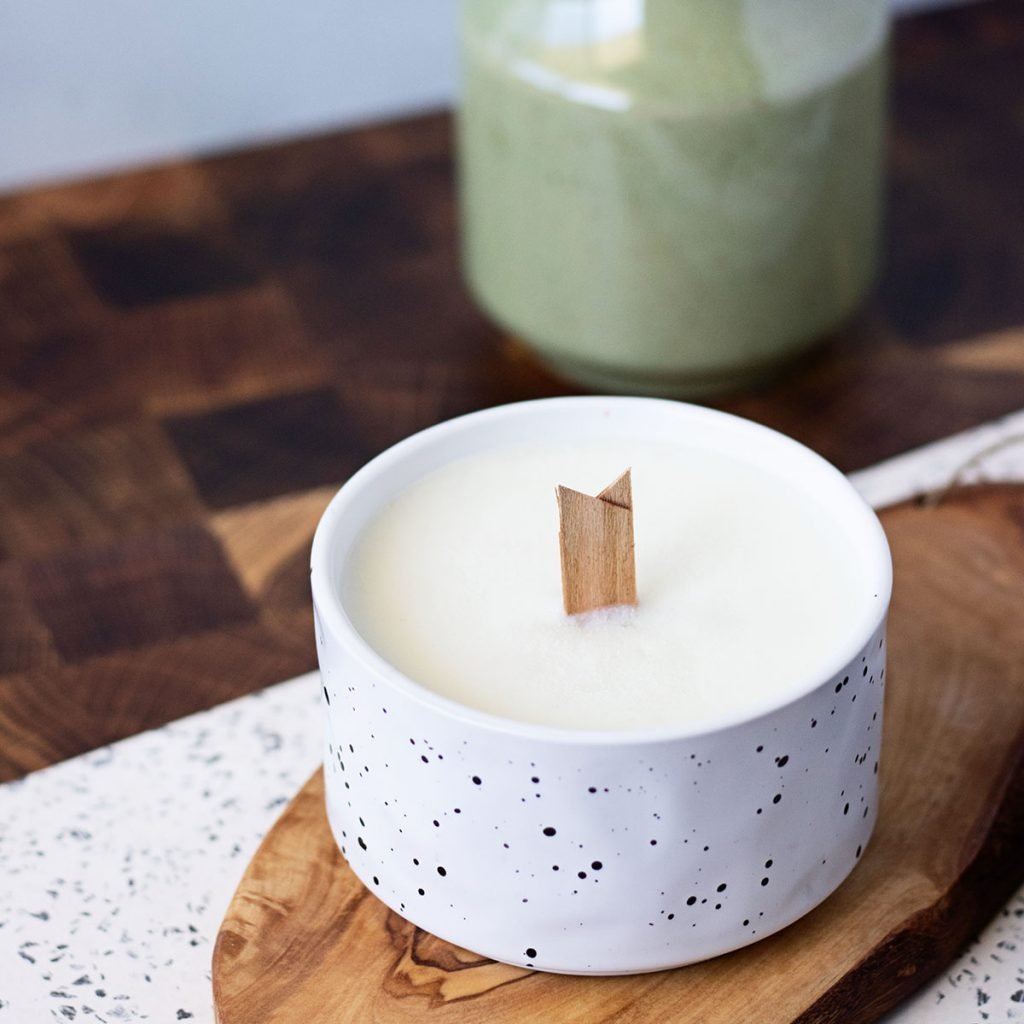
5. Let your DIY wood wick candles cool 30 minutes to 1 hour before trimming wicks. Cut wood wicks to approximately ⅛ an inch above the wax for the best burn rate. (I like to cut my wood wicks to mimic fox ears, as you can see in the photos.)
Give these coffee cake candles a good 3 days to cure before burning for a good scent throw. Or allow 1 to 2 weeks for a stronger scent!
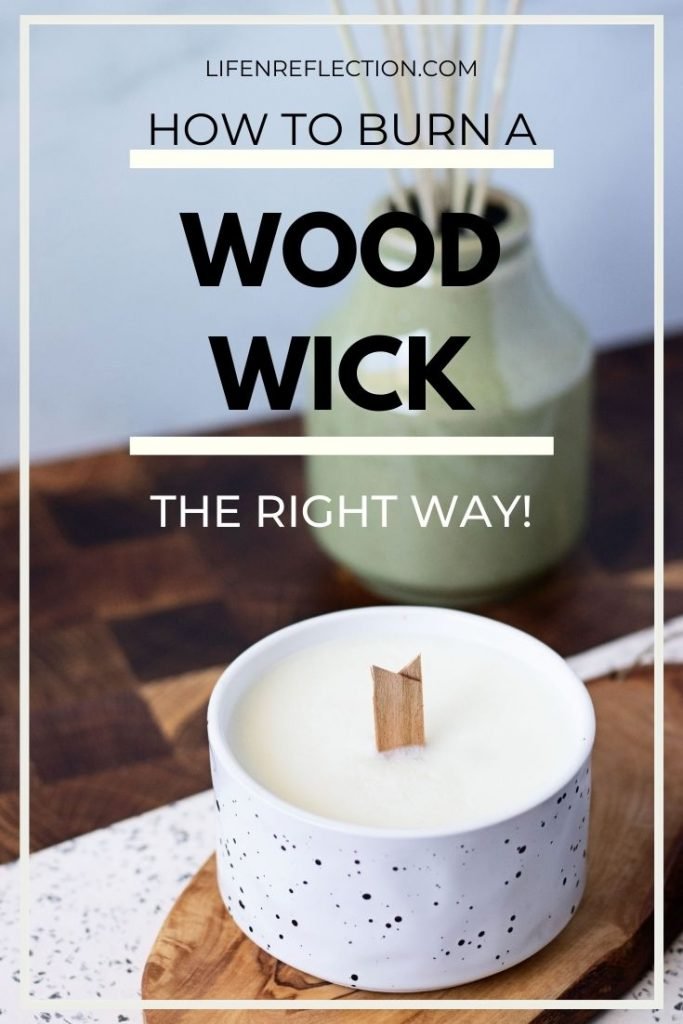
How to Burn a Candle with a Wooden Wick
For those of us with experience making candles, we know that a little troubleshooting can be expected. Rather it’s figuring out what wick type to use or how much fragrance oil. How to burn a candle with a wooden wick is one of those things I’ve troubleshot. (Find a huge list of remedies I shared for candle problems here.)
Here’s the thing,
Wood wick candles are different from traditional cotton wick candles and all other types, for that matter. As I shared above there’s a lot of reasons why you might want to use a wooden wick to make candles. Three of the top reasons being:
- Wood wicks burn longer than cotton wicks – extending the life of your candles.
- They are 100% natural and sustainably sourced in the USA due to strict patent laws.
- The crackling sound wood wicks make is so unique!
Here are two tips on how to get the most out of your DIY wood wick candles!
How do you cut a wooden candle wick?
Rather you like your wood wicks straight, at a diagonal, or mimicking fox ears, there are few things to keep in mind when cutting wooden wicks. First off, a shorter wick is best for a great crackling sound and flame. I find cutting wood wicks to a ⅛ inch above the wax works well. But anything between ⅛ inch and a ¼ inch will suffice.
Longer than that and the wood wick won’t be able to pull the wax up the wick and will self extinguish.
After burning a wood wick candle several times an excess amount of burnt wood may form at the top of the wick. If this happens simply trim it off before lighting the candle again.
And as always, never burn candles longer than 4 hours at a time or with less than ¼ inch of wax remaining. While the first simply shortens the life of the candle the other is dangerous.
How can I make my wooden wick burn better?
First, let me tell you wood wicks light slower than cotton wicks. Similar to lighting a campfire or wood logs in the fireplace, it takes a little time to get the wood flaming. It’s not uncommon for it to take up to 20 seconds to fully light a wood wick. It may even take you a few tries.
That being said, you may find it better to use a long match or a flexible arch candle lighter to light wood wick candles.
I’ve found when lighting wood wick candles the best method is to tilt the candle at an angle and let the flame draw across the length of the wick, while you hold steady.

Coffee Cake DIY Wood Wick Candles
Here’s a step by step candle making instructions for DIY wood wick candles!
Materials
- 4 wood wicks
- 2 wood wick clips
- 2 ramekin 8-ounce containers
- 1.25 ounce coffee cake oil
- 2 wick sticker tabs
- 14 ounces soy wax flakes
Tools
- 1 digital kitchen scale
- 1 no-touch infrared thermometer or candle thermometer
- 1 candle melting pitcher
Instructions
- Place two wood wicks in each wick clip. Use a wick sticker tab or glue dot if you don’t have one, to adhere to the center base of each heat-safe ramekin.
- Use a digital kitchen scale to measure 14 ounces of soy wax. Pour into a candle melting pitcher and place it inside a pot filled with about 2 inches of water to safely melt the wax with the double boiler method. Melt on medium to low heat with a gentle simmer at most, stirring often. (Never leave melting wax unattended.)
- Remove the candle pitcher of melted wax from the heat source and check the temperature of the wax with an infrared thermometer. If it’s under 200 degrees, which is the flashpoint of the coffee cake oil, you can add it. If not, give the wax a few minutes to cool down and check the temperature again.
- After adding the coffee cake oil, stir constantly for 2 minutes for a great scent throw. Then, carefully pour the scented wax into each prepared ramekin, avoiding the top of the wood wicks. (Do not fill to the top of the ramekins. Leave room for a safe melt pool.)
- Let your DIY wood wick candles cool for 30 minutes to 1 hour before trimming the wicks. Cut wood wicks to approximately ⅛ an inch above the wax for the best burn rate. (I like to cut my wood wicks to mimic fox ears, as you can see in the photos.)
Notes
Give these coffee cake candles a good 3 days to cure before burning for a good scent throw. Or allow 1 to 2 weeks for a stronger scent!
Recommended Products
As an Amazon Associate and member of other affiliate programs, I earn from qualifying purchases.


YOU MAY ALSO LIKE:
- Candle Making Tips & Tricks
- Flodesk Studio: First Look
- Wood Cutting Board Care
- Sun-Soaked Garden Beeswax Candles
- Lemon Cedar Dust Spray and Polish
Once you’ve made your first wood wick candle, I know you’ll be ready to make more! Good thing these coffee cake candles make a lovely gift for all the coffee drinkers in your circle.
Have you made DIY wood wick candles before? I’d love to see what you made! Tag #lifenreflection on Instagram to share with me. And PIN this step by step candle making wood wick guide to come back to anytime.
Can you make a multiple wick candle with wooden wicks?
Yes, you can! Here’s how I make multi-wick candles.