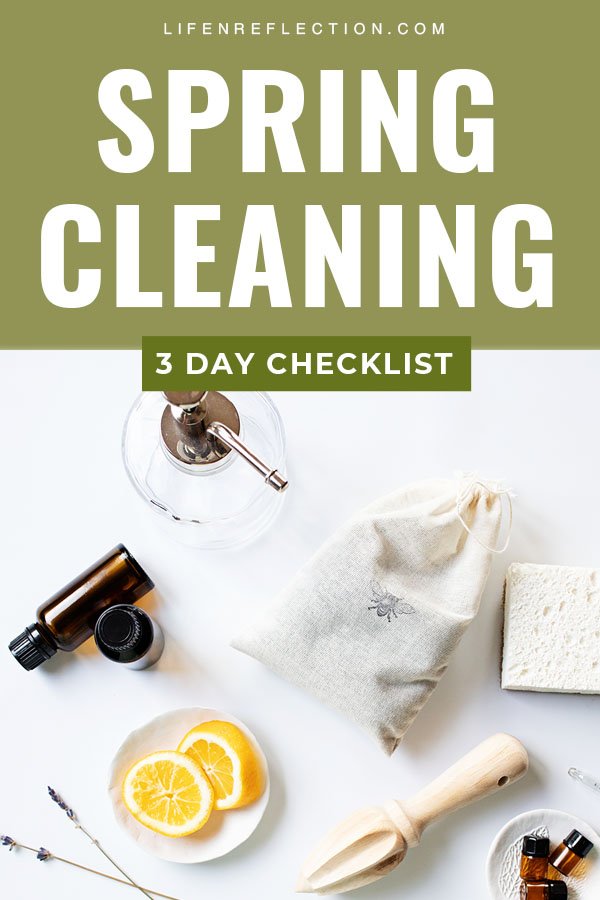
Beckoned to Naturally Spring Clean
Naturally Spring Clean with a 3 Day Plan to tackle it all. Start here with clever strategies, recipes, tools, and a spring cleaning printable checklist.
As the temperature warms up and the days become longer, spring beckons us to clean the dark, dusty corners of our homes. Spring cleaning, in fact, is an age-old tradition completed during the first week of Lent shared by many orthodox: Catholic, Lutheran, and Methodist, for example. Many ask, “What month is spring cleaning?” It generally corresponds with April.
Why is it called spring cleaning?
Quite simply, SPRING is THE PERFECT TIME to DEEP CLEAN our homes and air things out – that’s why it’s called spring cleaning.
For many homes, including ours, in the Northern Hemisphere, winter is the longest season. One can easily picture the dirt, grime, and dust bunnies that can build up during temperatures that require the home to be shut tight.
So, when it comes time for spring cleaning, it’s really needed. And we can do ourselves and the earth a favor by learning how to naturally spring-clean our home.
This post contains some affiliate links. Thank you for your support. Please read the full disclosure policy. for more details.

Spring Cleaning Simplicity is Satisfaction
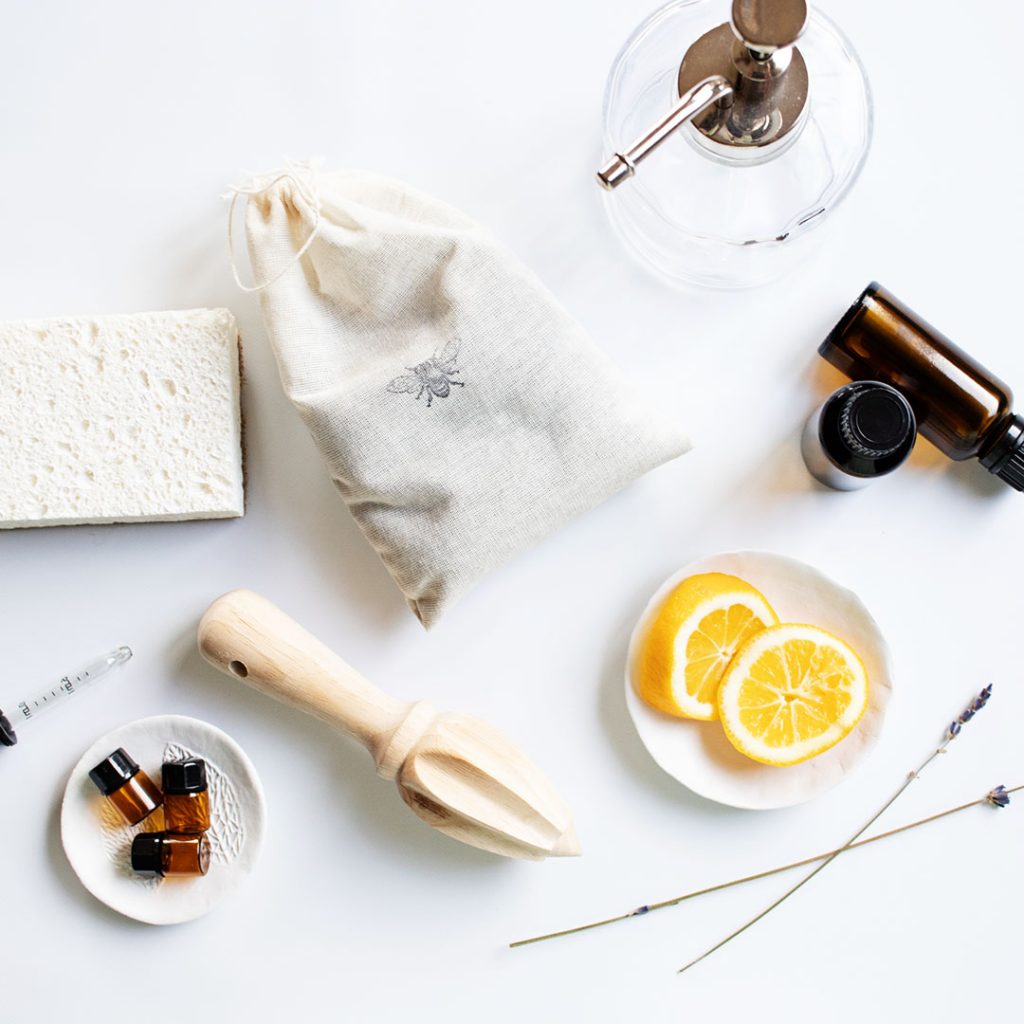
I recognized the need to clear our home of toxins many years ago. Over time, I’ve found that keeping things simple not only is safer for my family but gives me a greater sense of satisfaction – spring cleaning included!
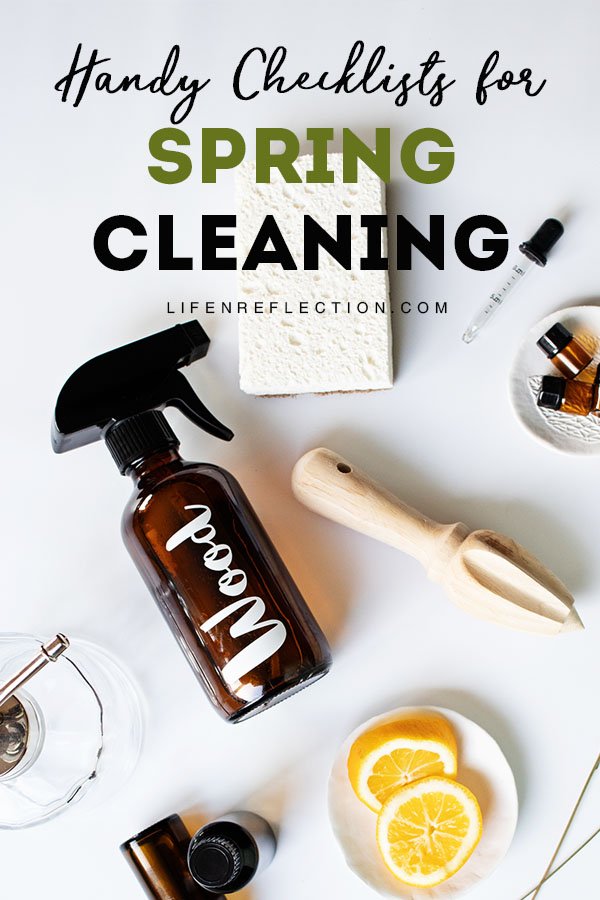
I will admit, I was a little intimidated in the beginning to make my own natural cleaners. But once I began, I was surprised at how well each worked. I’ve learned all it takes is a handful of natural cleaning staples and a little trial and error. So, whether you want to spring clean the kitchen, bathroom, or the whole house, I’ve got a cleaning checklist printable for all!

3 Day Plan to Naturally Spring Clean
Let me share with you my clever strategies to naturally spring clean your home over the course of just 3 days. We’re going beyond the average weekly cleaning tasks to deep-clean your home for that coveted spring cleaning feeling we all yearn for.
Spot Clean: Spring Cleaning Day 1
1. Spot Treatment
Start your spring cleaning list with an easy task, such as spot treating rugs and carpets. Begin by testing a small area with my easy natural carpet stain remover. Spray carpet stains and let sit for 15 to 30 minutes. Then add a small amount of warm water as needed and scrub the stain. Wipe clean with a microfiber or moisture-absorbing cloth. I’ve used it on new and old stains with great success, so give it a try!
2. De-fuzz and De-grime Walls, Ceilings, and Fans
Use the brush attachment of your vacuum to remove dust from ceilings and walls where needed. For ceiling fans, a bendable, telescoping long-handled microfiber duster works best. I love that it’s completely machine washable!
After removing all the dust bunnies who settled in during the winter, tackle surface grime with a simple DIY all-purpose surface cleaner. Use to wipe down walls in the kitchen, mudroom, bathroom, toy room, or laundry room. Pay close attention to the areas where you cook and get ready in the mornings. These areas can accumulate layers of oil, splatter food, or hairspray and makeup. Don’t skip switch plates or door handles; they can be awfully grimy, too.

3. Dust Shelves and Books
Ideally, take the time to remove everything from shelves and remove dust with a homemade dust spray. For tight places, use the crevice tool on your vacuum. If you prefer something less labor-intensive, a washable microfiber duster works well, too. Use it to dust the tops and spines of books and other decorations or objects stored or displayed on shelves.
4. De-grease Kitchen Cabinets
Just as the walls in the kitchen can become quite dirty, so can the cabinets. Give your cabinets the sticky test. Press the other side of a Post-It Note into a cabinet door. If it sticks, even for just a few seconds, they definitely need to be cleaned!
You can use a soapy mixture of warm water and castile soap, an all-purpose surface cleaner, or a DIY wood cleaner, depending on how your cupboards are made. Whichever you choose – wipe clean every cupboard door, shelf, and the inside of kitchen drawers too. If you come across a lot of crumbs, and you likely will use a handheld vacuum with a slim, extended nozzle like this for hard-to-reach areas.
Related To: The Best Green Cleaning Tools
Refresh and Revive: Spring Cleaning Day 2
1. Clean Hidden Areas Under and Behind Furniture
I know we are all guilty of weekly cleaning, only the visible areas of dirt and dust. But, skipping the hidden areas under and behind furniture can really add up…
Spring cleaning is the best time to get these areas cleaned!!
Get started by moving furniture to reveal these hidden areas. Pick up lost toys, remotes, and the like. Then vacuum up food crumbs and dust bunnies. Wipe down the back of furniture and clear cobwebs, too.
2. Clean and Revive Furniture
Remove cushions if you can and use your vacuum’s crevice tool or a handheld vacuum to clean under and around seat cushions. Take the cushions outside and beat them with a wooden spoon to remove excess dust. After vacuuming, give your wood furniture a little TLC with homemade wood butter. Use this four-step tutorial to condition and maintain your wood furniture in a mere handful of minutes.
3. Refresh Carpets and Rugs
Before you move the furniture back, give your carpets and rugs a spring clean refresh! First, go the extra mile and use a window squeegee to scrape the top of the carpet and rugs to remove hidden pet hair, fuzz, and the unknown. Then sprinkle on this odor-eliminating carpet refresh powder, the perfect solution to keeping carpets fresh!
There’s nothing like carpets that feel fresh and lush. So, while you’re at it, check the tags on your rugs, and machine wash what you can. Then borrow, rent, or invest in a carpet shampooer to bring back lushness to your soft underfoot areas.
4. Clean Window Treatments, Throw Blankets, and Pillow Cases
To finish spring cleaning day 2, take down curtains, remove pillowcases, and gather up throw blankets you snuggled with all winter. Check their labels and wash each that is machine washable. Find my easy five-minute laundry detergent here.
For those that can’t be laundered, I recommend a DIY Linen Spray. Made with just three natural ingredients to brighten your linens that aren’t machine washable with the fresh, light fragrance of lemon and vanilla sans chemicals.
Related To: 6 Cleaners to Stop Buying and Start Making Now
Make Em’ Shine: Spring Cleaning Day 3
1. Polish Stainless Steel
I know you’ve done a lot to remove grime in the kitchen, but there’s one last thing that needs shined up! Smudges, fingerprints, scratches, and water stains ring a bell? They all plaque stainless steel and take away that gorgeous, shiny luster we all seek to have in our kitchens. Use this two-step stainless steel cleaning method to kiss all those problems goodbye!
2. Spring Clean the Largest Surface in Your Home
That’s right, you are ready to tackle the largest surface in our homes – the floors!
You’ve already conquered the carpets and rugs, and now it’s time to turn your spring cleaning conquest toward wood and tile floors. Use these five spring cleaning tips to sweep, mop, and polish away with the goal of keeping floors cleaner longer. You’ll find several recipes for homemade floor cleaners in this guide, as well as my favorite floor cleaning tool – a wet/dry microfiber mop. I call it a modern floor cleaning victory.
3. Wash Windows and Screens
I saved the best and most primal spring cleaning task for last – washing the windows and screens! Don’t try to skip this one… even if the weather is iffy, you can still get a head start by vacuuming screens and washing the inside of windows and glass doors. I find it helpful to use a handheld washable microfiber duster after vacuuming before washing the windows.
As for the washing part, you can do it old school with castile soap and warm water that you have to thoroughly rinse to remove streaks. Or you can use this recipe to create a professional foam spray without chemicals. It’s incredible for windows, mirrors, photo frames, and glass cupboard doors.
Just shake before each use and spray the glass. Wipe clean with a lint-free cloth, such as a microfiber cloth, for a streak-free finish that doesn’t require rinsing.
YOU MAY ALSO LIKE:
Martha Stewart said it well, “There’s nothing more calm-inducing than stepping into a spotless, tidy home. No matter what happened out in the world or what kind of day you’ve had, a clean space can be a refuge”.
Are you ready to take the plunge and naturally spring clean without chemicals? Grab a free 5-piece Mrs. Meyer’s natural cleaning kit from the Grove Collaborative to jump-start your spring cleaning this year!
Pin these easy techniques on how to spring clean and tag #lifenreflection on Instagram to share your spring cleaning tips with us.
This was a very informative article! I love that you included some natural recipes. By the way, your blog is gorgeous 🙂
Awe, thank you Kyla well I hope they inspire you to spring clean naturally 😉
Thank you for these tips! I had my first baby and few months ago and ever since I’ve been trying to make the transition to safe and natural cleaning products. The carpets in my home were very dirty so rather than using the carpet refresh powder, I used a local carpet cleaning company that offers all-natural cleaning. I did, however, use your two-step stainless steel cleaning method and it worked incredibly well!! Thank you!
That’s great to hear, I love that more places are offering natural cleaning services!